Reinstalling Windows no longer guarantees a dreaded mass-delete of personal files. Modern versions of Windows 10 and Windows 11 ship with “keep my files” options and in-place repair installs that leave documents, photos, and even many apps intact.
Below is a field-tested, start-to-finish walkthrough that shows you how to refresh or reinstall Windows while preserving what matters.
1. Before You Touch Anything: Create a Safety Net
- Back up irreplaceable files anyway
- Copy critical folders (Documents, Pictures, Desktop, project folders, game saves) to an external drive or a secure cloud service (OneDrive, Google Drive, iCloud, etc.).
- Export browser bookmarks/passwords if they aren’t already synced.
- Make a full-image backup (optional but smart)
Tools like Macrium Reflect Free or Windows’ built-in “System Image Backup” let you snapshot the entire drive. If something goes sideways, you can restore the whole machine exactly as it was. - Gather essentials
- Your Microsoft account credentials.
- BitLocker recovery key if your system drive is encrypted (Settings ▸ Privacy & security ▸ Device encryption).
- Product keys/licenses for paid software that may need re-activation (Office, Adobe apps, certain games).
2. Decide Which Reinstall Path Fits Your Situation
| Scenario | Best Method | Keeps Personal Files | Keeps Installed Apps | Resets Windows System Files |
|---|---|---|---|---|
| System acting sluggish, lots of errors, but still bootable | Reset this PC ➝ Keep my files | ✔ | ❌ (Windows Store apps optionally stay) | ✔ |
| Windows boots but major system files are corrupt; you want minimal disruption | In-place repair install using ISO/USB | ✔ | ✔ (most) | ✔ |
| PC won’t start, startup repairs fail | Bootable USB ➝ Repair your computer ➝ Reset/Cloud Download (Keep my files) | ✔ | ❌ | ✔ |
| Migrating to a new drive/PC while retaining data | Fresh install + Restore from backup | ✔ (after restore) | ❌ | ✔ |
3. Method A – “Reset this PC” With Keep My Files
- Open Settings Start menu ▸ Settings ▸ System ▸ Recovery.
- Choose Reset this PC
Click “Reset PC,” then Keep my files.- Cloud download pulls the latest build from Microsoft’s servers (≈4 GB but guarantees fresh system files).
- Local reinstall uses files already on disk (faster, works offline).
- What Gets Removed
- Classic desktop programs, drivers you added manually, and system tweaks.
- Windows Store apps can be re-installed automatically if you leave the toggle on.
- What Stays
- Everything in your user profile (Documents, Photos, Videos, etc.).
- BitLocker stays on if it was enabled.
- Kick It Off
Click Next ➝ Reset, and wait 20–45 minutes. The PC will reboot several times before landing on a clean desktop.
4. Method B – In-Place Repair Install With a Windows ISO (Most Thorough)
If you can still sign in—but Windows components like the Start menu, File Explorer, or Windows Update are broken—an in-place repair is gold.
- Download the Latest Media Creation Tool
- Windows 10: microsoft.com/software-download/windows10
- Windows 11: microsoft.com/software-download/windows11
- Create Installation Media or ISO
Run the tool ➝ choose Create installation media ➝ “ISO file.” Mount the ISO (right-click ➝ Mount) or create a bootable USB if you prefer. - Launch Setup.exe From Within Windows
On the first screen pick Download updates, drivers, and optional features (recommended). - Select “Keep personal files and apps”
This is the checkbox that preserves 99 % of programs plus every file under *C:\Users*. - Let Setup Run
Expect 30–60 minutes and multiple reboots. Afterward, you’ll find Windows repaired, most apps intact, and a Windows.old folder containing the prior OS copy (auto-deleted after 10 days).
5. Method C – When Windows Won’t Boot
- Boot From a Windows 10/11 USB (using another PC to create it via the Media Creation Tool).
- Select “Repair your computer” ➝ Troubleshoot ➝ Reset this PC ➝ Keep my files.
- Choose Cloud Download or Local Reinstall and proceed.
- If the installer complains that your drive is locked, open Command Prompt from the recovery menu and run
chkdsk c: /fandbootrec /fixmbr, then retry.
- If the installer complains that your drive is locked, open Command Prompt from the recovery menu and run
6. Post-Reinstall Checklist
- Install pending Windows Updates immediately to patch security holes and pull down fresh drivers.
- Check Device Manager for unknown devices; download OEM drivers if needed (graphics, audio, Wi-Fi).
- Reinstall key desktop apps that were removed (Steam, Adobe Suite, VPNs, printer utilities).
- Restore custom settings
- Re-apply dark mode, taskbar tweaks, File Explorer options.
- Re-enable BitLocker auto-unlock if you cloned drives or changed partitions.
- Scrub leftover folders
C:\Windows.old(after verifying nothing important remains).- Temporary install folders on the backup drive or Downloads.
7. Tips to Avoid Needing Another Reinstall
- Enable System Restore on your main drive—it’s disabled by default on some OEM images.
- Turn on OneDrive or an alternative for Desktop/Documents/Pictures to keep data synced in real time.
- Use a good third-party uninstaller (e.g., Revo) to avoid registry clutter from half-removed apps.
- Create a recovery USB drive after your system is in a known-good state: Control Panel ▸ Recovery ▸ Create a recovery drive.
8. Frequently Asked Questions
Q: Will resetting Windows delete my games?
A reset with Keep my files will uninstall desktop games, but Steam/Epic libraries on other drives stay. The app itself must be re-installed, then pointed to existing libraries.
Q: Do I need my Windows product key?
If Windows was activated digitally (most PCs since 2016), activation auto-reactivates after reinstall. Only retail keys on very old hardware typically require manual entry.
Q: How long does an in-place repair install take?
On an SSD: ~30 minutes. On older HDDs: up to 90 minutes.
Q: Can I roll back if something breaks?
Yes—Settings ▸ System ▸ Recovery ▸ Go back option is available for 10 days after an in-place upgrade. For a Reset, use your image backup.
Follow the path that matches your situation and you’ll have a fresh Windows environment without the existential dread of lost photos, school papers, or Steam saves. Happy computing—and stay backed up!
Steps To Restart A Lenovo Laptop
Restarting your Lenovo laptop is a simple fix for many common computer problems. When your computer freezes, runs slowly, or has software issues, a restart can often solve these problems quickly. To restart a Lenovo laptop running Windows, click the Start button in the lower left corner, select the Power icon, and then click Restart.
There are several ways to restart your Lenovo laptop if the standard method doesn’t work. You can press Windows+X and select “Shut down or sign out” then “Restart.” For completely unresponsive systems, press and hold the power button for several seconds until the computer shuts down, then press it again to restart. This force-shutdown should only be used when necessary, as it may cause unsaved work to be lost.
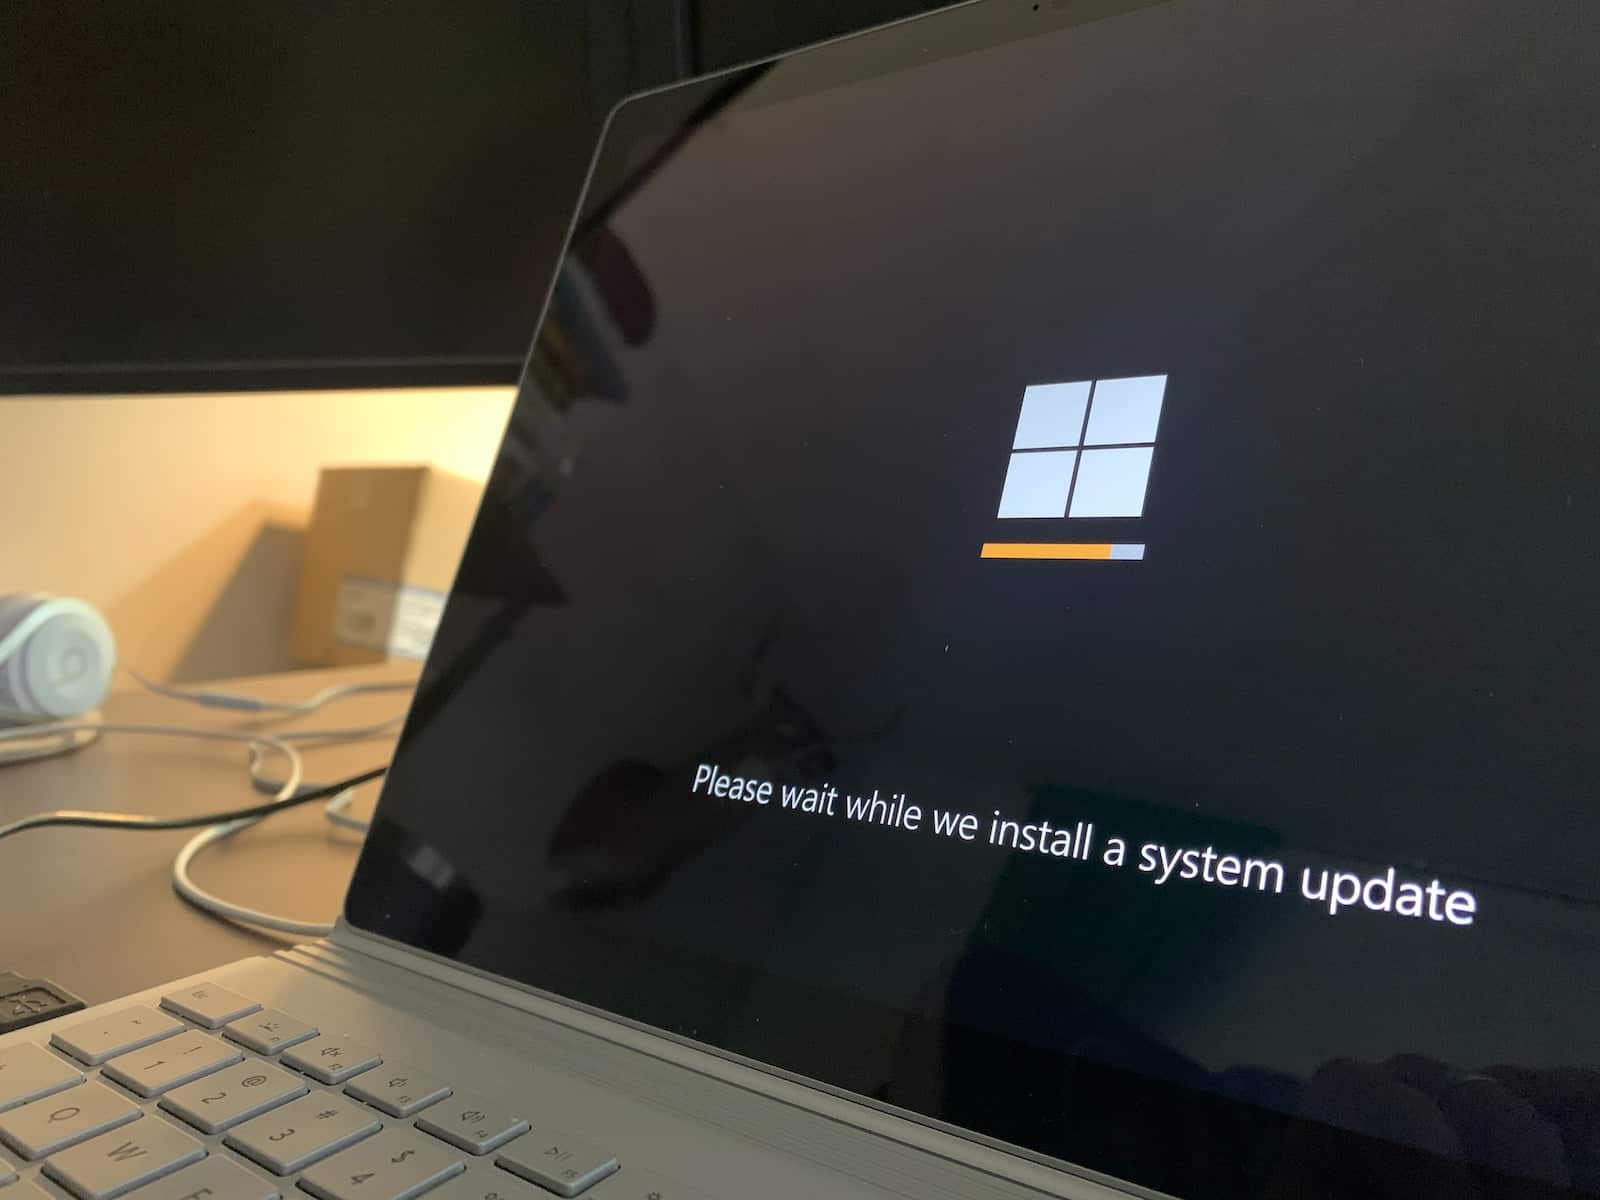
Knowing how to properly restart your laptop is an essential skill for all Lenovo users. Regular restarts help clear temporary files, refresh system resources, and keep your computer running smoothly. Most software updates also require a restart to complete installation properly.
There are several ways to restart a Lenovo laptop, depending on whether your system is responsive or frozen.
1. Standard Restart (Recommended for a Responsive System):
This is the most common and safest method, as it allows applications to close properly and prevents data loss.
- Via the Start Menu:
- Click the Start button (Windows icon) in the bottom-left corner of your screen.
- Click the Power icon (usually a circle with a line through the top).
- Select Restart from the options.
- Via Ctrl + Alt + Delete:
- Press Ctrl + Alt + Delete simultaneously on your keyboard.
- This will bring up a security options screen.
- In the bottom-right corner of the screen, click the Power icon.
- Select Restart from the menu.
2. Force Restart (For a Frozen or Unresponsive System):
If your laptop is frozen and you can’t access the Start Menu or use Ctrl+Alt+Delete, you’ll need to perform a force restart. Be aware that you might lose unsaved data when using this method.
- Using the Power Button:
- Press and hold the Power button on your laptop. Keep it pressed down for approximately 10-15 seconds (or until the laptop completely shuts down).
- Once the laptop is off, wait a few seconds.
- Press the Power button again to turn your laptop back on.
Additional Troubleshooting Steps (If Force Restart Doesn’t Work):
If a simple force restart doesn’t resolve the issue, you can try a more thorough power cycle:
- Force shut down your laptop by pressing and holding the Power button until it turns off.
- Disconnect all peripheral accessories (mouse, external monitor, USB drives, etc.) and the power cord.
- If your Lenovo laptop has a removable battery, take it out.
- Press and hold the Power button for 15-20 seconds to drain any residual power from the system. The screen should remain black.
- If applicable, reinsert the removable battery, reconnect the wall charger, and then press the Power button to turn the laptop back on.
Important Note: Regularly saving your work is good practice to prevent data loss, especially when dealing with system issues that might require a force restart.
Key Takeaways
- Restarting your Lenovo laptop through the Start menu is the safest way to fix minor software issues and improve performance.
- When your system freezes, a forced restart using the power button can resolve the problem without technical support.
- Regular restarts help maintain system stability and complete software updates properly.
Understanding Lenovo Laptop Boot Issues
Lenovo laptops sometimes get stuck in boot loops or fail to start properly. These problems can range from black screens to endless restart cycles that prevent normal computer use.
Identifying a Black Screen
A black screen on your Lenovo laptop can be confusing and frustrating. You might press the power button and see lights turn on, but nothing appears on the screen. Sometimes you might hear fans spinning or disk activity, but the display remains dark.
This issue often appears in different ways. You might see:
- A completely black screen with no cursor
- The Lenovo logo briefly before going black
- A black screen with just a blinking cursor
- Power lights on but no display activity
To check if it’s just a display problem, connect your laptop to an external monitor. If the external screen works, your laptop’s screen or display cable might be faulty. Otherwise, the issue could be with the system itself.
Common Causes of Boot Failures
Boot failures on Lenovo laptops typically stem from several key issues. Hardware problems like failing hard drives or loose connections can prevent proper startup. Software issues such as corrupted Windows files or problematic updates are equally common culprits.
BIOS settings can also cause boot loops. If the boot sequence is incorrect or if legacy/UEFI settings are mismatched with your installation, your laptop might fail to start properly. Sometimes after Windows updates, these settings can change unexpectedly.
Other common causes include:
- Battery power issues
- Overheating problems
- Corrupted operating system files
- Incompatible drivers
- Malware infections
When your Lenovo gets stuck in a restart loop, try forcing a shutdown by holding the power button for about 5 seconds, then restarting. For persistent issues, accessing Safe Mode by pressing F8 repeatedly during startup can help troubleshoot the problem.
Pre-Troubleshooting Steps
Before diving into complex solutions for a non-responsive Lenovo laptop, taking some basic preliminary steps can often resolve the issue quickly. These initial checks help eliminate common problems related to power supply and connected devices.
Checking the AC Adapter
Start by examining your laptop’s power source. Inspect the AC adapter for any visible damage like frayed wires, bent connectors, or burn marks. Check that the power light on the adapter is on when plugged into a working outlet.
Try connecting the adapter to a different wall outlet to rule out problems with your power source. Sometimes the issue is as simple as a loose connection, so ensure the adapter is firmly plugged into both the wall and your laptop.
If you have access to another compatible Lenovo AC adapter, test your laptop with it. This can quickly determine if your adapter is the problem. Many Lenovo laptops also have a charging indicator light – if this doesn’t illuminate when plugged in, your adapter might be faulty.
Inspecting External and Peripheral Devices
Disconnect all external devices from your laptop, including:
- USB drives and hard drives
- External monitors
- Printers and scanners
- Mice and keyboards
- SD cards or other media
Sometimes these peripherals can cause conflicts that prevent proper startup. After disconnecting everything, try turning on your laptop again.
Pay special attention to any recently added devices, as these might be causing the problem. If your laptop starts normally after removing all peripherals, reconnect them one by one to identify which device might be causing issues.
Check for any stuck buttons on the keyboard that might be interfering with the startup process. This is rare but can happen, especially with the power button itself.
Basic Restart and Reset Procedures
When your Lenovo laptop stops responding or has performance issues, knowing how to properly restart or reset it can save you time and frustration. These procedures range from simple restarts to complete system resets.
Performing a Hard Reset
If your Lenovo laptop freezes and won’t respond to normal shutdown commands, a hard reset is your best option. Press and hold the power button for about 10 seconds until the laptop completely shuts down. This works on all Lenovo models including ThinkPad and IdeaPad series.
For a quick restart using keyboard shortcuts, press Ctrl+Alt+Delete simultaneously. This brings up a menu where you can select the “Restart” option. This method is useful when your mouse isn’t responding but the keyboard still works.
Some Lenovo laptops have a small Novo button located near the power button or on the side. When the computer is off, press this button to access advanced restart options.
Utilizing the ‘Reset this PC’ Feature in Windows
Windows 10 and 11 offer a built-in “Reset this PC” feature that can solve persistent problems. To access it, go to Settings > Update & Security > Recovery, then select “Reset this PC.”
You’ll have two main options:
- Keep my files: Reinstalls Windows but keeps your personal files
- Remove everything: Completely wipes the system and returns it to factory settings
The reset process takes 30 minutes to an hour depending on your system. For Lenovo ThinkPad and IdeaPad models, this process will restore the original Windows operating system with Lenovo’s pre-installed software.
Before performing a full reset, back up important files to an external drive or cloud storage. Once the reset begins, you can’t stop it without risking damage to your operating system.
Advanced Recovery Options
When your Lenovo laptop faces serious issues, you might need stronger recovery methods beyond basic restarts. These options can help you repair system files, restore factory settings, or completely reinstall your operating system.
Accessing Lenovo OneKey Recovery
Lenovo OneKey Recovery provides a built-in solution for restoring your laptop to its factory settings. To access it, shut down your computer completely, then press the Novo button (a small button usually located near the power button). This opens the Novo Button Menu where you can select “System Recovery.”
Some older Lenovo models have a dedicated OneKey Recovery button instead. Press this button when the computer is off to enter recovery mode directly.
The OneKey Recovery system gives you two main options: “Restore from initial backup” to return your system to factory settings, or “Create initial backup” to save your current system state. Choose carefully, as restoring will erase all personal data on your C: drive.
Employing Windows 10 System Recovery
Windows 10 offers built-in recovery tools for Lenovo laptops. When your system is functioning, you can access these by going to Settings > Update & Security > Recovery > Get Started under “Reset this PC.”
If Windows won’t boot normally, you can still access recovery options. Restart your laptop and press F8 repeatedly during startup. If that doesn’t work, force-shut down your laptop by holding the power button, then restart it three times in a row. This triggers automatic repair mode.
From the blue recovery screen, select Troubleshoot > Reset this PC. You’ll have two options: “Keep my files” which preserves personal files while reinstalling Windows, or “Remove everything” which performs a complete reset. Both options reinstall Windows and remove apps.
Creating and Using a Bootable USB Drive
When other recovery methods fail, a bootable USB drive can save your Lenovo laptop. First, you’ll need a working computer to download the Windows 10 Media Creation Tool from Microsoft’s website and a USB drive with at least 8GB of space.
Run the Media Creation Tool and select “Create installation media for another PC.” Choose your language and edition, then select “USB flash drive” as your media. The tool will download Windows and create a bootable drive.
To use it, insert the USB into your troubled Lenovo laptop. Restart the computer and press F12 (or the appropriate key for your model) to enter the boot menu. Select your USB drive from the list.
Once booted from USB, follow the installation prompts. You can choose to repair your existing Windows installation or perform a clean install if needed. Remember to backup important files first if possible.
Data Recovery Strategies
When your Lenovo laptop needs a restart or reset, protecting your important files should be your top priority. Different recovery methods can help retrieve your data even in challenging situations.
Using Data Recovery Software
If you’ve lost files after a Lenovo laptop restart or reset, data recovery software can be your best option. Windows File Recovery, which comes built-in with Windows 10/11, helps recover deleted files through a command-line interface.
For better results, third-party recovery tools offer more user-friendly interfaces with higher success rates. Programs like Recuva, Disk Drill, and EaseUS Data Recovery provide options to scan your Lenovo’s storage drives and recover various file types including documents, photos, and videos.
The recovery process typically involves:
- Installing the recovery software (before data loss occurs, ideally)
- Scanning the drive for recoverable files
- Previewing found files
- Selecting and saving files to a different storage location
Act quickly after data loss since new data may overwrite deleted files, making recovery impossible.
Best Practices for Data Recovery
Creating regular backups is the most reliable data protection strategy. Use external drives, cloud storage, or Windows backup tools to safeguard important files before any laptop issues occur.
When facing data loss:
- Stop using the affected drive immediately
- Don’t save new files to the drive containing lost data
- Use recovery tools from a different drive if possible
- Recover files to a separate storage device
For encrypted Lenovo laptops using BitLocker, keep your recovery key safe. Without this key, accessing data after a system problem becomes nearly impossible. The recovery key is typically linked to your Microsoft account or saved as a file when encryption was first set up.
If important data remains inaccessible, professional data recovery services might help in extreme cases, though these services can be expensive.
Upgrading to the Latest Windows Version
Keeping your Lenovo laptop updated with the newest Windows version ensures better security, new features, and improved performance. Windows 11 offers a refreshed interface and enhanced capabilities for compatible systems.
Steps for Upgrading to Windows 11
Before upgrading to Windows 11, check if your Lenovo laptop meets the requirements. Your device needs at least 4GB RAM, 64GB storage, and a compatible processor. The TPM 2.0 security feature is also required.
Back up all your important files to an external drive or cloud storage. This prevents data loss during the upgrade process.
Next, go to Settings > Update & Security > Windows Update and check for updates. If your computer is eligible, you’ll see an option to download and install Windows 11.
Make sure your laptop is plugged in during the upgrade. The process might take 1-2 hours depending on your internet speed and computer performance.
After installation, your laptop will restart several times. Follow the on-screen instructions to complete setup and customize your preferences.
Using Windows Setup for a Clean Install
A clean install gives you a fresh start without old programs or files. Download the Windows 11 Installation Assistant from Microsoft’s website or create installation media using a USB drive.
Back up all your files before proceeding. A clean install will erase everything on your drive.
Insert your installation media and restart your Lenovo laptop. Press the designated key (often F12 or F2) during startup to access the boot menu.
Select your USB drive or installation media from the boot options. Follow the setup wizard, selecting “Custom install” when prompted.
Choose the drive where you want to install Windows. Format it if needed, then continue with installation.
After installation completes and your laptop restarts, you’ll need to install Lenovo drivers and software using Lenovo System Update or from Lenovo’s support website.
When to Seek Professional Tech Support
Sometimes laptop problems go beyond simple fixes. When your Lenovo laptop issues persist after trying basic troubleshooting steps, it’s time to get expert help.
Contacting Lenovo Support
If your laptop is still under warranty, Lenovo’s official support should be your first stop. You can reach them by phone, chat, or email through their website. Before calling, gather your laptop’s serial number and purchase information to speed up the process.
When talking with support, be clear about what troubleshooting steps you’ve already tried. This saves time and helps technicians better understand your issue.
Some users report mixed experiences with Lenovo service centers. If your laptop needs physical repair, you might need to be persistent to get proper service. As one user noted, being assertive when dealing with repeated repair attempts can lead to a replacement device if multiple repairs fail.
Using Online Resources like JustAnswer
Online tech support platforms like JustAnswer connect you with certified technicians who can help diagnose complex laptop issues. These services typically charge a fee but offer immediate assistance without leaving home.
These platforms work well for software problems or when you need a second opinion before sending your laptop for repairs. Many technicians on these sites have experience with Lenovo computers specifically.
When using these services, provide detailed information about your laptop model and the exact symptoms you’re experiencing. Take clear photos of any error messages if possible.
Remember that online support can’t fix hardware failures that require physical repairs, but they can help determine if your problem needs professional hands-on service or if it’s something you can fix yourself.
Maintaining Your Lenovo Laptop Post-Troubleshooting
After fixing your Lenovo laptop’s restart issues, proper maintenance can prevent future problems and extend your device’s life.
Regular Updates and Backups
Keeping your Lenovo laptop updated is essential for optimal performance. Set Windows Update to run automatically, which helps install security patches and bug fixes. Most Lenovo laptops have Lenovo Vantage or Lenovo System Update software that manages hardware-specific updates for drivers and BIOS.
Create a regular backup schedule for your important files. Use Windows’ built-in Backup feature or third-party software like Macrium Reflect. External hard drives or cloud storage services work well for backups.
Recommended Backup Schedule:
- Important documents: Weekly
- System image: Monthly
- Photos and media: After adding new content
Check for system errors occasionally using Windows’ built-in diagnostic tools. Open Command Prompt and run “sfc /scannow” to find and fix system file problems.
Handling and Care Best Practices
Proper physical care extends your Lenovo laptop’s lifespan. Keep liquids away from your keyboard and use compressed air to clean dust from vents and keyboard gaps.
For Lenovo models with removable batteries, take out the battery if you plan to use wall power for extended periods. This reduces wear on the battery and prevents overheating.
Avoid extreme temperatures that can damage internal components. Never leave your laptop in a hot car or in freezing conditions.
When carrying your Lenovo laptop, use a padded case or sleeve for protection. Always shut down properly before transport to prevent hard drive damage.
Clean the screen with a microfiber cloth—never paper towels or household cleaners that might scratch or damage the display coating.
Frequently Asked Questions
Restarting a Lenovo laptop can involve different methods depending on your specific situation and needs. Here are answers to common questions about restarting various Lenovo laptop models.
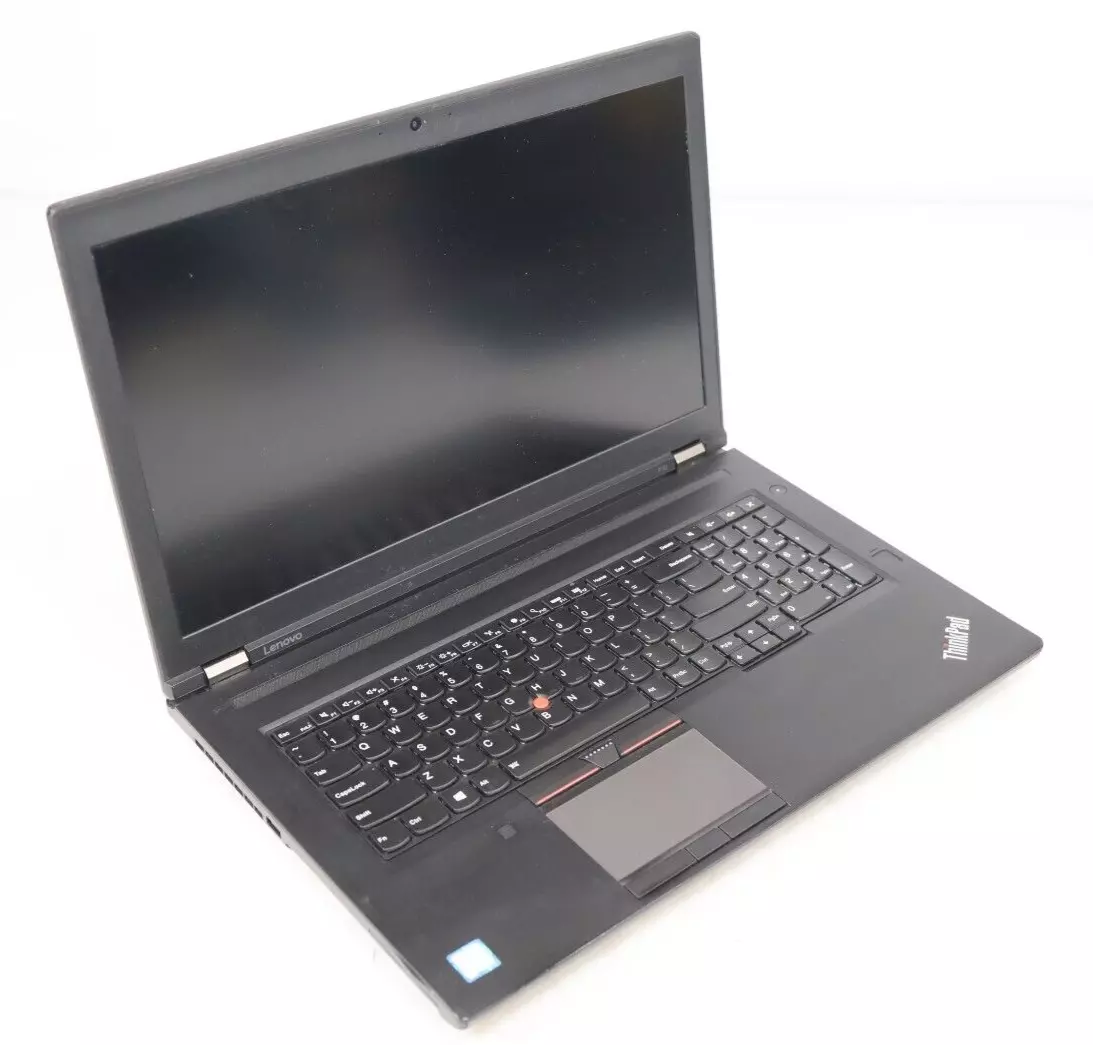
What steps are involved in rebooting a Lenovo ThinkPad?
To restart a Lenovo ThinkPad, click the Start menu in the taskbar. Select the Power option from the menu. Click Restart from the power options that appear.
For a quicker method, press Alt+F4 when on the desktop to bring up the shutdown dialog box. Select “Restart” from the dropdown menu and click OK.
If your ThinkPad is frozen, press and hold the power button for about 10 seconds until it turns off completely. Wait a few seconds before pressing the power button again to turn it back on.
How can I initiate a restart on a Lenovo laptop using only the keyboard?
The fastest keyboard method for restarting a Lenovo laptop is pressing Ctrl+Alt+Delete. This brings up a security screen where you can select the power icon and then choose Restart.
Another keyboard shortcut is Windows key+X, followed by U, then R. This sequence opens the power user menu, selects the shutdown options, and chooses restart.
On Windows 10 and 11, you can also press Alt+F4 while on the desktop, use arrow keys to select “Restart,” and press Enter.
What is the process for restarting a Lenovo laptop to its factory settings?
To factory reset a Lenovo laptop, go to Settings > Update & Security > Recovery. Under “Reset this PC,” click Get Started and follow the prompts. You can choose to keep or remove your files.
For older Lenovo models, press the Novo button or the small pinhole button near the power button when the laptop is off. Select System Recovery from the menu that appears.
Some ThinkPad models allow you to press F11 repeatedly during startup to access recovery options. From there, choose “Reset this PC” or “Factory Reset” depending on your model.
How can I restart a Lenovo laptop that has a non-functioning power button?
If your power button isn’t working, hold down the power button firmly for 30 seconds. Leave it for 5 seconds, then press the power button once to restart.
For laptops with removable batteries, disconnect the power adapter, remove the battery, wait 30 seconds, reinsert the battery, reconnect the power, and press the power button.
Another option is connecting an external keyboard and using keyboard shortcuts like Alt+F4 followed by selecting “Restart” from the dropdown menu.
What are the methods for rebooting a Lenovo laptop running Windows 10?
The standard method is clicking Start > Power > Restart. This works for most situations when Windows is responsive.
For command line users, open Command Prompt or PowerShell and type “shutdown /r” and press Enter. This initiates a restart immediately.
If Windows 10 is frozen, try pressing Ctrl+Alt+Delete, clicking the power button in the lower right corner, and selecting Restart. If that doesn’t work, hold the power button for 10 seconds.
How do I restart a Lenovo laptop in safe mode?
As soon as you see the Lenovo logo during startup, press F8 repeatedly until the Advanced Boot Options menu appears. Select Safe Mode and press Enter.
Another method is to go to Start > Settings > Update & Security > Recovery. Under Advanced startup, click “Restart now.” After restarting, select Troubleshoot > Advanced options > Startup Settings > Restart. Press 4 to boot in Safe Mode.
If Windows won’t boot normally, force-shutdown your laptop three times in a row by holding the power button. Windows will automatically enter recovery mode, where you can select Troubleshoot and then access Safe Mode options.