When a laptop screen breaks or shatters, it can seem like a major setback. But with the right steps, repairing a laptop screen is within reach for many users. Before starting the process, it’s important to understand what type of damage has occurred. From cracks that span the display to a complete loss of picture, each issue may demand a different approach. Repairing a laptop screen requires careful handling and attention to safety – and in almost every case you’re going to need a replacement screen to swap out your damaged one.
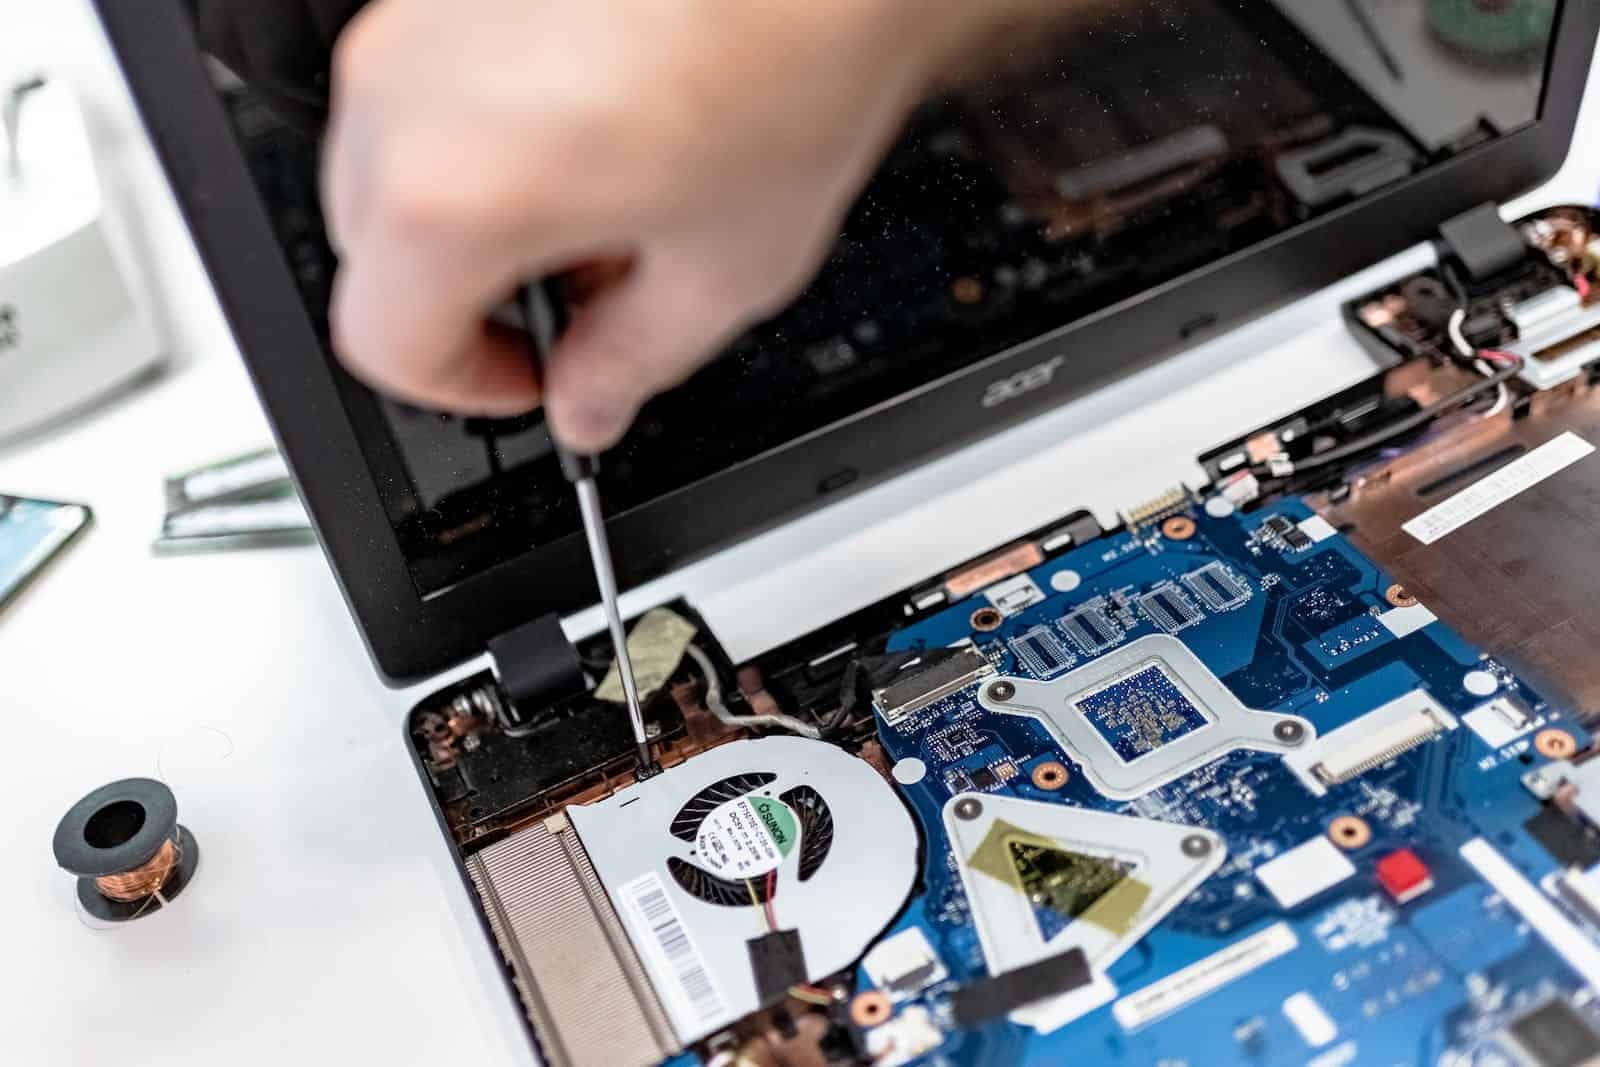
Tools such as screwdrivers, a new screen, and perhaps a helpful video guide can support the process. Always start by turning off the laptop and disconnecting all power sources, including the battery. The next steps involve removing the frame or bezel around the screen to access the damaged display.
After successfully replacing the screen, regular maintenance and responsible use can support performance and prevent future issues. Protecting the screen from impact and avoiding excessive force when opening and closing the laptop can extend its lifespan. Occasional cleaning with suitable materials also maintains screen clarity and function.
DIY Laptop Screen Replacement
Replacing a broken laptop screen can save you money compared to professional repair services. If you’re comfortable with basic tools and have a bit of technical know-how, here’s a step-by-step guide to help:
Before You Begin
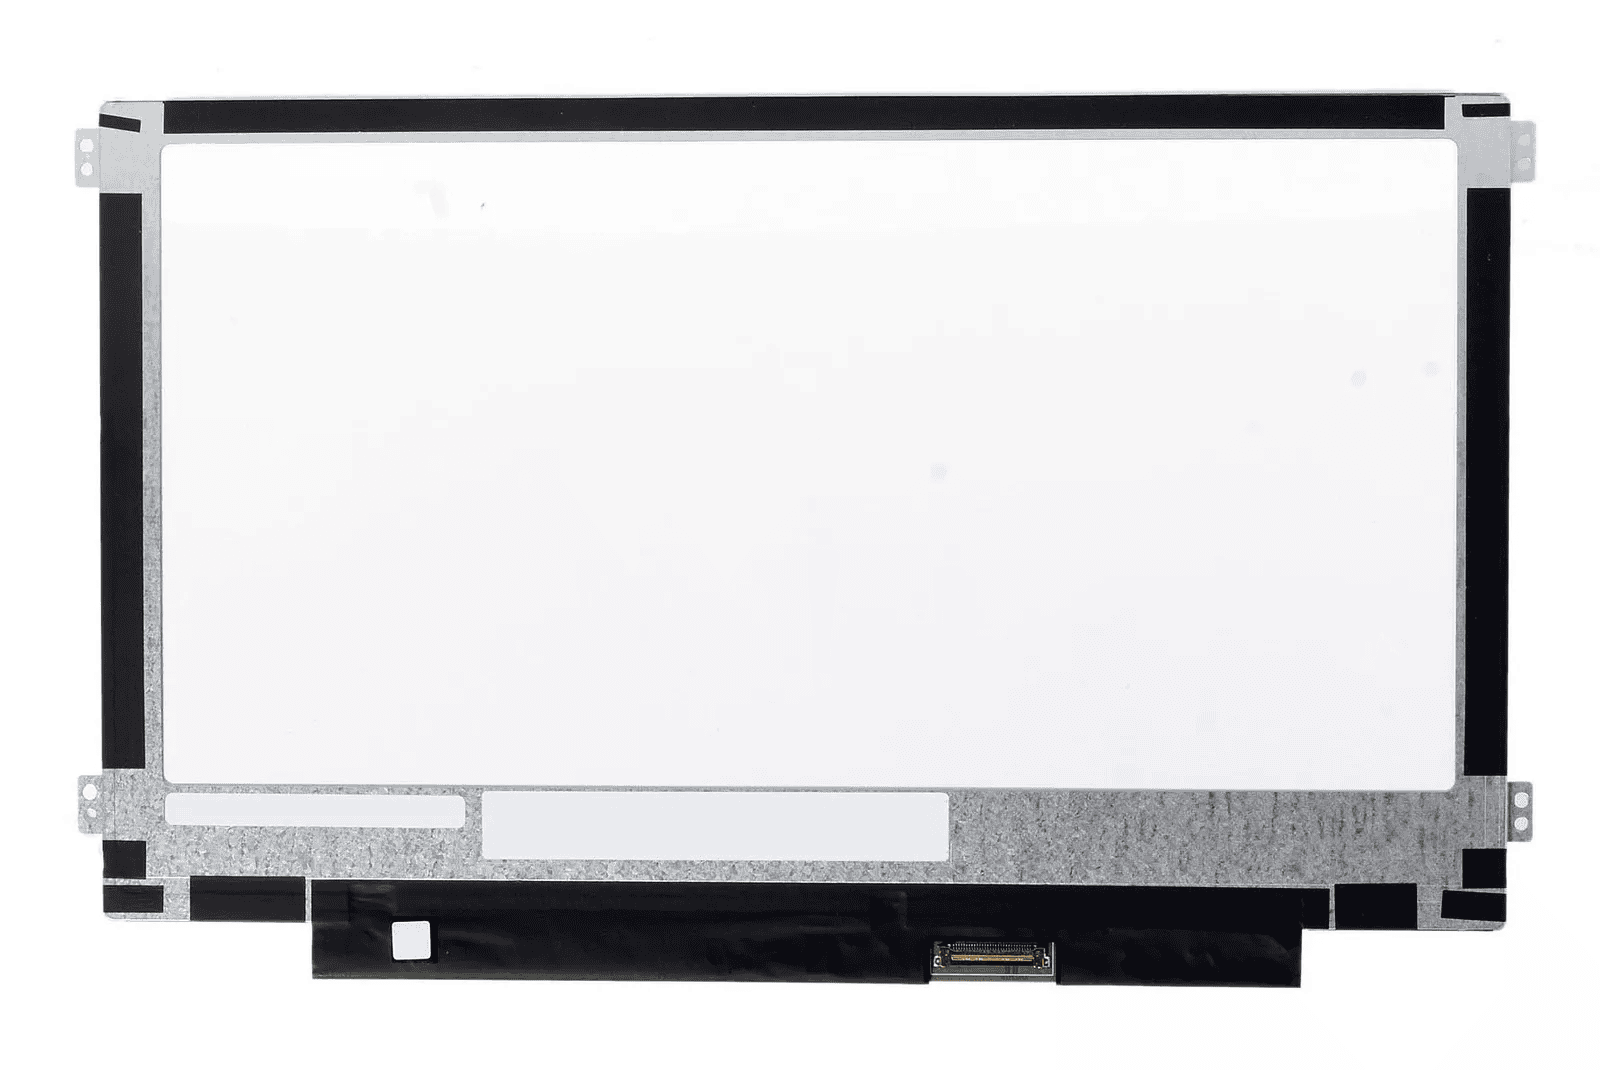
- Find the Right Screen: Make sure you have the exact replacement screen model that matches your laptop. You can usually find this information on the back of your existing screen.
- Necessary Tools:
- Small Phillips Screwdriver
- Spudger Tool (a plastic pry tool)
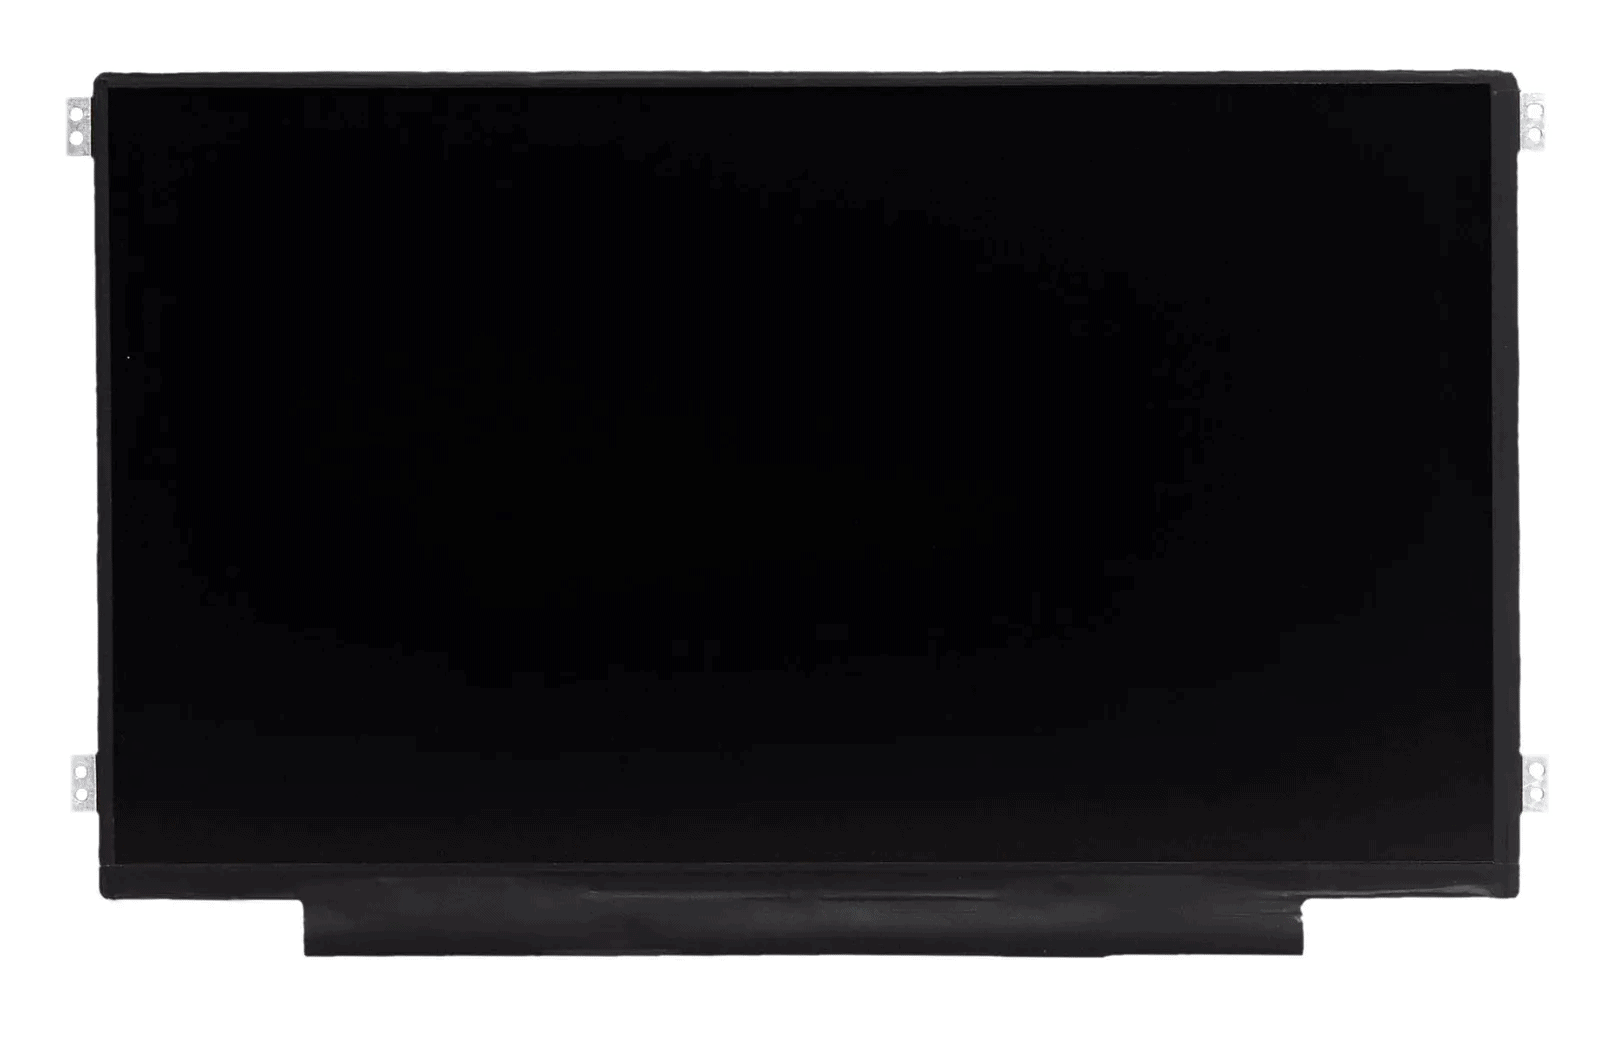
- Replacement LCD screen
- Double-sided tape (optional)
Replacing Your Laptop Screen
- Power Off and Unplug: Turn off your laptop completely and remove all power sources (battery and power adapter).
- Remove the Bezel: The bezel is the plastic frame around your screen. Locate the screw covers (often rubber stickers) and carefully remove them. Unscrew the bezel and gently pry it open using the spudger tool.
- Disconnect the Screen: Once the bezel is off, locate the video cable connecting your screen to the laptop. Carefully disconnect this cable.
- Remove the Old Screen: You’ll likely find screws securing the screen to the laptop frame. Remove these screws and gently lift the screen away.
- Install the New Screen: Position the new screen and secure it with the screws. Reconnect the video cable (make sure it’s secure).
- Reattach the Bezel: Carefully position and snap the bezel back in place. Replace the screw covers.
Additional Tips
- Take Your Time: Work slowly and methodically to avoid damaging your laptop.
- Consult Online Guides: Many device-specific videos and tutorials are available online that can offer visual guidance.
- Ground Yourself: Prevent static electricity damage by grounding yourself before handling internal components.
Not Comfortable with DIY?
If the process seems too daunting or you’re worried about further damage, consider using a professional repair service.
| Issue | Possible Solution |
|---|---|
| Cracked Screen | Replace the LCD Screen |
| Dim or Flickering Image | May be a faulty backlight or inverter or a loose video cable |
| Dead Pixels | Usually not fixable, but a few dead pixels may be tolerable |
Key Takeaways
- Screen replacement is a detailed process that’s manageable with the right tools.
- Careful disassembly and reassembly are crucial for successful laptop screen repair.
- Ongoing care enhances screen performance and longevity.
Understanding Laptop Screen Repair
Repairing a laptop screen can seem tough but with the right guidance, it’s quite doable. The job involves identifying the issue, gathering the correct tools, and taking safety steps before starting. It’s about being careful during disassembly, screen removal, and installation with precise steps to ensure a smooth fix.
Identifying the Problem
First, figure out why the screen isn’t working. It could be due to a fall, a faulty connection, or an internal failure. Check for visible cracks or strange lines on the display.
Tools and Materials Needed
Get a screwdriver set, a spudger, tweezers, and possibly a T5 Torx driver. For some models, a specific screen removal tool may also be necessary.
Safety Precautions
Power off the laptop and remove the battery before you start. Disconnect the power cord to avoid electric shock.
Disassembly Process
Carefully remove the bezel by undoing screws and using a spudger to pry it gently. Keep all screws and parts organized.
Screen Removal Techniques
After the bezel is off, unscrew the broken screen. Tilt it back and disconnect the video and any other cables with care. Don’t force anything; this could damage the connectors.
Choosing the Right Replacement Screen
The replacement screen must match the resolution, size, and connection type of the old one. Check the model number and serial number to order the compatible part.
Preparation for New Screen Installation
Clear any dust from the laptop case and ensure all connectors are in good shape. Check that no screws or cables got damaged during disassembly.
Installation Steps
Place the new screen and reconnect the video cable and any other necessary connections. Secure it using the screws you removed earlier.
Testing and Troubleshooting After Repair
Before fully reassembling, power on the laptop to test the new screen. If the display doesn’t work, double-check connections or look for issues with other hardware components.
Reassembly Advice
Carefully replace the bezel and screw it back in place. Reconnect the battery and any external power sources.
Finishing Touches
Clean the new screen with a soft, dry cloth to remove fingerprints and dust.
Post-Repair Support Options
If problems arise after the repair, check the manufacturer’s support site or consult forums for troubleshooting tips. Remember to keep the warranty in mind before starting any repairs.
Responsible Repair Practices
When repairing a laptop screen, it is key to consider not only how to fix the issue but also the impact of the repair process. Responsible repair practices involve environmental awareness, seeking expert advice, maintaining your device, using guides wisely, aiming for longevity, and knowing one’s limits.
Environmental Considerations
E-waste has a significant environmental impact. When repairing a laptop, like a MacBook Air, it is important to dispose of old screens and batteries properly. Many cities offer e-waste recycling programs to manage the proper disposal of such materials. By doing this, you help reduce harmful waste in landfills.
Seeking Professional Help
High-performance laptops, particularly models like MacBook and MacBook Air, often require specialized professional help for complex issues. If you’re not confident with repairs involving delicate components like SSD drives or thermal paste, consider contacting official support or a certified repair shop. This ensures that your laptop maintains its performance while upholding its warranty.
Laptop Maintenance Tips
Regular maintenance can prevent many common issues. Here are key tips:
- Keep the operating system updated.
- Clean the fan and vents to prevent overheating.
- Use only recommended battery chargers to maintain battery life.
Resourceful Troubleshooting Guides
For do-it-yourself repairs, guides like those from iFixit can be invaluable. They offer step-by-step instructions for a variety of issues, from simple fixes like battery replacement to more challenging tasks. Always follow the guide closely to avoid common pitfalls.
Laptop Longevity Strategies
To keep your laptop running longer:
- Replace the battery before it fails.
- Upgrade the SSD for better performance.
Awareness of Repair Limitations
Understand your laptop’s repair limits to avoid damage. If a task seems too difficult, such as applying thermal paste, seek professional help. Check your laptop’s documentation or the manufacturer’s support. This will help ensure the longevity and functionality of your device.
Frequently Asked Questions
When dealing with laptop screen issues, people often have pressing questions. This section provides clear answers, helping readers address common concerns effectively.
What steps are involved in repairing a Dell laptop screen?
To fix a Dell laptop screen, one usually starts by turning off the computer and unplugging all cables. The bezel around the screen is then gently pried open. After that, screws securing the screen to the metal frame are removed, allowing for the faulty screen to be taken out and a new one to be installed in its place.
How can one repair a cracked laptop screen without replacing it?
Repairing a cracked screen without replacement is not usually recommended. However, for temporary solutions, one might apply clear adhesive tape over the crack to prevent it from spreading or use a screen protector to hold the cracked area together.
What are the different types of laptop screen damage?
Laptop screens can sustain various types of damage, such as cracks from physical impact, dead pixels, discoloration, and flickering. These issues can stem from both external trauma to the screen and internal electronic failures.
How much is typically charged for replacing a laptop screen at major retailers?
The cost for replacing a laptop screen at major retailers can vary, typically ranging from $100 to $300. This price can fluctuate based on the laptop model and the type of screen required.
Is it possible to replace an HP laptop screen, and what is the cost?
Replacing an HP laptop screen is definitely possible, and the cost generally falls between $200 to $600. The price varies depending on the screen’s specifications and the HP model.
Are there any reliable methods to repair a laptop screen by oneself?
Yes, there are DIY methods for laptop screen repair. This includes purchasing the correct replacement screen and using a screwdriver to open the bezel, disconnect the old screen, and connect the new one. However, precise care and following proper instructions are crucial to avoid further damage.