Is your Chromebook camera showing a black screen or not working at all? This can be frustrating when you need to join a video call or take a picture. The most common fixes for a Chromebook camera include checking the privacy switch, restarting your device, updating Chrome OS, and verifying app permissions.
Camera issues on Chromebooks often have simple solutions. Sometimes the problem is as basic as a physical privacy switch that’s turned off. Other times, you might need to check if the website or app has permission to use your camera. These easy fixes can save you from the headache of a non-working camera.
If basic troubleshooting doesn’t solve the problem, you may need to try more advanced solutions. A hardware reset might help, or you could check if the camera works in guest mode to rule out profile-specific issues. External webcams are also an option if your built-in camera can’t be fixed.
Guide: How to Fix a Chromebook Camera
Your Chromebook camera is essential for video calls, online classes, and capturing quick photos. If it suddenly stops working, it can be frustrating. This guide will walk you through various troubleshooting steps to get your camera back up and running.
1. Perform Basic Checks:
- Restart Your Chromebook: This is often the first and simplest solution to resolve temporary software glitches. Shut down your Chromebook completely and then turn it back on.
- Check the Camera Lens: Ensure nothing is physically obstructing the camera lens. This includes dust, fingerprints, stickers, or a partially closed privacy shutter (if your Chromebook has one). Gently wipe the lens with a soft, clean cloth.
- Look for a Physical Privacy Switch: Some Chromebook models have a physical switch or slider that disables the camera for privacy. Check the top bezel of the screen or the sides of your Chromebook for such a switch and ensure it’s in the “on” or open position. You might see a red dot or a camera icon with a line through it when the privacy switch is active.
2. Check Software Settings:
- Verify Camera Permissions for Apps and Websites:
- For Apps:
- Click on the Launcher (the circle icon in the bottom-left corner).
- Search for and open Settings.
- Click on Apps in the left sidebar.
- Click on Manage your apps.
- Find the app you’re trying to use the camera with and click on it.
- Under “Permissions,” make sure the Camera permission is toggled on.
- For Websites (in Chrome browser):
- Open the website you’re trying to use the camera on.
- Look for a lock icon or an information icon (i) in the left side of the address bar. Click on it.
- Find the Camera setting. Ensure it is set to “Allow“. If it’s set to “Block,” change it to “Allow.” You might need to refresh the page for the changes to take effect.
- Alternatively, you can manage site permissions globally:
- Open Chrome and type
chrome://settings/privacyin the address bar and press Enter. - Click on Site settings.
- Click on Camera.
- Make sure “Sites can ask to use your camera” is turned on.
- Check the “Allowed to use your camera” and “Not allowed to use your camera” lists and adjust accordingly.
- Open Chrome and type
- For Apps:
- Ensure No Other Apps Are Using the Camera: Close any other applications that might be currently accessing your camera, as only one app can typically use it at a time.
3. Update Your Chromebook:
- Outdated Chrome OS software can sometimes cause hardware malfunctions.
- Click on the time in the bottom-right corner.
- Click on the Settings icon (gear).
- Click on About Chrome OS in the left sidebar.
- Click on Check for updates.
- If an update is available, follow the on-screen instructions to download and install it. Restart your Chromebook after the update is complete.
4. Try a Different App or Website:
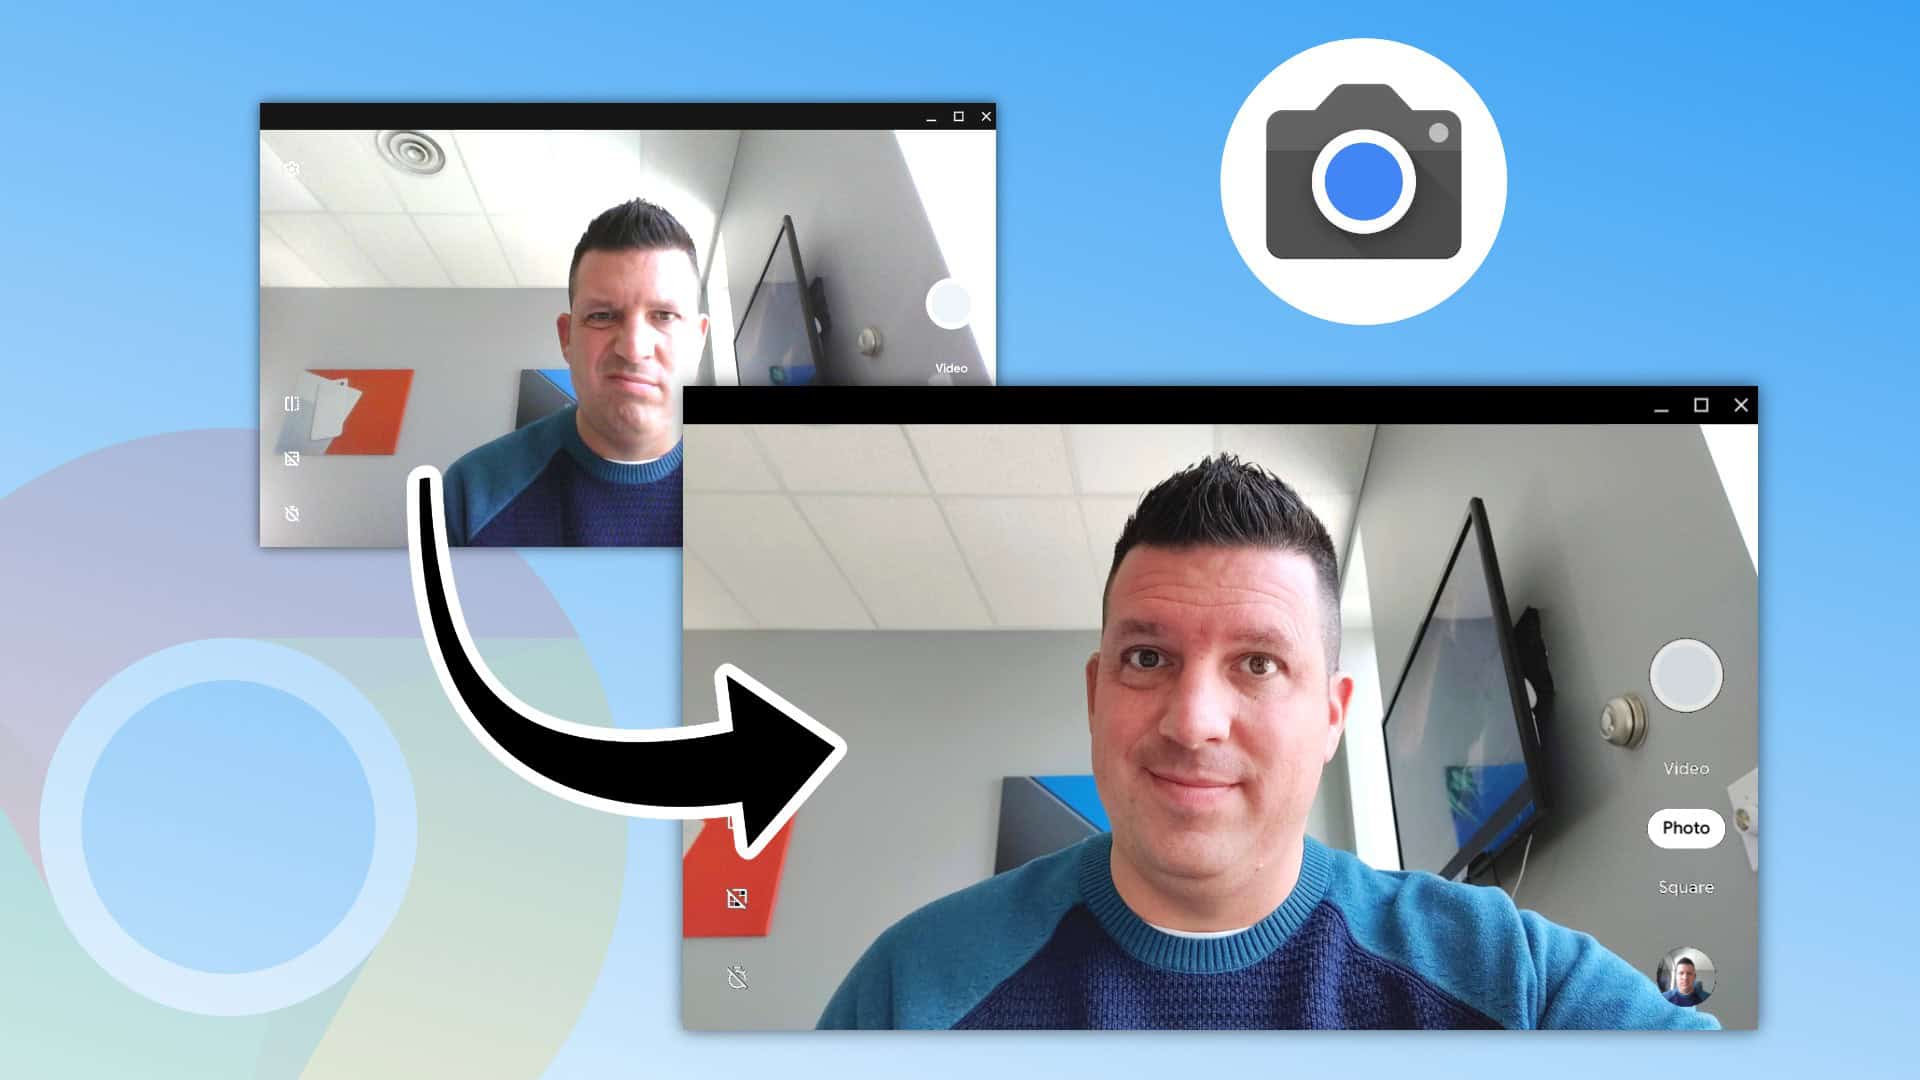
- Determine if the issue is specific to one app or website or if the camera isn’t working at all. Try using the built-in Camera app (search for “Camera” in the Launcher). If it works in one app but not another, the problem might be with the specific app. Try updating or reinstalling the problematic app.
5. Reset Chrome Browser Settings:
- Sometimes, corrupted browser settings can interfere with camera functionality in web apps.
- Open Chrome.
- Click on the three vertical dots (Menu) in the top-right corner.
- Click on Settings.
- In the left sidebar, click on Reset and clean up.
- Click on Restore settings to their original defaults.
- Click on Reset settings.
- Restart your Chromebook.
6. Perform a Hard Reset:
- A hard reset can sometimes resolve hardware-related issues by restarting the Chromebook hardware. This is different from a regular restart and doesn’t delete your files.
- Turn off your Chromebook.
- Press and hold the Refresh key (usually looks like a circular arrow) and the Power button simultaneously.
- Release the Refresh key when your Chromebook starts to boot up.
7. Powerwash Your Chromebook (Factory Reset):
- As a last resort for software-related issues, you can perform a Powerwash, which resets your Chromebook to its factory settings. Warning: This will erase all local data on your Chromebook, including downloads and files in your “My files” folder. Make sure to back up any important data to Google Drive or an external storage device before proceeding.
- Click on the time in the bottom-right corner.
- Click on the Settings icon (gear).
- Click on Advanced in the left sidebar.
- Click on Reset settings.
- Click on Powerwash and then Restart.
- Follow the on-screen instructions to set up your Chromebook again.
8. Check for Hardware Issues:
- If you’ve tried all the software troubleshooting steps and the camera still isn’t working, there might be a hardware problem with the camera itself. In this case, you may need to contact the manufacturer of your Chromebook for repair options.
9. Test with an External Webcam (Optional):
- If you have an external USB webcam, try plugging it into your Chromebook. If the external webcam works, it further suggests a potential issue with the built-in camera. You might need to adjust camera settings within the app you’re using to select the external webcam.
By following these steps, you should be able to diagnose and fix most common Chromebook camera issues. If the problem persists after trying these solutions, it’s likely a hardware malfunction requiring professional assistance.
Key Takeaways
- Check for a physical privacy switch and restart your Chromebook as first troubleshooting steps.
- Verify camera permissions in Settings under Privacy and Security for apps and websites.
- Update Chrome OS and perform a hardware reset if simple solutions don’t resolve the camera issue.
Understanding Chromebook Camera Issues
When a Chromebook camera stops working, it can disrupt video calls, online classes, and other important activities. Camera problems range from black screens to complete failure to recognize the camera hardware.
Different Types of Camera Problems
Chromebook users might encounter several common camera issues. Black or blank screens are frequent problems where the camera appears to be on but displays nothing. Some users see a red light or screen instead when trying to access their camera.
Sometimes the camera shows an error message like “No camera found” even though the device has a built-in camera. Other users might experience fuzzy or poor-quality images that make video calls difficult.
Privacy shutters can also cause confusion. Many newer Chromebooks have physical camera covers that block the camera when closed. Users sometimes forget these are activated.
Occasionally, the camera works in some apps but not others. This inconsistency points to software rather than hardware problems.
Common Causes for Camera Malfunction
Software issues are the most frequent culprits behind camera failures. Outdated Chrome OS can prevent proper camera function, so checking for system updates is essential. App permissions may also be blocked, preventing camera access.
Hardware problems can develop over time. Physical damage to the camera module or loose internal connections might require professional repair.
Privacy settings sometimes interfere with camera function. Chromebooks have built-in security features that might accidentally disable the camera. Check if your school or organization has restricted camera access through management policies.
Resource conflicts happen when multiple apps try to use the camera simultaneously. Close all applications that might access the camera before troubleshooting. Restart your Chromebook to clear any temporary software glitches affecting the camera system.
Initial Troubleshooting Steps
When your Chromebook camera stops working, a few simple fixes can often solve the problem. These basic steps should be your first approach before trying more complex solutions.
Restarting Your Chromebook
A simple restart can fix many camera issues on your Chromebook. Electronics sometimes need a fresh start to work properly again.
To restart your Chromebook:
- Click on the time in the bottom-right corner of your screen
- Select the power icon
- Click “Restart”
Wait for your Chromebook to fully restart, then try using your camera again. This process clears temporary issues that might be affecting your camera.
Some Chromebooks also have a webcam privacy switch. Look for a small physical switch near your camera. If it’s turned off, your camera won’t work even if the software is fine. Make sure the switch is in the “on” position.
Checking for Chrome OS Updates
Outdated software can cause camera problems. Chrome OS updates often include fixes for camera issues.
To check for updates:
- Connect to Wi-Fi
- Click on the time in the bottom-right corner
- Select the settings icon (gear symbol)
- Click “About Chrome OS” at the bottom of the menu
- Select “Check for updates”
If an update is available, install it and restart your Chromebook. Updates might take a few minutes to download and install. After updating, test your camera again to see if the problem is fixed.
Camera Privacy and Permission Settings
Your Chromebook camera might not work due to incorrect privacy settings or blocked permissions. Fixing these issues often solves camera problems without needing technical help.
Adjusting Site Settings
To manage which websites can use your camera on Chrome:
- Open Chrome browser
- Click the three dots (More) in the top right corner
- Select “Settings”
- Go to “Privacy and security”
- Click “Site settings”
- Scroll down and select “Camera”
Here you can see which sites have camera access. Make sure the sites you want to use with your camera are set to “Allow.” If a site is in the “Block” list but you need to use your camera there, click the trash icon to remove the block.
You can also set the default behavior for all websites. Choose either “Sites can ask to use your camera” (recommended) or “Don’t allow sites to use your camera.”
Managing Chromebook Privacy Settings
Chromebooks have system-level camera controls you can adjust:
- Click the time in the bottom right corner of your screen
- Select “Settings”
- Choose “Privacy and security” from the left menu
- Click “Privacy controls”
Find the camera toggle and make sure it’s turned on. Some Chromebooks have a physical privacy switch—check the edge of your device for a small switch with a camera icon.
If your camera still doesn’t work, check if the correct camera is selected. Go back to Site Settings and make sure your Chromebook’s built-in camera is selected as the default device, not an external camera that might be disconnected.
Advanced Camera Troubleshooting
When simple fixes don’t solve your Chromebook camera issues, it’s time to try more technical solutions. These methods can address deeper system problems that might be affecting your camera’s performance.
Resetting Chromebook Hardware
A hardware reset can fix many camera problems by clearing temporary settings that might be causing conflicts. To perform a hardware reset:
- Turn off your Chromebook completely
- Press and hold the Refresh key (the circular arrow) and tap the Power button at the same time
- When your Chromebook starts up, release the Refresh key
This process won’t delete any files or change your settings. It simply resets the hardware components to their default state.
For stubborn issues, try a more thorough reset by disconnecting the battery if your model allows it. First, shut down completely, then disconnect power sources. Wait 30 seconds before reconnecting everything.
Hardware resets often resolve camera glitches caused by temporary system errors or conflicting processes.
Updating Camera Programs and Drivers
Chrome OS automatically updates most drivers, but sometimes manual intervention helps. Make sure your system is running the latest version of Chrome OS:
- Click on the time in the bottom-right corner
- Select the Settings icon
- Scroll down and click About Chrome OS
- Click Check for updates
If an update is available, install it right away. Chrome OS 100 and newer versions have improved camera compatibility.
For camera apps, check if they need updates in the Google Play Store. Some camera issues stem from outdated applications rather than hardware problems.
Try using different camera apps to determine if the problem is with a specific app or the camera itself. The built-in Camera app is usually more reliable than third-party options.
Contacting Chromebook Support
If your camera issues persist despite troubleshooting, reaching out to the manufacturer’s support team is your next step. Each Chromebook brand offers different support options.
Acer Assistance
Acer provides several ways to get help with your Chromebook camera problems. Visit their support website at support.acer.com where you can find drivers, manuals, and troubleshooting guides specific to your model.
For direct contact, Acer offers live chat support Monday through Friday from 8 AM to 8 PM EST. Their phone support is available at 1-866-695-2237 with similar hours.
The Acer community forum is another helpful resource where other users might have faced and solved similar camera issues. When contacting support, have your Chromebook’s serial number ready, which can be found on a sticker underneath your device or in Chrome OS settings under “About Chrome OS.”
HP Help Options
HP Chromebook users can access support through multiple channels. The HP Support Assistant app comes pre-installed on many HP devices and can diagnose camera problems automatically.
Their support website (support.hp.com) features a virtual assistant that guides users through common camera issues. For more personalized help, HP offers phone support at 1-800-474-6836 available 24/7 for most products.
HP also provides an active support community where users share solutions. When contacting HP, note your product number and operating system version.
HP’s live chat service is particularly useful for camera issues, as technicians can guide you through troubleshooting steps in real time without requiring a phone call.
Lenovo Technical Support
Lenovo offers comprehensive support options for Chromebook camera problems. Their support site (support.lenovo.com) features a dedicated Chromebook section with downloadable camera drivers and firmware updates.
Lenovo’s phone support is available at 1-877-453-6686, with extended hours for premium support customers. Their Virtual Assistant can help diagnose basic camera issues before escalating to human support.
The Lenovo Service Bridge tool can automatically detect your Chromebook model and check for camera-related updates. Lenovo also offers a unique service called “Tech Today” in some regions, providing same-day repair options for camera hardware issues.
When contacting Lenovo support, have your machine type and serial number ready for faster service.
JustAnswer Expert Help
JustAnswer provides an alternative to manufacturer support with access to certified tech experts. For a fee (typically $5-30 depending on urgency), users can connect with Chrome OS specialists who focus specifically on hardware issues like camera problems.
The service operates 24/7 and offers multiple communication options including chat, phone, and email. Many JustAnswer experts are former Chromebook repair technicians with extensive experience.
One advantage of JustAnswer is the response time—typically under 10 minutes for initial contact. Users can upload photos of error messages or camera output, which helps experts diagnose issues more accurately.
JustAnswer also offers a satisfaction guarantee, meaning you don’t pay the full amount unless you’re satisfied with the solution provided. For complex camera issues that manufacturer support can’t resolve, this service can be worth the investment.
Using External Webcams with Chromebook
Chromebooks can work with external webcams when the built-in camera isn’t meeting your needs. Connecting one is usually easy, but sometimes requires a few steps to get working properly.
To connect an external webcam to your Chromebook, simply plug it into an available USB port. In most cases, Chrome OS will detect the webcam automatically.
If your webcam isn’t working right away, try restarting your Chromebook while keeping the webcam plugged in. This simple fix often solves connection problems.
Check your camera permissions by clicking on the time in the bottom-right corner, then selecting Settings → Privacy and Security → Camera. Make sure your webcam has permission to access the sites you’re using.
For video calls, open the app you plan to use (like Google Meet or Zoom) and look for camera settings. Most apps let you choose between your built-in camera and external webcam from a dropdown menu.
Some external webcams might need Chrome OS updates to work properly. Check for updates by going to Settings → About Chrome OS → Check for updates.
When using Microsoft applications like Skype, try using the web version through Chrome browser instead of the app. The Chrome browser version often recognizes external webcams better on Chromebooks.
If your webcam still isn’t working, try plugging it into a different USB port or testing it on another device to make sure the webcam itself isn’t faulty.
Zoom and Other Video Conferencing Troubleshooting
When your Chromebook camera isn’t working during Zoom meetings, it can be frustrating. Several common issues might be causing the problem.
First, check if other apps are using your camera. Zoom often displays the message “Your camera is being used by other apps” when this happens. Close all other applications that might access your camera and try again.
Permission settings are another common issue. Click the lock icon in the address bar when on the Zoom website, select “Site settings,” and make sure camera access is set to “Allow” rather than “Ask” or “Block.”
For persistent problems, try these steps:
- Restart your Chromebook completely
- Update Chrome OS to the latest version
- Test your camera in other apps to see if it works elsewhere
- Run the CleanZoom tool to remove and reinstall Zoom
- Try both the Zoom PWA (Progressive Web App) and browser version
Sometimes the issue appears as a black screen where your video should be. This might indicate a driver problem or compatibility issue with your specific Chromebook model.
If you’ve tried everything above without success, check if your camera works in Google Meet or other video apps. This helps determine whether the problem is Zoom-specific or affects your camera system-wide.
Remember that keeping both Chrome OS and Zoom updated is essential for maintaining compatibility and fixing known bugs.
Frequently Asked Questions
Camera issues on Chromebooks can often be fixed by following the right troubleshooting steps. These solutions address common problems that many users face.
What steps can be taken to troubleshoot a non-functional camera on an HP Chromebook?
First, restart your HP Chromebook as this often resolves temporary camera issues. If that doesn’t work, check camera permissions by going to Settings > Privacy and security > Site settings > Camera.
Make sure the site or app you’re using has permission to access your camera. Try performing a hardware reset by turning off the Chromebook, then pressing Refresh + Power.
Update Chrome OS to the latest version, as outdated software can cause camera problems. If these steps don’t work, try uninstalling and reinstalling the app that’s having camera issues.
How can you resolve a black screen issue with a Chromebook camera during Microsoft Teams meetings?
When facing a black screen during Teams meetings, first check if other camera apps work properly. This helps determine if the issue is with Teams or the camera itself.
Clear the cache in Teams or try accessing Teams through a different browser. Make sure Teams has camera permissions in your Chromebook settings.
Restart your Chromebook and update Chrome OS to the latest version. If the problem persists, try resetting hardware by turning off your Chromebook and pressing Refresh + Power button.
What are the potential fixes for a blurry camera on a Chromebook?
Clean the camera lens with a soft, lint-free cloth. Dirt or smudges are common causes of blurry images.
Check lighting conditions in your room. Poor lighting can make camera footage appear blurry or grainy. Try using your camera in a well-lit area.
Update Chrome OS to ensure you have the latest camera drivers. If the issue continues, test if the blurriness occurs in all apps or just specific ones to narrow down the problem.
How do you address camera errors stating that the camera is currently unavailable on a Chromebook?
When you see “camera unavailable” errors, check if another app is using the camera. Close all other applications that might be accessing the camera.
Go to Settings > Privacy and security > Site settings > Camera to ensure the site has permission to use your camera. Try clearing your browser cache and cookies.
Perform a system restart, and if needed, try a hardware reset by turning off your Chromebook and pressing Refresh + Power. Update Chrome OS to make sure you have the latest camera drivers.
What should you do when facing a ‘camera failed’ error on a Chromebook?
Restart your Chromebook when you encounter a ‘camera failed’ error. This simple step often resolves temporary system glitches affecting the camera.
Check for Chrome OS updates and install them if available. Outdated software can cause compatibility issues with the camera.
Try a hardware reset by turning off your Chromebook, then pressing Refresh + Power button. If the problem continues, consider checking privacy settings to ensure apps have camera access.
Is there a solution for a Chromebook camera not working with a red light indicator?
A red light typically means the camera is in use by another application. Close all other apps that might be using the camera.
Check the privacy settings to see which apps have camera access. Go to Settings > Privacy and security > Site settings > Camera to review permissions.
Restart your Chromebook to reset all camera connections. If the red light persists with no apps open, perform a hardware reset. This addresses potential firmware issues that might be causing the camera to stay activated.