
Capturing what’s on your computer screen as a still image, called a screenshot, is really useful. You might want to save a receipt, keep an important message, or create a tutorial. Screenshots are valuable for personal and professional use. The way to take a screenshot differs slightly depending on the system you’re using, but it’s generally easy and quick. After taking a screenshot, you can make changes to it. You can crop it or make more advanced edits like adding notes. This is useful because screenshots aren’t just for capturing images; they’re for communicating too. They provide a visual way to point out issues, give clear instructions, or share information effectively.
Capturing Your PC Screen
Taking a screenshot on your computer is a handy trick for saving images, troubleshooting, or sharing information with others. It’s a straightforward process, but the exact steps vary depending on your operating system.
Windows

- Full Screen: Press the Print Screen (PrtScn) key. Your screenshot will be saved to the clipboard.
- Active Window: Press Alt + Print Screen. This captures only the currently active window.
- Snip & Sketch (Windows 10/11): Press Windows key + Shift + S. This opens a tool to select a specific area to capture.
Mac
- Full Screen: Press Shift + Command + 3. Your screenshot will be saved to your desktop.
- Selected Area: Press Shift + Command + 4. This turns your cursor into a crosshair, allowing you to select the area you want to capture.
- Specific Window: Press Shift + Command + 4 + Spacebar. Your cursor will change to a camera icon. Click on the window you want to capture.
Chromebook
- Full Screen: Press Ctrl + Show windows.
- Partial Screen: Press Ctrl + Shift + Show windows. Then, click and drag to select the area you want to capture.

Saving and Editing
After taking a screenshot, you can usually paste it directly into an image editor or document by pressing Ctrl + V (or Command + V on a Mac).
If you want to save the screenshot as a file, you can paste it into a program like Paint (Windows) or Preview (Mac) and then save it from there.
Alternative Screenshot Tools
Besides the built-in options, there are many third-party screenshot tools available, offering additional features like annotations, cloud storage, and video recording.
Key Takeaways
- Screenshots capture visible content on a computer screen.
- Different operating systems have specific methods for taking screenshots.
- Captured screenshots can be edited for various purposes.
Capturing and Editing Screenshots
Taking a clear screenshot can be a simple process. Once captured, these images can be easily edited and shared.
Taking Basic Screenshots on Windows and Mac
Windows: To capture the whole screen, press the Print Screen key. This copies the image to the clipboard. Use the Windows key combined with the Print Screen key to save the screenshot as a file automatically in the Pictures folder.
Mac: Press Shift + Command + 3 to take a full-screen snapshot. It saves directly to the desktop.
For capturing a specific window on Windows, press Alt + Print Screen. Mac users should use Shift + Command + 4 and then spacebar to select the window.
Using Screenshot Tools and Utilities
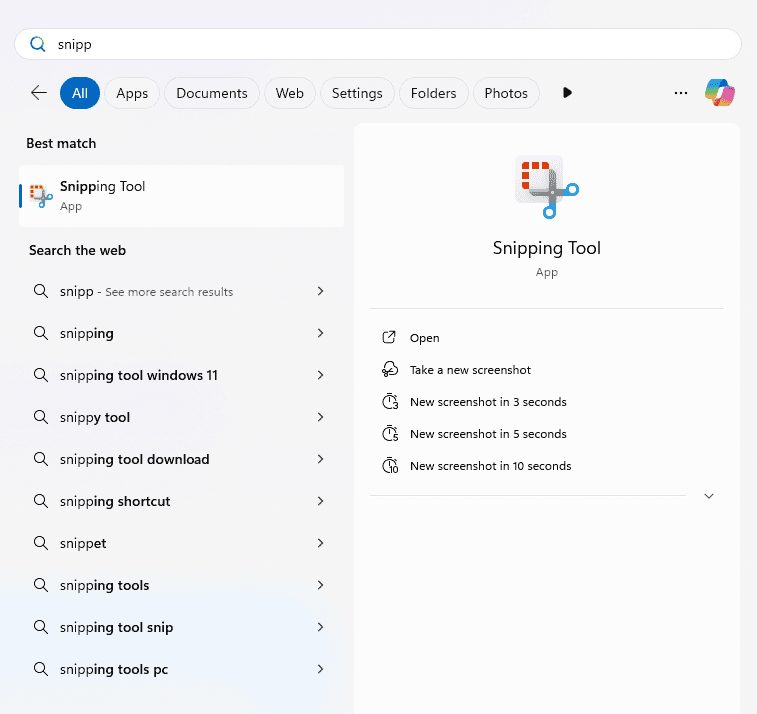
Both Windows Snipping Tool and Snip & Sketch are built-in tools for more detailed screenshots. They allow rectangular, free-form, and full-screen snips.
Software: Programs like Snagit offer advanced features and can be found in the Microsoft Store.
Organizing and Sharing Your Screenshots
After taking a screenshot, it is saved as an image file, typically in PNG format. On Windows, these files are found in the Pictures folder, under Screenshots. Mac saves screenshots to the desktop by default.
Sharing: Screenshots can be easily shared through email or social media.
Advanced Screenshot Techniques
- Windows 10 and 11: Use Windows + Shift + S for screen snipping options.
- Delay Screenshots: Both Windows Snipping Tool and Snagit allow for timed captures.
- Editing: Use Paint on Windows to crop and annotate images. Mac users can utilize the Preview app for similar edits.
By learning the right keyboard shortcuts and tools, anyone can master the process of taking, editing, and sharing screenshots on their computers.


