Is your laptop’s HDMI port not working? This common issue can be frustrating when you’re trying to connect to an external monitor or TV. The problem could be caused by hardware damage, loose connections, or software settings that need adjustment. In most cases, fixing an HDMI port that’s not working involves checking the physical connections, updating drivers, and adjusting display settings on your laptop.
Before assuming your HDMI port is broken, try some simple troubleshooting steps. Make sure both devices are powered on and check that the HDMI cable is firmly connected at both ends. Look closely at the port for any physical damage or lint buildup that might be preventing a proper connection. Sometimes a simple restart of your laptop can resolve the issue.
If basic checks don’t work, you might need to adjust your display settings or update your graphics drivers. Many laptops require you to manually switch to the external display using keyboard shortcuts or Windows display settings. This is especially true if you’ve recently updated your operating system or installed new software.
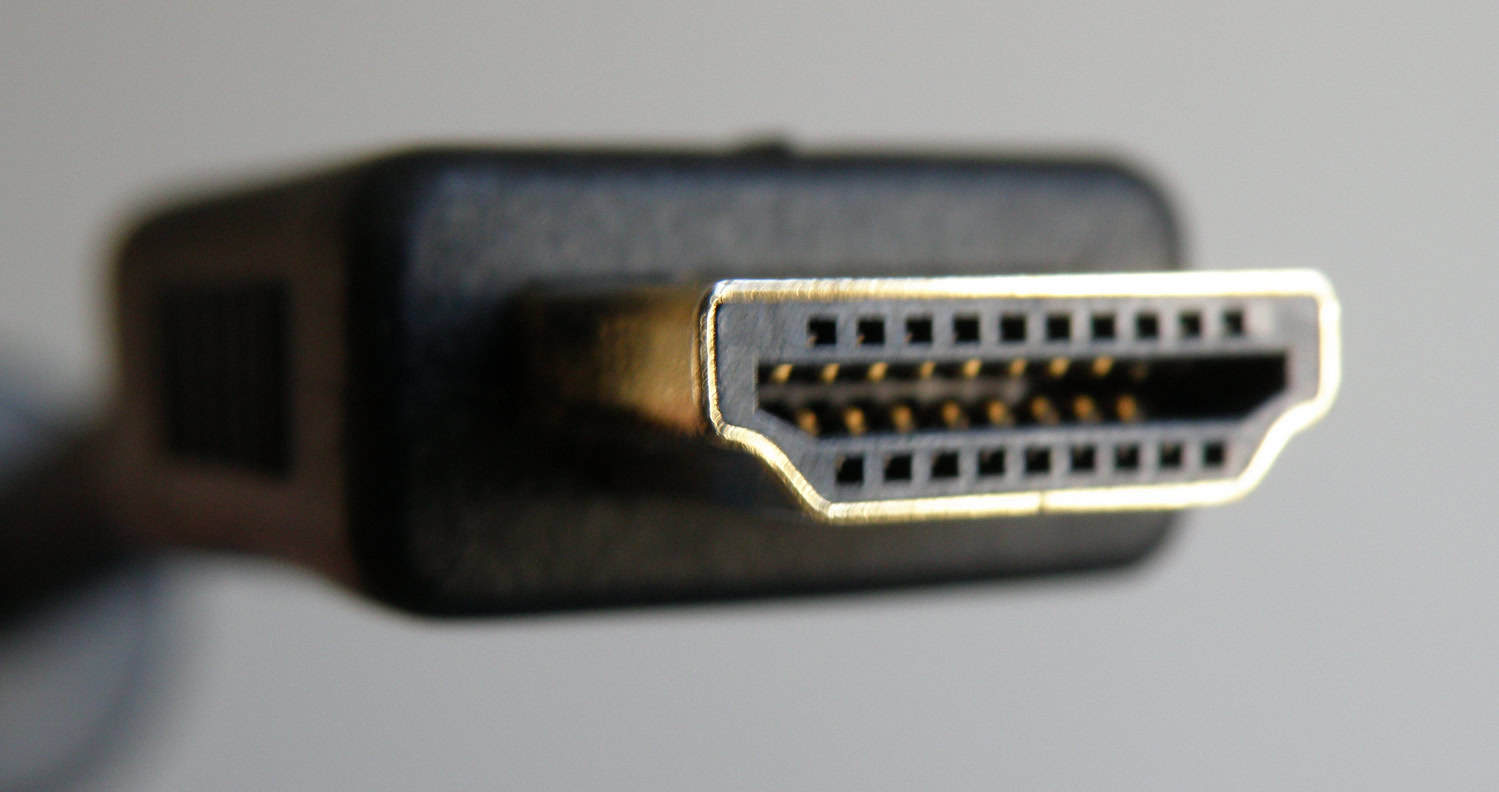
Steps To Fix HDMI Port
It can be frustrating when your laptop’s HDMI port isn’t working. Here’s a comprehensive guide to help you troubleshoot and fix the issue:
1. Check the Basics:
- Physical Connection: Ensure the HDMI cable is securely plugged into both your laptop and the external display (monitor, TV, projector). Try unplugging and replugging at both ends.
- HDMI Cable: Test with a different HDMI cable. The original cable might be faulty.
- External Display Input: Make sure your external display is set to the correct HDMI input source that your laptop is connected to.
- Power Cycle: Turn off both your laptop and the external display. Unplug them from the power outlet for about a minute, then plug them back in and turn them on. Sometimes a simple restart of both devices can resolve temporary connection issues.
2. Check Your Laptop’s Settings:
- Display Settings (Windows):
- Press the Windows key + P to open the Project menu.
- Try the different display options:
- Duplicate: Shows the same content on both screens.
- Extend: Makes the external display an extension of your main screen.
- Second screen only: Shows the content only on the external display.
- Right-click on your desktop and select Display settings.
- Click Detect to see if Windows can detect the external display.
- Scroll down to Multiple displays and ensure the desired option (Duplicate or Extend) is selected.
- Check the Resolution and Refresh rate settings. Make sure they are compatible with your external display. Try lowering the resolution or refresh rate to see if it helps.
- Display Settings (macOS):
- Go to Apple menu > System Settings (or System Preferences).
- Click Displays.
- Click Detect Displays if your external monitor isn’t showing up.
- In the Arrangement tab, make sure “Mirror Displays” is checked or unchecked depending on whether you want to duplicate or extend your display.
- Check the Resolution and Refresh Rate settings for your external display.
3. Update or Reinstall Graphics Drivers:
Outdated or corrupted graphics drivers are a common cause of HDMI issues.
- Windows:
- Right-click on the Start button and select Device Manager.
- Expand Display adapters.
- Right-click on your graphics card (e.g., Intel HD Graphics, NVIDIA GeForce, AMD Radeon) and select Update driver.
- Click Search automatically for updated driver software.
- If Windows doesn’t find a new driver, visit the website of your laptop manufacturer (e.g., Dell, HP, Lenovo) or the graphics card manufacturer (Intel, NVIDIA, AMD) and download the latest drivers for your specific model. Install them and restart your laptop.
- If the issue started after a recent driver update, you can try to Roll back driver: Right-click on your graphics card in Device Manager, select Properties, go to the Driver tab, and click Roll Back Driver (if the option is available).
- macOS: macOS usually handles graphics drivers automatically through system updates. Make sure your macOS is up to date by going to Apple menu > System Settings (or System Preferences) > Software Update.
4. Check for Physical Damage:
- Inspect the HDMI port on your laptop and the external display for any bent pins, debris, or damage. If you see any damage, the port might need repair. You can try gently cleaning the port with compressed air to remove dust.
5. Test in Safe Mode:
- Windows: Restart your laptop and repeatedly press the F8 key (or the appropriate key for your manufacturer) during startup to enter the Advanced Boot Options menu. Select Safe Mode. If the HDMI port works in Safe Mode, the issue is likely due to a software conflict or a third-party driver.
- macOS: Restart your Mac and immediately press and hold the Shift key until the login window appears. This boots your Mac in Safe Mode.
6. Check BIOS/UEFI Settings:
- Some laptops have settings in the BIOS/UEFI that control external displays. You might need to access the BIOS/UEFI during startup (usually by pressing Del, F2, F12, or another key) and look for display-related settings. Consult your laptop’s manual for instructions on accessing the BIOS/UEFI.
7. System Restore (Windows):
- If the HDMI issue started recently, you can try using System Restore to revert your system to a previous point when the HDMI port was functioning correctly. Search for “System Restore” in the Windows search bar and follow the on-screen instructions.
8. Test with Another Device:
- If possible, connect your external display to another laptop or device using the same HDMI cable and port to rule out whether the problem lies with the display itself.
9. Contact Support:
- If you’ve tried all the above steps and the HDMI port still isn’t working, it could indicate a hardware problem with the port itself. In this case, you should contact your laptop manufacturer’s support or a qualified computer repair technician for assistance.
By systematically working through these steps, you should be able to identify and resolve the issue with your laptop’s HDMI port.
Key Takeaways
- Always check physical connections and inspect the HDMI port for damage before attempting software fixes.
- Update your graphics drivers and use keyboard shortcuts to switch display modes when connecting external devices.
- Restart both devices and try different HDMI cables to eliminate potential hardware problems before seeking professional help.
Understanding HDMI Technology
HDMI technology connects your laptop to external displays like TVs and monitors. It carries both video and audio signals through a single cable, making it a convenient solution for extending your laptop screen.
Overview of HDMI Ports
HDMI ports on laptops come in different versions, from older HDMI 1.4 to newer HDMI 2.1. These versions support different resolutions and refresh rates. Most modern laptops have HDMI 1.4 or 2.0, which can handle 4K video.
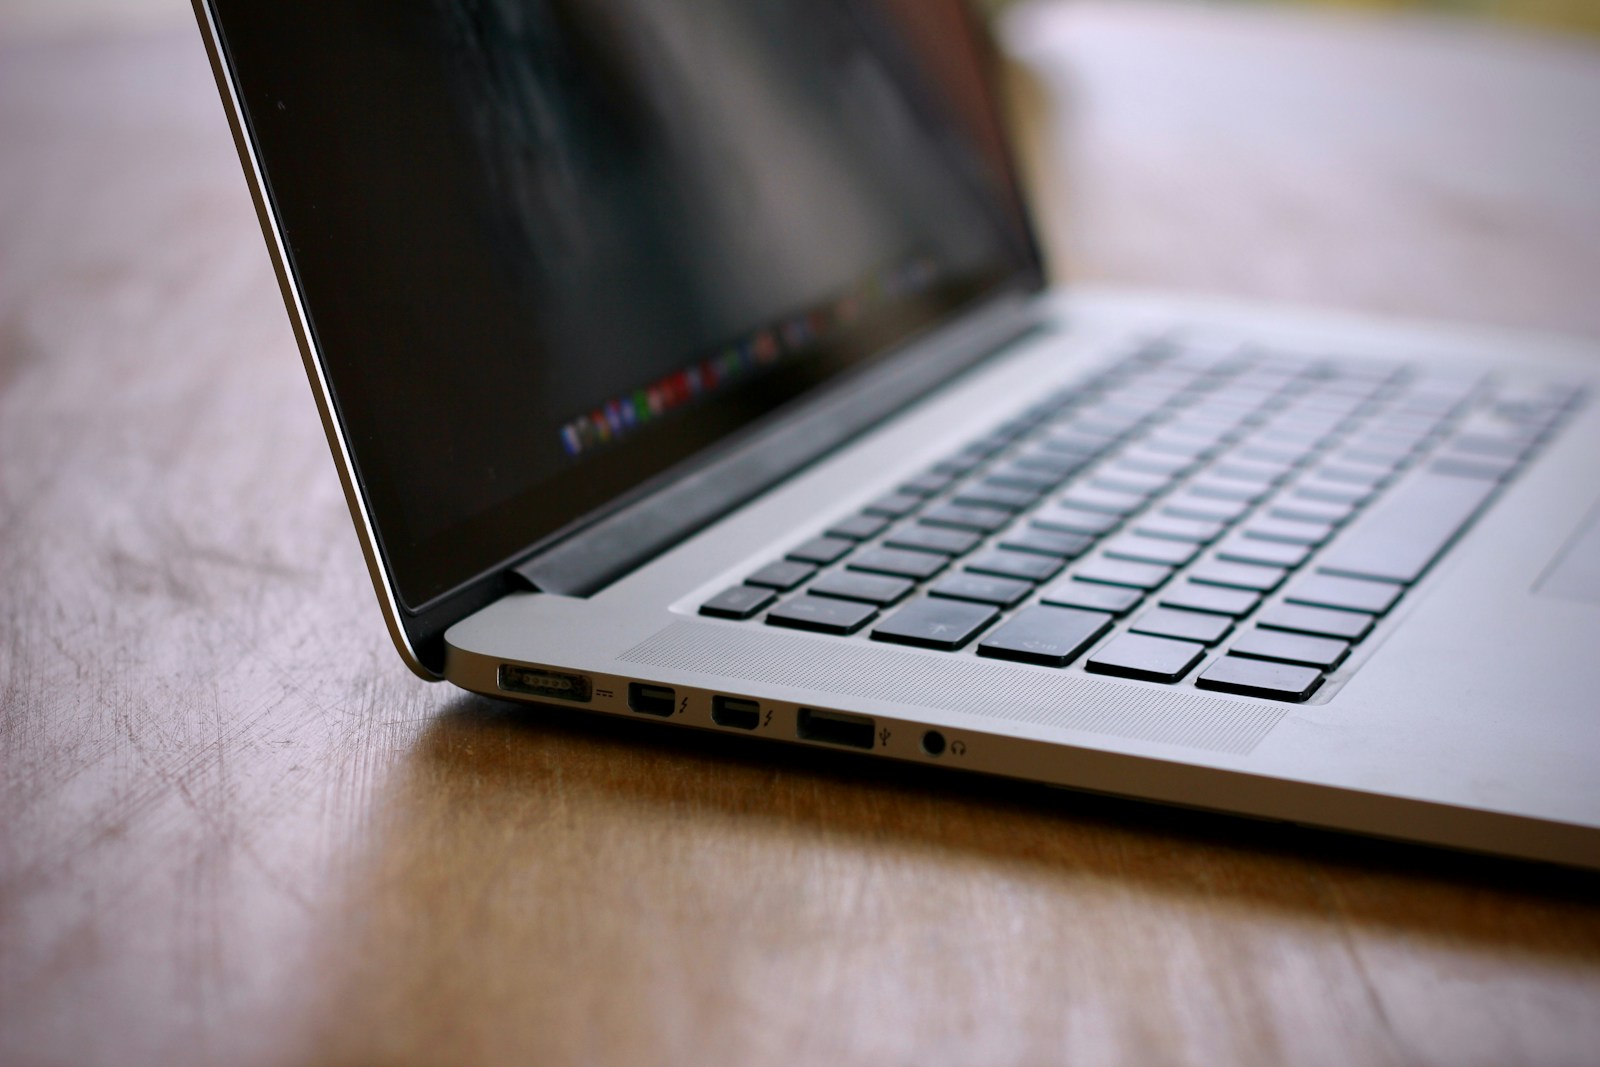
The port itself is a small, trapezoid-shaped connector on the side or back of your laptop. Some ultrabooks might use mini-HDMI or micro-HDMI ports to save space.
Your laptop’s HDMI port connects directly to the graphics processor. This could be an integrated GPU (part of the CPU) or a dedicated graphics card in higher-end models.
HDMI Cable and Output
HDMI cables vary in quality and version. A standard HDMI cable works for most connections, but premium cables might be needed for 4K content or longer distances.
The maximum cable length depends on the signal quality. Most HDMI connections work reliably up to 15 feet, but signal boosters can extend this range.
When your laptop sends an HDMI output signal, it can be configured in several ways:
- Duplicate mode: Shows the same content on both screens
- Extend mode: Treats the external display as additional screen space
- Second screen only: Turns off the laptop display
Cable quality matters. Damaged or low-quality HDMI cables often cause intermittent connection problems or complete failure to display.
Initial Troubleshooting Steps
When your laptop’s HDMI port stops working, a few simple checks can often solve the problem before you need to try more complex solutions. These basic steps focus on the physical connection and visible damage that might be preventing your laptop from connecting to monitors or TVs.
Checking HDMI Connection
First, make sure your HDMI cable is securely plugged into both your laptop and display device. Try unplugging and reconnecting the cable firmly at both ends. If possible, test with a different HDMI cable to rule out cable failure.
Check that you’ve selected the correct input source on your monitor or TV. Most displays have multiple inputs, and you’ll need to use your display’s remote or buttons to select the HDMI port you’re using.
Try connecting to a different HDMI device if available. This helps determine if the problem is with your laptop or the display device. Sometimes simply restarting both your laptop and display can reset the connection and solve the issue.
Inspecting for Physical Damage
Look closely at your laptop’s HDMI port for visible damage or debris. Small dust particles or lint can block the connection. Gently clean the port using compressed air or a soft brush.
Check for bent pins or other physical damage inside the port. Even minor damage can prevent a proper connection. Also examine your HDMI cable for kinks, fraying, or bent connectors.
If you recently dropped your laptop or spilled liquid near the ports, internal damage might be affecting the HDMI connection. In these cases, professional repair might be needed.
The port might appear fine but still have internal damage. If the port feels loose or the cable doesn’t fit snugly, internal components may be damaged.
Software and Settings Configurations
Sometimes HDMI port issues aren’t hardware-related but stem from incorrect settings or software problems. Windows often needs specific configurations to properly recognize and use external displays through HDMI connections.
Display Settings Adjustment
To fix HDMI display problems, start by checking your Windows display settings. Press Windows key + P to quickly access projection options and select “Duplicate” or “Extend” depending on how you want to use the second screen. If that doesn’t work, right-click on your desktop and select “Display settings.”
Make sure Windows detects your external monitor by clicking “Detect” if it doesn’t appear automatically. If the monitor shows up but remains blank, try changing the resolution or refresh rate to match what your external display supports.
In Device Manager, check for display adapter issues. Type “device manager” in the search box, expand “Display adapters,” right-click your graphics card, and select “Update driver.” If you recently updated drivers when the problem started, try rolling back to the previous version instead.
Audio Settings Configuration
HDMI connections carry both video and audio signals, but Windows might not automatically switch audio output to your HDMI device. Right-click the speaker icon in the taskbar and select “Sounds” to open audio settings.
Click the “Playback” tab and look for your HDMI device in the list. If it appears but isn’t set as default, right-click it and select “Set as Default Device.” If the HDMI device doesn’t appear at all, right-click in the empty space and check “Show Disabled Devices” and “Show Disconnected Devices.”
For Windows 10 users, you can also access sound settings by typing “sound” in the search box and selecting “Sound settings.” Under Output, select your HDMI device from the dropdown menu. Sometimes simply unplugging and reconnecting the HDMI cable can prompt Windows to detect the audio connection properly.
Dealing with Video Output Issues
When your laptop’s HDMI port stops working, video output problems can be caused by various hardware and software issues. Addressing these problems requires a systematic approach to isolate what’s preventing your laptop from connecting to external monitors.
Identifying Common HDMI Output Problems
First, check your physical connections. Make sure the HDMI cable is firmly plugged into both your laptop and monitor. Try a different HDMI cable to rule out cable damage. Also, inspect the HDMI port for visible damage or debris that might block the connection.
Next, verify your monitor settings. Select the correct HDMI input on your monitor’s menu. Many monitors have multiple HDMI ports, so ensure you’ve chosen the one your laptop is connected to.
Try using function keys on your laptop. Most laptops use a key combination like Fn+F4 or Fn+F8 to toggle between display modes. Press this combination several times to cycle through options like laptop display only, duplicate, extend, or external display only.
Restart both devices. Sometimes turning your laptop and monitor off and back on resolves temporary glitches in the connection.
Utilizing the Device Manager for Video Issues
Windows Device Manager is a powerful tool for troubleshooting display adapter problems. To access it, right-click the Start button and select “Device Manager” from the menu.
Look for “Display adapters” and expand the category. Right-click on your graphics card (like Intel HD Graphics) and select “Update driver” to install the latest drivers. Outdated or corrupted drivers often cause HDMI connection failures.
If updating doesn’t work, try disabling and re-enabling the display adapter. Right-click the adapter, select “Disable device,” wait 10 seconds, then right-click again and select “Enable device.”
For laptops with dual graphics cards (integrated and dedicated), make sure you’ve configured which card handles external displays. Check your graphics control panel (Intel Graphics Command Center, NVIDIA Control Panel, or AMD Radeon Settings) to adjust these settings.
Advanced Troubleshooting Techniques
When basic fixes don’t solve your laptop’s HDMI connection problems, it’s time to try more technical solutions. These methods target common underlying issues like driver problems and display configuration errors.
Updating and Reinstalling Drivers
Outdated or corrupted graphics drivers often cause HDMI port failures. To update your drivers:
- Open Device Manager by right-clicking the Start button and selecting “Device Manager”
- Expand the “Display adapters” category
- Right-click your graphics card and select “Update driver”
- Choose “Search automatically for updated driver software”
If updating doesn’t work, try reinstalling the drivers completely:
- Right-click the graphics card in Device Manager
- Select “Uninstall device” (check the box to delete driver software if available)
- Restart your computer
- Windows will reinstall basic drivers automatically
For better results, download the latest drivers directly from your laptop manufacturer’s website or from NVIDIA, AMD, or Intel’s official sites.
Resolving Black Screen Issues
Black screen problems often occur when your laptop fails to recognize the external display properly. Try these fixes:
First, check if your laptop is actually detecting the display:
- Press Windows key + P to open display options
- Select “Duplicate” or “Extend” mode
If that doesn’t work, adjust your display settings:
- Right-click on desktop and select “Display settings”
- Scroll down to “Multiple displays”
- Make sure your HDMI display is detected
- If it appears, select it and change “Multiple displays” to “Extend these displays”
Still seeing a black screen? Try changing the resolution settings. Some displays won’t work with certain resolutions. Select a standard resolution like 1920×1080 for compatibility.
Professional Help and Services
When DIY fixes don’t solve your laptop’s HDMI port problems, professional help might be necessary. Damaged ports often need expert attention, especially if physical damage is visible.
Computer repair shops can diagnose and fix HDMI port issues. They typically charge $50-100 for diagnosis and basic repairs. For more complex problems like motherboard repairs, costs may reach $150-300.
When to seek professional help:
- Physical damage to the port
- No display after trying all troubleshooting steps
- Intermittent connection that DIY methods can’t fix
- Port feels loose or has bent pins
Many laptop manufacturers offer repair services if your device is under warranty. Dell, HP, and Lenovo provide both in-warranty repairs and paid services for older devices.
JustAnswer offers online tech support where you can connect with certified technicians. They provide remote diagnosis and can tell you if repair is possible or if replacement is needed.
Questions to ask repair services:
- What diagnostics will be performed?
- What is the estimated repair time?
- Do they offer warranties on repairs?
- Can they provide loaner devices during repair?
For laptops with unrepairable HDMI ports, technicians might suggest alternative solutions like USB-to-HDMI adapters or docking stations, which can work as permanent replacements for broken ports.
HDMI Port Not Working – Specific Cases
Some HDMI issues are unique to certain setups or situations. Understanding these specific cases can help you troubleshoot more effectively when your laptop’s HDMI connection fails.
Laptop to Monitor Connections
When connecting your laptop to a monitor, several specific issues might arise. First, check if your monitor is set to the correct input source. Many monitors have multiple HDMI ports, so make sure you’ve selected the one your laptop is connected to.
Resolution mismatches can cause blank screens. Your laptop might be outputting at a resolution your monitor doesn’t support. Try connecting while holding the Windows key and pressing P to open display options, then select “Duplicate” mode at a standard resolution.
Driver conflicts are common after Windows updates. If your HDMI suddenly stops working after an update, try rolling back your graphics driver through Device Manager. Right-click your graphics card, select Properties, and look for the option to roll back the driver.
Some newer monitors require HDMI 2.0 cables for higher resolutions. If you’re trying to display 4K content but using an older HDMI cable, you might experience black screens or flickering.
Laptop HDMI Out Problems
HDMI output issues often stem from hardware and software conflicts. Graphics switching systems in laptops with both integrated and dedicated GPUs can cause connection problems. Try forcing your laptop to use one GPU by adjusting settings in your graphics control panel.
Windows display detection issues are common. Press Windows+P and cycle through display modes even if nothing appears on the external screen initially. Sometimes Windows needs multiple attempts to recognize an external display.
Power management settings might disable your HDMI port to save battery. Check your power settings and make sure “USB selective suspend” and similar options aren’t interfering with your HDMI connection.
Some laptops require function key combinations (like Fn+F4) to activate external displays. Check your laptop’s manual to see if you need to manually enable HDMI output.
Handling HDMI Port Failures
Physical damage to HDMI ports occurs frequently in laptops. Look closely at the port with a flashlight for bent pins, debris, or other damage. Gently clean the port with compressed air, being careful not to cause further damage.
If the port is physically broken, external adapters can help. USB-C to HDMI or DisplayPort to HDMI adapters work well when your built-in port fails. These adapters bypass the damaged port entirely.
Overheating can cause HDMI failure. If your HDMI works briefly but cuts out when the laptop gets hot, improve ventilation and check that your cooling fans are working properly.
BIOS settings sometimes disable HDMI ports. Enter your laptop’s BIOS (usually by pressing F2, F10, or Del during startup) and check for display or peripheral settings that might be disabling your HDMI output. Look specifically for settings related to display adapters or discrete graphics.
Frequently Asked Questions
Here are answers to common questions about fixing HDMI port issues on laptops. These solutions cover different Windows versions and laptop brands.
How can I troubleshoot an HDMI port malfunction on a Windows 11 laptop?
First, check your hardware connections. Make sure the HDMI cable is firmly plugged into both your laptop and display device. Try using a different HDMI cable to rule out cable damage.
Next, update your graphics drivers. Right-click on Start, select Device Manager, expand Display adapters, right-click your graphics card and select Update driver.
You can also try forcing Windows to detect your display. Press Windows+P and choose a display mode like “Duplicate” or “Extend.” If this doesn’t work, right-click on your desktop, select Display settings, and click “Detect” under Multiple displays.
What steps should I follow to resolve HDMI connectivity issues on a Windows 10 laptop?
Start by rebooting both your laptop and the external display. Sometimes a simple restart fixes connection problems.
Check your display input settings. Make sure your monitor or TV is set to the correct HDMI input channel. Most displays have multiple input ports.
Update your graphics drivers through Device Manager or by downloading the latest version from your laptop manufacturer’s website. Outdated drivers often cause HDMI connectivity issues.
Try booting your laptop in Safe Mode to see if the HDMI port works. If it does, a third-party program might be causing conflicts.
Why won’t my laptop’s HDMI port connect to the TV?
The problem might be with your TV settings. Make sure your TV is set to the correct HDMI input channel that matches the port you’re using.
Resolution mismatches can cause connection failures. Try lowering your laptop’s display resolution before connecting to the TV.
Check if your HDMI port is physically damaged. Look for bent pins or debris inside the port. Clean it gently with compressed air if needed.
Some laptops have settings that disable external displays to save power. Check your power management settings to make sure this isn’t happening.
What could be the reason for an HDMI port not transmitting video and audio signals on my laptop?
Your HDMI port might not be selected as the default audio device. Right-click the speaker icon in your taskbar, select Sound settings, and make sure the HDMI output is set as the default device.
The graphics card might be failing to recognize the HDMI connection. Try updating, reinstalling, or rolling back graphics drivers to fix this issue.
Software conflicts can block HDMI signals. Recently installed applications or Windows updates might interfere with your HDMI connection. Try uninstalling recent software or updates.
How do I diagnose and fix an HDMI port that’s not working on a Lenovo laptop?
Use Lenovo’s built-in hardware diagnostic tool. Press F10 or Fn+F10 during startup to access the tool and test your HDMI port.
Check if the HDMI function is disabled in BIOS. Restart your laptop, press F2 or Fn+F2 to enter BIOS, and look for display or graphics settings to ensure HDMI is enabled.
Update your Lenovo drivers using Lenovo System Update or Lenovo Vantage applications. These tools automatically find and install the correct drivers for your specific model.
What are common solutions to an inoperative HDMI port on a Dell laptop?
Run Dell’s built-in hardware diagnostics by pressing F12 during startup and selecting “Diagnostics” to check if your HDMI port has physical issues.
Reset the HDMI connection by shutting down your laptop completely (not just sleep mode), unplugging all cables, holding the power button for 30 seconds, then restarting.
Check Dell Power Manager settings as they can affect external display connections. Adjust your power plan to “High performance” when using HDMI connections.
Update BIOS and drivers through the Dell Support Assist application, which can automatically identify and install the correct updates for your specific Dell model.

