Digital sound issues on computers can be annoying, but they often have easy solutions. To fix sound output, first check your speaker connections and volume settings. If needed, update your audio drivers. These steps usually fix the most common problems quickly.
When troubleshooting sound output, look at your connections, verify which output devices you are using, adjust your volume levels, and update your audio drivers. Following these steps can help you resolve common sound issues and enjoy better audio.
If you want to improve your audio setup further, consider enhancing your room’s acoustics, adjusting speaker placement, using high-quality audio files, or investing in an external Digital-to-Analog Converter (DAC) and amplifier.

Windows has built-in tools to help diagnose and fix audio problems. The audio troubleshooter can often identify and correct many issues automatically. If it doesn’t solve the problem, you might need to check your hardware and software settings manually.
For more complex issues, uninstalling and reinstalling audio drivers can help restore sound. This process removes any corrupted files and replaces them with fresh versions. Make sure you have the latest Windows updates, as these often include important audio fixes.
Troubleshooting Digital Sound Output on Your Computer
Experiencing sound issues with your computer’s digital audio output? It can be frustrating, but often the fix is simpler than you might think. Here’s a guide to help you troubleshoot and resolve common digital sound output problems.
Understanding Digital Audio Output
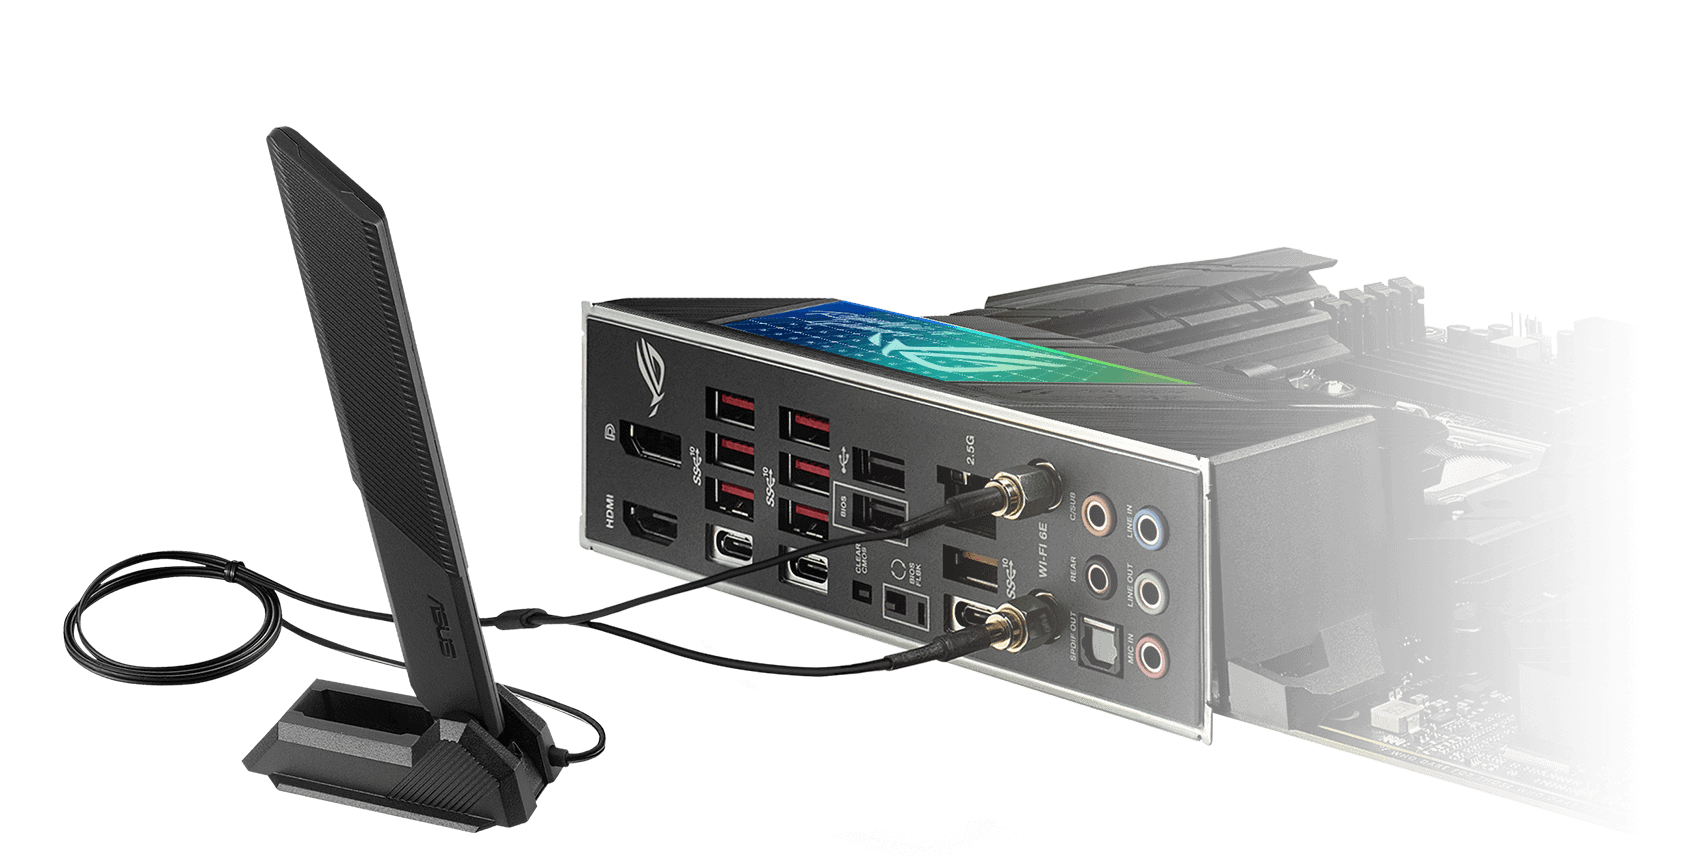
Digital audio output transmits sound as digital data, providing a cleaner and more accurate signal compared to analog connections. Common digital audio outputs include:
- S/PDIF: Uses coaxial or optical cables for connecting to home theater systems or soundbars.
- HDMI: Carries both audio and video signals, commonly used for connecting to TVs and monitors.
- USB: Connects to external DACs (Digital-to-Analog Converters) or audio interfaces for higher-quality audio.
Troubleshooting Steps
- Check Connections: Ensure your cables are securely plugged in at both ends. Try a different cable to rule out cable issues.
- Verify Output Device:
- Windows:
- Right-click the speaker icon in the system tray and select Sounds.
- Go to the Playback tab.
- Make sure the correct digital output device (e.g., S/PDIF, HDMI) is selected as the Default Device.
- macOS:
- Go to System Settings > Sound.
- Select the Output tab.
- Choose the correct digital audio output device from the list.
- Adjust Volume Levels:
- Windows:
- In the Sounds window, select your digital output device and click Properties.
- Go to the Levels tab and ensure the volume is turned up.
- Click Advanced and check if the audio format is supported by your connected device.
- macOS:
- Use the volume slider in the Sound settings to adjust the output level.
- Update or Reinstall Audio Drivers:
- Windows:
- Open Device Manager.
- Expand Sound, video and game controllers.
- Right-click on your audio device and select Update driver.
- If that doesn’t work, try Uninstall device and then restart your computer. Windows will usually reinstall the driver automatically.
- macOS:
- macOS typically handles driver updates automatically through software updates.
- Test with Different Applications: Try playing audio from different sources (e.g., music player, web browser, video game) to see if the issue is specific to a particular application.
- Check for Hardware Issues: If you’ve tried all the software-related steps and still have no sound, there might be a hardware problem with your sound card, motherboard, or connected audio device. Consider seeking professional help for diagnosis and repair.
Additional Tips
- Disable Audio Enhancements: In Windows, you can sometimes improve sound quality by disabling audio enhancements. Go to the Enhancements tab in your audio device’s properties and uncheck any enabled options.
- Check BIOS Settings: In some cases, your computer’s BIOS settings might affect audio output. Refer to your motherboard manual for instructions on accessing and adjusting BIOS settings related to audio.
Beyond Basic Troubleshooting: Optimizing Your Digital Audio Setup
Once you’ve resolved any sound output issues, consider these tips to enhance your audio experience:
- Room Acoustics: The acoustics of your listening environment can significantly impact sound quality. Consider using acoustic panels or other treatments to minimize reflections and improve clarity.
- Speaker Placement: Proper speaker placement is crucial for optimal stereo imaging and soundstage. Experiment with different positions to find what sounds best in your room.
- High-Quality Audio Files: Use high-resolution audio files (e.g., FLAC, WAV) for the best possible sound quality.
- External DAC/Amp: For serious audiophiles, an external DAC and amplifier can provide a significant boost in audio fidelity.
Key Takeaways
- Check physical connections and volume settings first
- Use Windows’ built-in audio troubleshooter for quick fixes
- Update or reinstall audio drivers to resolve persistent issues
Identifying Audio Issues on Windows PCs
Audio problems on Windows PCs can stem from various sources. Proper diagnosis involves checking hardware connections and using built-in troubleshooting tools.
Checking Sound Hardware and Volume Controls
Start by examining physical connections. Ensure speakers or headphones are plugged into the correct port. Check that the mute button isn’t activated. Verify the volume isn’t set too low.
Right-click the speaker icon in the taskbar and select “Open Sound settings”. Here, test your output devices and make sure the correct playback device is selected.
For desktop PCs, confirm the sound card is properly seated in its slot. Laptops may need to have audio drivers reinstalled if issues persist.
Using the Windows Audio Troubleshooter
Windows offers a built-in tool to diagnose and fix common audio problems. To access it, press Windows key + I to open Settings. Navigate to System > Sound > Troubleshoot.
Click “Run the troubleshooter” under Output devices. This tool checks for common issues like:
- Disabled audio services
- Incorrect default device settings
- Outdated or corrupted drivers
Follow the on-screen prompts to apply suggested fixes. If problems persist, the troubleshooter may recommend further steps or direct you to seek additional support.
Updating and Managing Audio Drivers
Keeping audio drivers up-to-date is crucial for optimal sound performance on Windows PCs. This process involves accessing the Device Manager and managing driver software.
Accessing Device Manager and Updating Drivers
To update audio drivers, start by opening the Device Manager. Press Windows key + X and select “Device Manager” from the menu. Locate the “Sound, video and game controllers” category and expand it.
Right-click on your audio device and choose “Update driver.” Select “Search automatically for drivers” to let Windows find and install the latest version. If no updates are found, visit the PC manufacturer’s website for newer drivers.
For manual updates, download the latest driver from the manufacturer’s site. Choose “Browse my computer for drivers” in Device Manager and navigate to the downloaded file. Follow the on-screen prompts to complete the installation.
Uninstalling and Reinstalling Audio Drivers
Sometimes, a clean reinstall of audio drivers can resolve persistent issues. In Device Manager, right-click the audio device and select “Uninstall device.” Check the box to delete the driver software if present.
Restart your PC after uninstallation. Windows will typically reinstall a basic driver upon reboot. If not, open Device Manager, right-click your PC name, and choose “Scan for hardware changes.”
To reinstall specific drivers, visit the manufacturer’s website and download the latest version. Run the installer and follow the provided instructions. Reboot your PC to apply changes.
For laptops with IDT High Definition Audio CODEC or Realtek High Definition Audio, ensure you download the correct driver version compatible with your system specifications.


