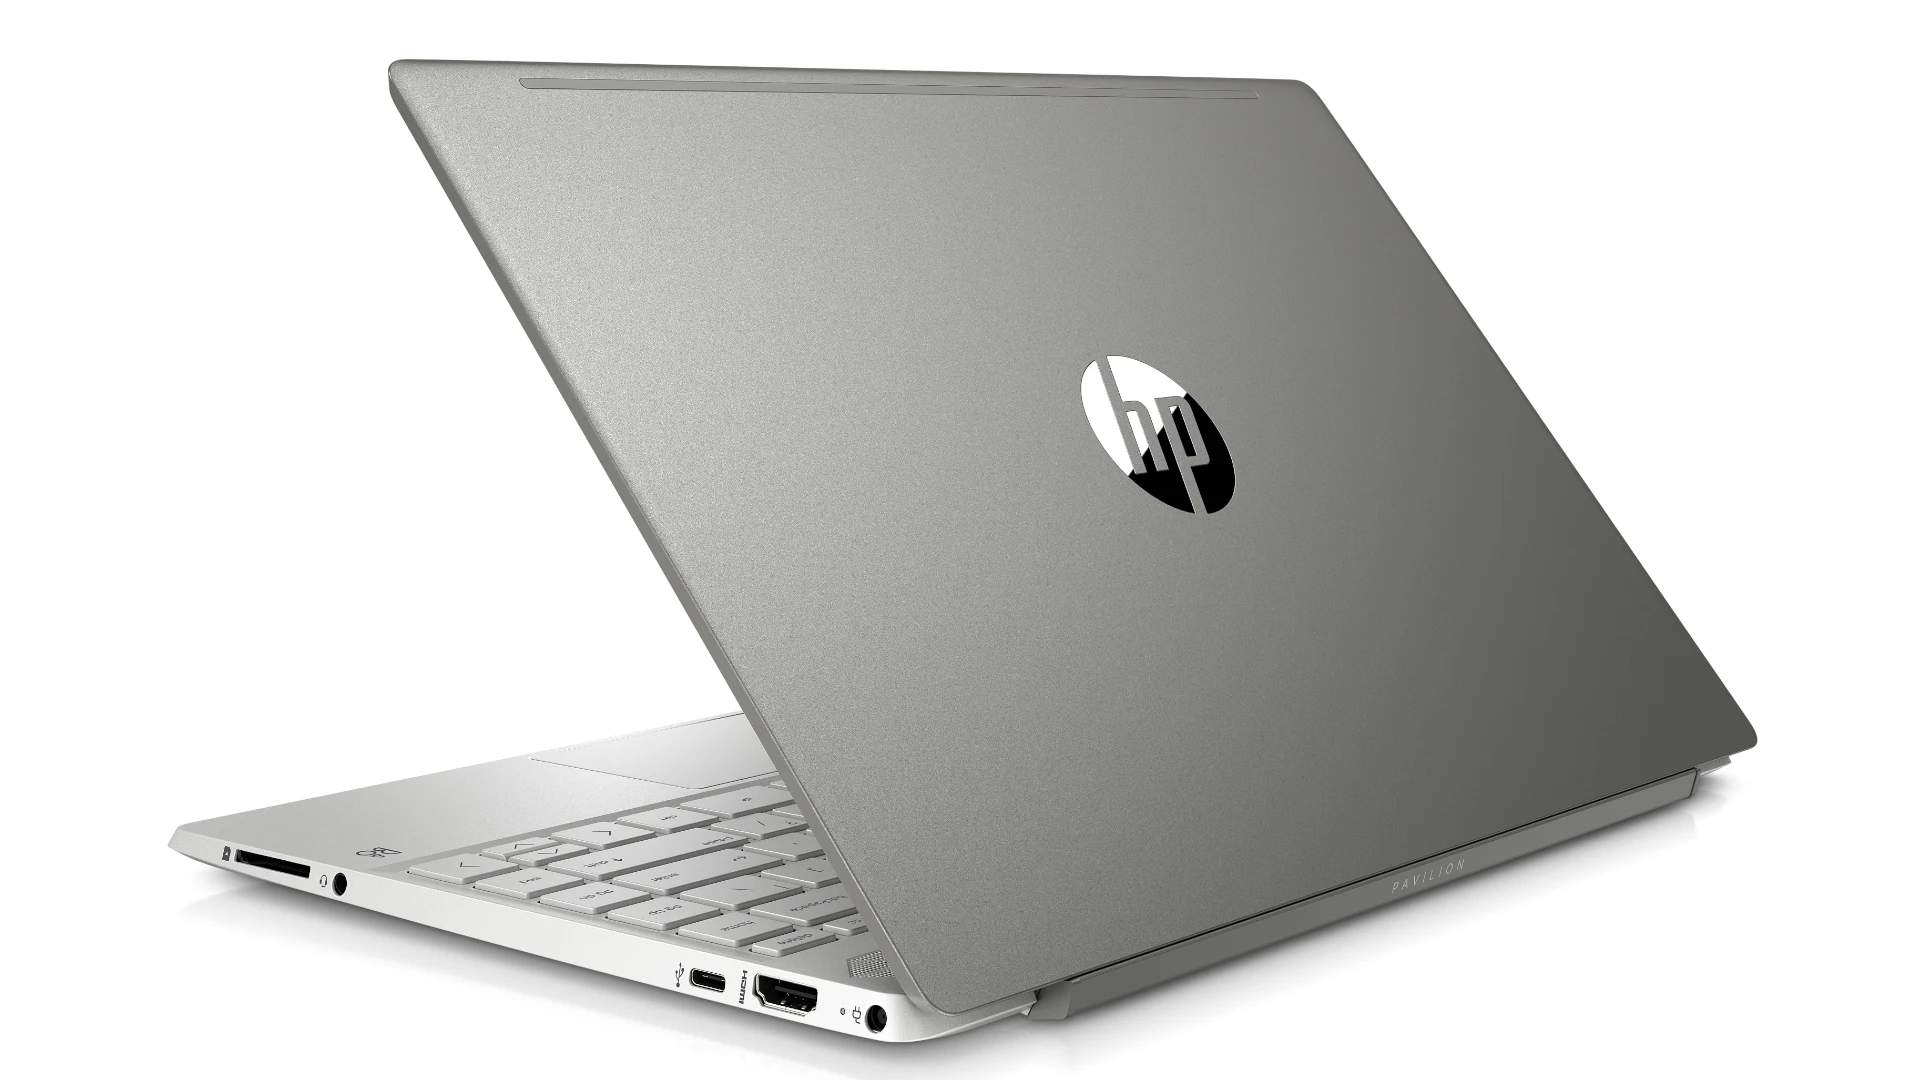
Is your HP laptop camera not working? You’re not alone. Many users face this frustrating issue when trying to join video calls or take photos. To fix your HP laptop camera, first check if it’s enabled in your Windows privacy settings, update your camera drivers, and ensure no physical camera cover is blocking the lens.
Camera problems on HP laptops often stem from outdated drivers, privacy settings, or hardware issues. Windows 11 and 10 users might see error messages like “Your camera might be covered” even when nothing is visibly blocking the lens. Sometimes the fix is as simple as toggling a setting, while other times you may need to update specific software.
Before assuming your camera is broken, try some basic troubleshooting. Check the Privacy and Security settings in Windows to make sure camera access is turned on for your apps. Run Windows Update to get the latest drivers, or use HP Support Assistant to find HP-specific updates. If your camera worked before but stopped suddenly, the connection cable inside your laptop might have come loose.
Here are the steps to fix a non-working camera on an HP laptop:
How To Fix An HP Laptop Camera
1. Check if the Camera is Enabled
- Press
Fn+ the camera key (oftenF6orF10, look for a camera icon). - You may also check this in Device Manager:
- Press
Windows + Xand choose Device Manager. - Expand Imaging Devices or Cameras.
- Right-click your camera and select Enable device (if available).
- Press
2. Restart Your Laptop
- Sometimes a simple restart can reset the camera hardware or software.
3. Allow Camera Access in Settings
- Go to Settings > Privacy & security > Camera.
- Make sure Camera access is turned on.
- Ensure the app you’re trying to use (like Zoom, Teams, etc.) has camera permission.
4. Update the Camera Driver
- Open Device Manager.
- Right-click on your camera under Cameras or Imaging Devices.
- Select Update driver > Search automatically for drivers.
5. Roll Back Driver (if issue started after update)
- In Device Manager, right-click the camera > Properties.
- Go to the Driver tab > click Roll Back Driver (if available).
6. Reinstall the Camera Driver
- In Device Manager, right-click the camera > Uninstall device.
- Restart your laptop.
- Windows should reinstall the driver automatically.
7. Check for HP Support Assistant Updates
- Open HP Support Assistant from the Start menu.
- Go to Updates and install any camera or BIOS-related updates.
8. Test the Camera with the Camera App
- Open the Camera app from the Start menu.
- If the camera doesn’t display, the issue might be hardware-related.
9. Scan for Hardware Changes
- In Device Manager, click Action > Scan for hardware changes.
10. Check for Physical Switch or Privacy Shutter
- Some HP laptops have a manual shutter or switch near the webcam—make sure it’s open.
11. BIOS Settings (Advanced Users)
- Restart the laptop and enter the BIOS/UEFI (usually by pressing
Esc,F10, orF2at startup). - Look for any camera-related settings and ensure it’s enabled.
If the camera still doesn’t work after these steps, the issue might be hardware-related, and you may need professional repair.
Key Takeaways
- Check Windows Privacy settings and ensure camera access is enabled for your apps
- Update your camera drivers through Windows Update or HP Support Assistant
- Verify there are no physical obstructions and that internal camera connections haven’t come loose
Understanding HP Laptop Camera Issues
HP laptop camera problems can be frustrating, especially when you need to join video calls or take photos. These issues can stem from hardware disconnections, software conflicts, or system settings.
Common Camera Problems and Symptoms
Many HP laptop users experience similar camera problems. The most frequent issue is when the camera simply doesn’t turn on when using video apps. You might see a black screen or an error message saying “camera not found.”
Sometimes the camera works in certain apps but not others. This points to an app permission problem rather than hardware failure.
Physical symptoms include the camera light not turning on or flickering inconsistently. In some cases, the camera might work briefly then stop functioning.
A disconnected internal cable can cause complete camera failure. This typically happens after a laptop has been dropped or the screen has been adjusted roughly.
Impact of Operating System Versions
Windows 10 and Windows 11 handle camera settings differently, which affects how HP laptop cameras function.
In Windows 10, camera privacy settings are found in Settings > Privacy > Camera. Many users find their camera disabled after system updates because default privacy settings change.
Windows 11 moved these controls to Settings > Privacy and Security > Camera. The new OS also added more granular app permissions that can block camera access for specific programs.
Driver compatibility varies between operating systems. Older HP laptops might have cameras that work perfectly in Windows 10 but develop issues after upgrading to Windows 11 due to outdated drivers.
System updates in both versions can sometimes override camera settings or conflict with HP’s built-in camera software.
Initial Camera Troubleshooting Steps
When your HP laptop camera isn’t working, several simple fixes can get it back up and running quickly. These basic troubleshooting steps often solve most camera problems without needing technical expertise or outside help.
Checking Camera Access Permissions
Windows protects your privacy by letting you control which apps can use your camera. If your camera isn’t working, check these settings first:
- Right-click the Start button and select Settings
- Click Privacy & Security, then select Camera
- Make sure Camera access is turned ON
- Check that apps you want to use have permission under “Let apps access your camera”
Some HP laptops have physical privacy features that block the camera. Look for a small sliding cover over your webcam lens. Slide it to the right to uncover the camera.
Your laptop might also have a dedicated privacy switch. Check the function keys (F-keys) at the top of your keyboard for a camera icon, which may toggle camera access.
Restarting the Camera App
If your camera app shows errors like “We can’t find your camera,” try closing and reopening it:
- Press Alt+F4 to close the camera app completely
- Wait about 10 seconds
- Open the camera app again from the Start menu
If that doesn’t work, try force-closing the app:
- Press Ctrl+Alt+Delete
- Select Task Manager
- Find “Camera” in the list
- Click it and select End task
- Relaunch the camera app
Sometimes other apps might be using your camera. Close video conferencing programs like Zoom, Teams, or Skype before trying your camera app again.
Performing a System Reboot
A simple restart can fix many camera issues by refreshing system settings and clearing temporary problems:
- Save any open work
- Click the Start button
- Select Power > Restart
For a more thorough reset:
- Shut down your laptop completely
- Unplug the power adapter
- Wait 30 seconds
- Plug the power back in
- Turn on your laptop
After restarting, open the camera app to see if it works. This simple step often fixes glitches that prevent the camera from working properly. If these steps don’t solve your problem, you might need to update drivers or check for hardware issues.
Advanced Diagnostic Methods
When basic troubleshooting fails to fix your HP laptop camera, more technical approaches can help identify and resolve complex issues. These methods dive deeper into your system’s hardware and software configuration.
Inspecting the Device Manager
Device Manager is a powerful tool for checking if Windows recognizes your camera hardware. To access it, right-click on the Start button and select “Device Manager” from the menu. Look under the “Cameras” or “Imaging devices” category for your webcam.
If you see a yellow exclamation mark next to your camera, this indicates a driver problem. Right-click on the camera device and select “Properties” to view specific error codes that can guide your troubleshooting.
Sometimes the camera might appear under “Unknown devices” instead. If this happens, try updating the driver by right-clicking the device and selecting “Update driver.” You can choose to search automatically or browse your computer for driver software.
HP’s official support site offers the latest camera drivers for your specific laptop model. Download and install these for best compatibility.
Identifying Issues with the Imaging Device
HP laptops often include diagnostic tools that can test hardware components including the camera. Press F2 during startup to access HP Diagnostics, then look for the “Integrated Camera” test option.
Running this test will determine if your system detects the camera at a hardware level. If the diagnostics can’t find your camera, you might have a hardware disconnection or failure.
Check your BIOS settings by pressing F10 during startup. Navigate to Advanced > Built-in Device Options and verify the camera is enabled. If the camera doesn’t appear in BIOS at all, this strongly suggests a hardware issue.
For privacy-focused laptops, inspect the physical camera shutter or dedicated camera key. Some HP models have a physical switch that disables the camera at the hardware level, which no software can override.
Driver Management for HP Laptop Camera
Managing your HP laptop camera drivers is key to fixing most camera issues. The right driver ensures your camera works properly with Windows and other applications.
Updating Camera Drivers
Camera problems often happen because of outdated drivers. To update your HP webcam driver:
- Press Windows key + X and select “Device Manager”
- Expand “Imaging devices” or “Cameras” category
- Right-click on your HP camera and select “Update driver”
- Choose “Search automatically for updated driver software”
If Windows can’t find new drivers, visit HP’s official support website. Enter your laptop model number and download the latest camera drivers.
Some HP laptops use the “HP Webcam-101” driver, while others might use Microsoft’s USB Video device drivers. Check both when troubleshooting.
Rolling Back or Reinstalling Camera Drivers
Sometimes new drivers cause problems. You can roll back to a previous version:
- Open Device Manager and find your camera
- Right-click and select “Properties”
- Go to the “Driver” tab
- Click “Roll Back Driver” (if available)
If rolling back isn’t an option or doesn’t work, try reinstalling:
- In Device Manager, right-click your camera
- Select “Uninstall device”
- Check “Delete the driver software for this device” if available
- Restart your laptop
After restart, Windows will try to install the appropriate camera drivers automatically. If that fails, you can manually download and install the correct driver from HP’s website.
HP Laptop-Specific Solutions
HP laptops come with special tools and features designed to help fix camera problems. These manufacturer-specific solutions can often resolve issues that general troubleshooting steps cannot.
Utilizing HP’s Built-In System Diagnostics
HP laptops include built-in diagnostic tools that can test your webcam and identify hardware problems. To access these diagnostics:
- Restart your HP laptop and press F2 repeatedly during startup
- Select “Component Tests” from the main menu
- Choose “Camera” or “Webcam” from the list of components
- Follow the on-screen instructions to complete the test
If the diagnostics identify a hardware issue, you’ll receive a specific error code. Write this code down for reference when contacting support.
Some newer HP models include HP PC Hardware Diagnostics UEFI, which offers more detailed testing options. This tool can help determine if your camera needs repair or replacement.
Accessing HP Customer Support and Tech Support
HP provides several support channels to help with camera problems:
- HP Support Assistant: Pre-installed software that offers troubleshooting and driver updates
- HP Support Website: Visit hp.com/support and enter your laptop model number
- HP Virtual Agent: AI-powered chat support for common issues
- JustAnswer: Third-party tech support partner that connects you with HP experts
For driver updates, always use the HP Support Assistant or official website rather than Windows Update. HP’s custom drivers often include camera-specific features that generic drivers lack.
Tech support can remotely diagnose camera issues or guide you through advanced troubleshooting steps when self-help options don’t work.
Exploring the HP Camera Settings in BIOS
Some camera issues can be resolved through BIOS settings. To check these settings:
- Restart your laptop and press F10 during startup to enter BIOS
- Navigate to “Advanced” or “System Configuration”
- Look for “Built-in Device Options” or “Camera settings”
- Ensure the camera is Enabled
- Save changes and exit BIOS
Many HP laptops include privacy features like webcam kill switches or physical shutters. Check your laptop for:
- A small switch on the top edge of the screen
- A dedicated camera privacy key (usually F8) with a camera icon
- A physical slider above the webcam
These privacy features can sometimes get activated accidentally, causing Windows to display “We can’t find your camera” errors even when hardware is functioning properly.
Optimizing Camera Performance
Your HP laptop camera can deliver much better video quality with a few simple adjustments. These improvements can make a big difference for video calls, online meetings, and recordings.
Selecting the Correct Camera Settings
To optimize your HP laptop camera, start by accessing your camera settings. Go to Settings > Privacy & Security > Camera and make sure camera access is turned on. For specific apps like Microsoft Teams, check that they have camera permissions too.
Many HP laptops have a built-in camera app that offers additional settings. Open this app to adjust:
- Resolution: Select the highest available resolution for better clarity
- Brightness: Adjust to match your environment
- Contrast: Fine-tune for better image definition
- White balance: Change this setting based on your lighting type
Some HP models allow you to disable auto-focus when it causes problems. If your camera seems blurry, try manually setting the focus instead.
Ensuring Optimal Lighting Conditions
Lighting makes a massive difference in camera quality. Poor lighting can make even good cameras look terrible.
Position yourself facing a natural light source like a window whenever possible. Natural light provides even illumination and makes skin tones look natural. Avoid sitting with bright light behind you, as this creates shadows on your face.
For artificial lighting, try these tips:
- Use desk lamps positioned at 45° angles to your face
- Avoid harsh overhead lighting that creates shadows
- Consider a small ring light for important video calls
The background matters too. Choose a simple, uncluttered background in a neutral color. This helps your camera’s auto-exposure focus correctly on your face rather than trying to balance extremes in the background.
Frequently Asked Questions
HP laptop cameras can face various issues that prevent them from working properly. These problems range from software conflicts to physical camera shutters being closed.
How do I resolve an HP laptop camera not functioning on Windows 11?
First, check if your camera is physically enabled. Some HP laptops have a privacy shutter or switch that blocks the camera.
Next, verify camera access in Windows 11 settings. Go to Start > Settings > Privacy & Security > Camera, then make sure “Camera access” is turned on.
Restart your computer. This simple step refreshes system settings and often fixes webcam issues without further action.
Where can I find the HP camera driver for Windows 11?
HP camera drivers can be downloaded from the official HP Support website. Search for your specific laptop model to find the correct drivers.
Device Manager also offers driver updates. Right-click the Start button, select “Device Manager,” expand “Cameras” or “Imaging devices,” right-click your webcam, and select “Update driver.”
Windows Update sometimes includes camera driver updates. Check by going to Settings > Windows Update > Check for updates.
Why is my HP laptop webcam displaying only a black screen during use?
A black screen often means another program is using the camera. Close other applications that might access your webcam like Zoom, Teams, or Skype.
Check for physical obstructions. Ensure the camera lens is clean and not covered by debris or stickers.
Outdated drivers commonly cause black screens. Update your camera drivers through Device Manager or HP Support Assistant.
What should I do to activate the built-in camera on my HP laptop with Windows 10?
Enable the camera in Windows 10 settings. Go to Settings > Privacy > Camera and toggle on “Allow apps to access your camera.”
Verify the camera isn’t disabled in Device Manager. Open Device Manager, expand “Cameras” or “Imaging devices,” and make sure your webcam isn’t disabled.
Try using the camera app that comes with Windows 10. This will confirm if the camera hardware is working properly.
How can I access or use the webcam shutter key on my HP laptop?
Many newer HP laptops have a physical privacy shutter that slides over the camera lens. Look for a small slider at the top of your screen.
Some models use function keys to control the camera. Press the F6 key or look for a key with a camera icon.
If you can’t find a physical control, your laptop may use HP’s privacy software instead. Check the HP programs installed on your computer.
Is there a method to reset the camera on my HP laptop to its default settings?
Uninstall and reinstall camera drivers through Device Manager. Right-click your webcam device, select “Uninstall device,” then restart your computer for Windows to reinstall the drivers.
Use HP Support Assistant to reset camera settings. This program can identify and fix issues specific to HP hardware.
Run the Windows troubleshooter by going to Settings > System > Troubleshoot > Other troubleshooters > Camera. This automated tool can detect and fix common camera problems.


