Accessing the BIOS or UEFI firmware settings is crucial for managing your computer’s hardware and boot options. Windows 10 and 11 offer multiple ways to enter these settings, making the process easier than ever before.
You can enter the BIOS on Windows 10 by clicking the Start button, selecting the power icon, and holding Shift while clicking “Restart”. This method opens the advanced startup options, allowing you to access the UEFI firmware settings. For Windows 11 users, the process is similar, but you can also use the Settings app to enter BIOS.
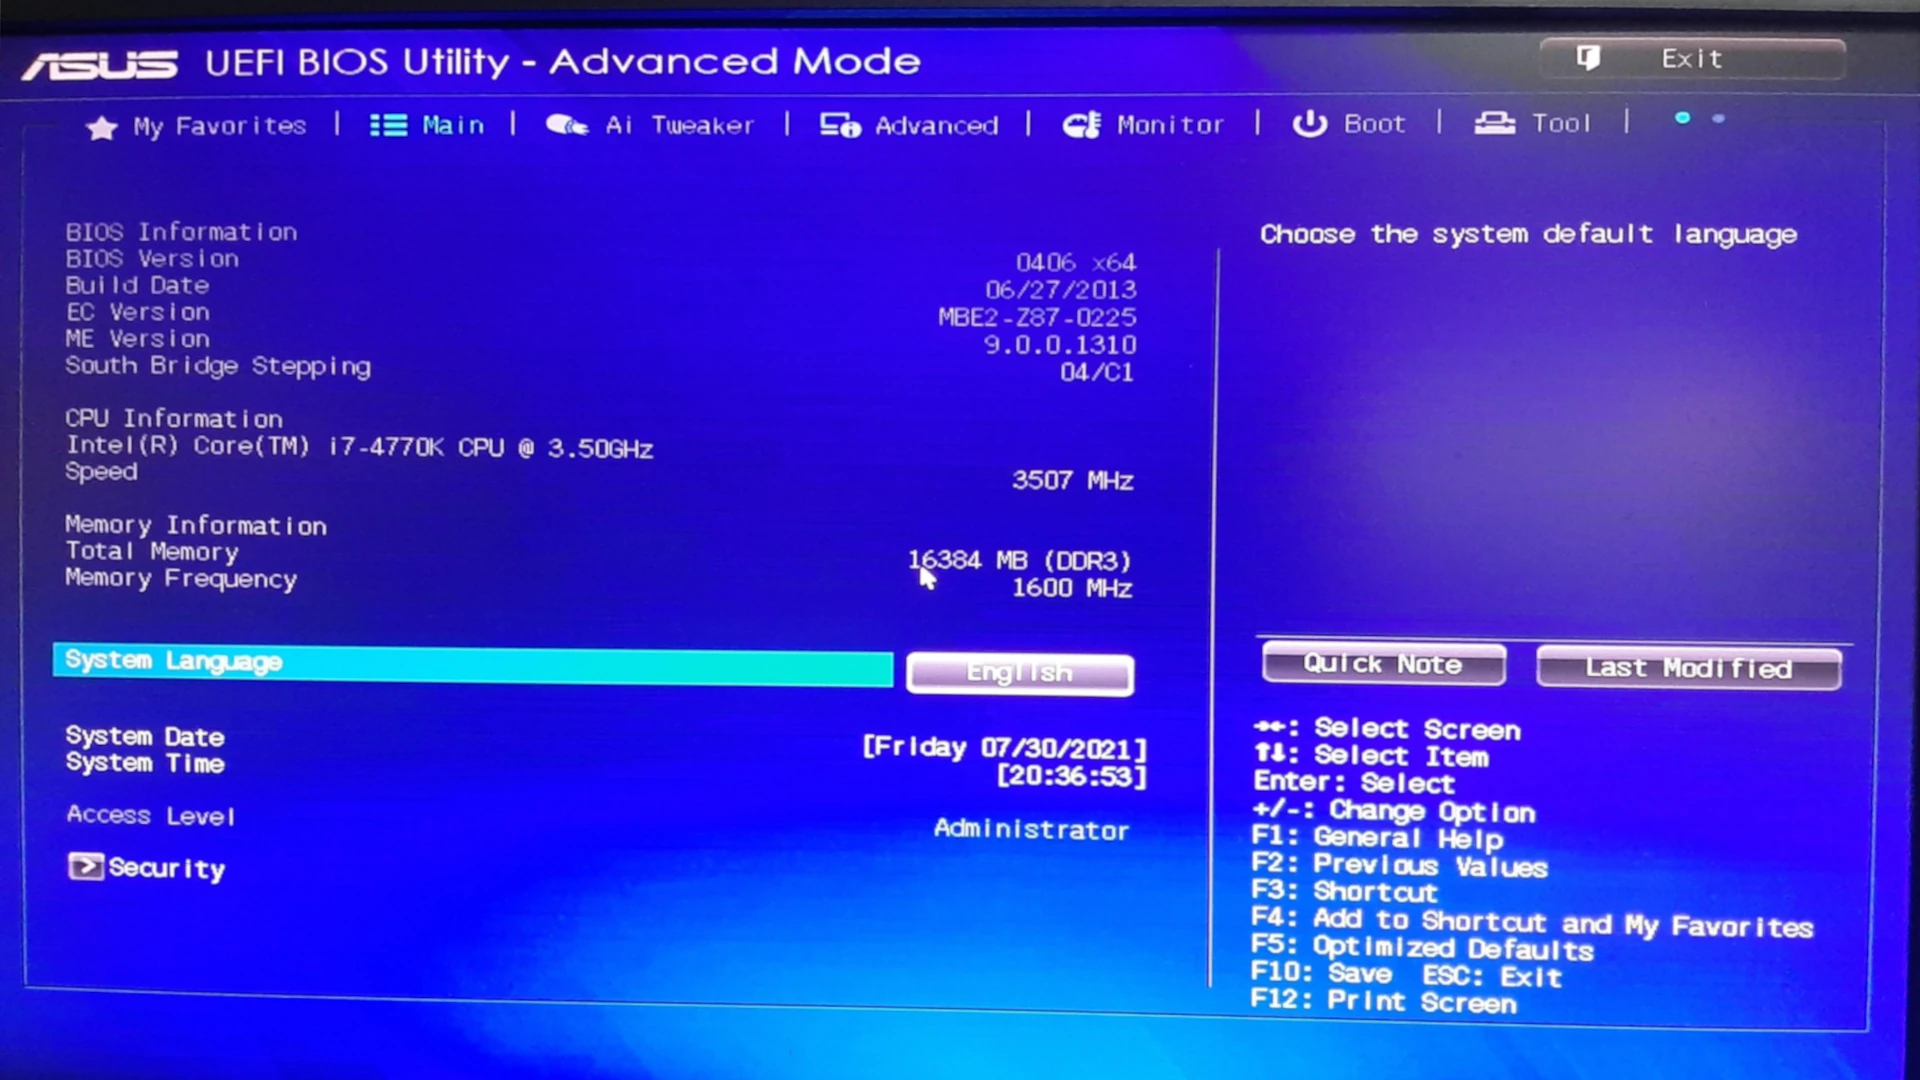
Some computers display a specific key to press during startup to enter the BIOS directly. Common keys include F1, F2, F10, ESC, or Delete. If you’re unsure which key to use, check your computer’s manual or look for on-screen prompts during boot.
Accessing Your BIOS From Windows
Accessing and editing your BIOS from Windows can be done in a few ways, but it’s important to proceed with caution as incorrect changes can cause problems. Here’s a breakdown of common methods:
1. Using Windows’ Advanced Startup Options:
- Open Settings: Press the Windows key + I to open the Settings app.
- Go to Recovery: Click on “Update & Security,” then select “Recovery” in the left sidebar.
- Advanced Startup: Under “Advanced startup,” click on the “Restart now” button.
- Troubleshoot: When the computer restarts, select “Troubleshoot.”
- Advanced Options: Choose “Advanced options” and then “UEFI Firmware Settings.”
- Restart: Click on “Restart” to access the BIOS.
2. Using the Shift Key Restart:
- Start Menu: Click on the Start menu or press the Windows key.
- Shift + Restart: Hold down the Shift key on your keyboard.
- Power Options: Click on “Power” and then select “Restart” while still holding Shift.
- Troubleshoot: Select “Troubleshoot” -> “Advanced options” -> “UEFI Firmware Settings” -> “Restart.”
3. Using the Command Prompt:
- Open Command Prompt: Press Windows key + R to open the Run dialog box. Type “cmd” and press Enter to open the Command Prompt.
- Shutdown Command: Type “shutdown.exe /r /fw” (without quotes) and press Enter. This will restart your computer and directly enter the BIOS.
4. Using a Shortcut:
- Create Shortcut: Right-click on your desktop and select “New” -> “Shortcut.”
- Command: In the location field, type “shutdown.exe /r /fw” (without quotes) and click “Next.”
- Name: Name the shortcut (e.g., “Access BIOS”) and click “Finish.”
- Run as Administrator: Right-click the shortcut, select “Properties” -> “Advanced,” and tick “Run as administrator.”
Important Notes:
- BIOS Keys: Some computers may require pressing a specific key (like Del, F2, F10, F12, or Esc) repeatedly during startup to enter the BIOS. This key is often displayed briefly on the screen during the boot process.
- UEFI vs. BIOS: Modern computers use UEFI (Unified Extensible Firmware Interface), which is a more advanced system than traditional BIOS. The methods above generally work for both.
- Caution: Modifying BIOS settings can be risky and may void your warranty. Only make changes if you understand their implications. If you’re unsure, consult your computer’s manual or seek help from a qualified technician.
Remember: The exact steps and options may vary slightly depending on your computer’s manufacturer and model. Always refer to your computer’s documentation for specific instructions.
Key Takeaways
- Windows offers built-in methods to access BIOS/UEFI settings
- Some computers require specific keys pressed during startup
- BIOS access allows users to manage hardware and boot options
Preparing to Access BIOS or UEFI Firmware Settings
Accessing BIOS or UEFI firmware settings requires careful preparation and knowledge of your device’s specific requirements. Understanding the difference between BIOS and UEFI, considering key factors before access, and identifying the correct key for your device are crucial steps.
Understanding BIOS and UEFI
BIOS (Basic Input/Output System) and UEFI (Unified Extensible Firmware Interface) are low-level software interfaces that control hardware initialization during the booting process. BIOS is older and has limitations, while UEFI is newer and offers more features.
BIOS uses a simple text-based interface and supports drives up to 2.2 TB. It boots in “legacy” mode and is common in older systems.
UEFI provides a graphical interface, supports larger drives, and offers faster boot times. It also includes security features like Secure Boot to prevent unauthorized operating systems from loading.
Many modern computers use UEFI, but some still refer to it as “BIOS” for familiarity.
Key Considerations Before Accessing BIOS
Before entering BIOS or UEFI settings, users should take several precautions:
- Save all open work and close running programs.
- Ensure the device has sufficient battery power or is plugged in.
- Disable fast startup and secure boot if needed.
- Be prepared to reset CMOS if changes cause boot issues.
Users should also have a clear purpose for accessing BIOS/UEFI, such as changing boot order, updating firmware, or adjusting hardware settings.
It’s crucial to research specific changes beforehand and understand their potential impacts on system performance and stability.
Identifying Your Device’s BIOS Key
Different manufacturers use various keys to access BIOS/UEFI settings. Common keys include:
- Dell: F2 or F12
- HP: F10 or Esc
- Lenovo: F1 or F2
- Asus: F2 or Del
- Acer: F2 or Del
- MSI: Del
To find the correct key for a specific device:
- Check the boot screen for instructions.
- Consult the device manual or manufacturer’s website.
- Try common keys like F2, F10, F12, or Del.
Some laptops have a dedicated BIOS button. If unsure, users can access BIOS through Windows 11 settings, which works for most modern devices.
Accessing BIOS/UEFI from Windows
Windows offers multiple methods to enter the BIOS or UEFI settings. Users can choose from simple menu options, advanced startup features, or command-line tools.
Using Windows Settings for Access
The Settings app provides an easy way to access UEFI in Windows 11. To begin, open Settings with the Windows key + I shortcut. Navigate to System > Recovery. Find the “Advanced startup” option and click “Restart now.”
After the restart, select Troubleshoot > Advanced options > UEFI Firmware Settings. Click “Restart” to enter BIOS.
For Windows 10, the process is similar. Go to Settings > Update & Security > Recovery. Under “Advanced startup,” click “Restart now.”
This method works well for most users. It bypasses the need for precise timing during boot.
Advanced Startup Options
The Advanced Startup Options menu offers another route to BIOS. Users can access it by holding Shift while clicking Restart in the Start menu.
On the blue screen that appears, select Troubleshoot > Advanced options > UEFI Firmware Settings. Click “Restart” to enter BIOS.
This method is useful when Windows isn’t booting normally. It’s also helpful for users who prefer a visual interface over command-line tools.
Some devices have special keys to access BIOS during startup. Common keys include F2, F10, F12, or Del. The exact key varies by manufacturer.
Using Command Line Tools
Command Prompt and PowerShell offer quick BIOS access for advanced users. Open either tool as an administrator.
Type this command and press Enter:
shutdown /r /t 0 /o
This restarts the PC and opens the Advanced Startup Options menu. From there, follow the path: Troubleshoot > Advanced options > UEFI Firmware Settings.
For faster access, create a shortcut with this command. Right-click the desktop, select New > Shortcut, and paste the command. Name it “BIOS Access” for easy identification.
These command-line methods are efficient for users comfortable with text-based interfaces. They’re especially useful for remote administration or scripting tasks.


