Keeping your laptop clean inside and out isn’t just about making it look nice – it’s essential for maintaining performance and extending its lifespan. Dust and dirt can clog fans, cause overheating, and even lead to hardware failure if left unchecked. Regular cleaning of both your laptop’s exterior and interior components can prevent performance issues and help your device run efficiently for years to come.
Many people clean only the outside of their laptops, but internal cleaning is just as important. The internal components gather dust over time, especially the cooling system, which can lead to overheating problems. When cleaning your laptop, you’ll need some basic supplies like microfiber cloths, isopropyl alcohol (mixed 50/50 with distilled water), compressed air, and potentially a small brush like a paintbrush or old toothbrush for hard-to-reach areas.
Before starting any cleaning process, remember to power off your laptop completely and disconnect it from power sources. For external cleaning, gently wipe surfaces with slightly dampened microfiber cloths. For internal cleaning, you’ll need to carefully open the back panel (after checking warranty implications), disconnect the battery, and use compressed air and soft brushes to remove dust from components.
How to Clean a Laptop Inside and Out
🧹 1. What You’ll Need
- Microfiber cloths (lint-free)
- Compressed air can (or electric air duster)
- Isopropyl alcohol (70% or higher)
- Cotton swabs / soft brush
- Small screwdriver set (for internal cleaning)
- Anti-static wrist strap (recommended for safety)
⚠️ Important: Always power off your laptop, unplug it, and remove the battery (if possible) before cleaning.
✨ 2. Cleaning the Outside
Screen
- Turn off the laptop.
- Lightly dampen a microfiber cloth with water or isopropyl alcohol.
- Wipe the screen gently in circular motions.
- Avoid spraying liquid directly on the screen.
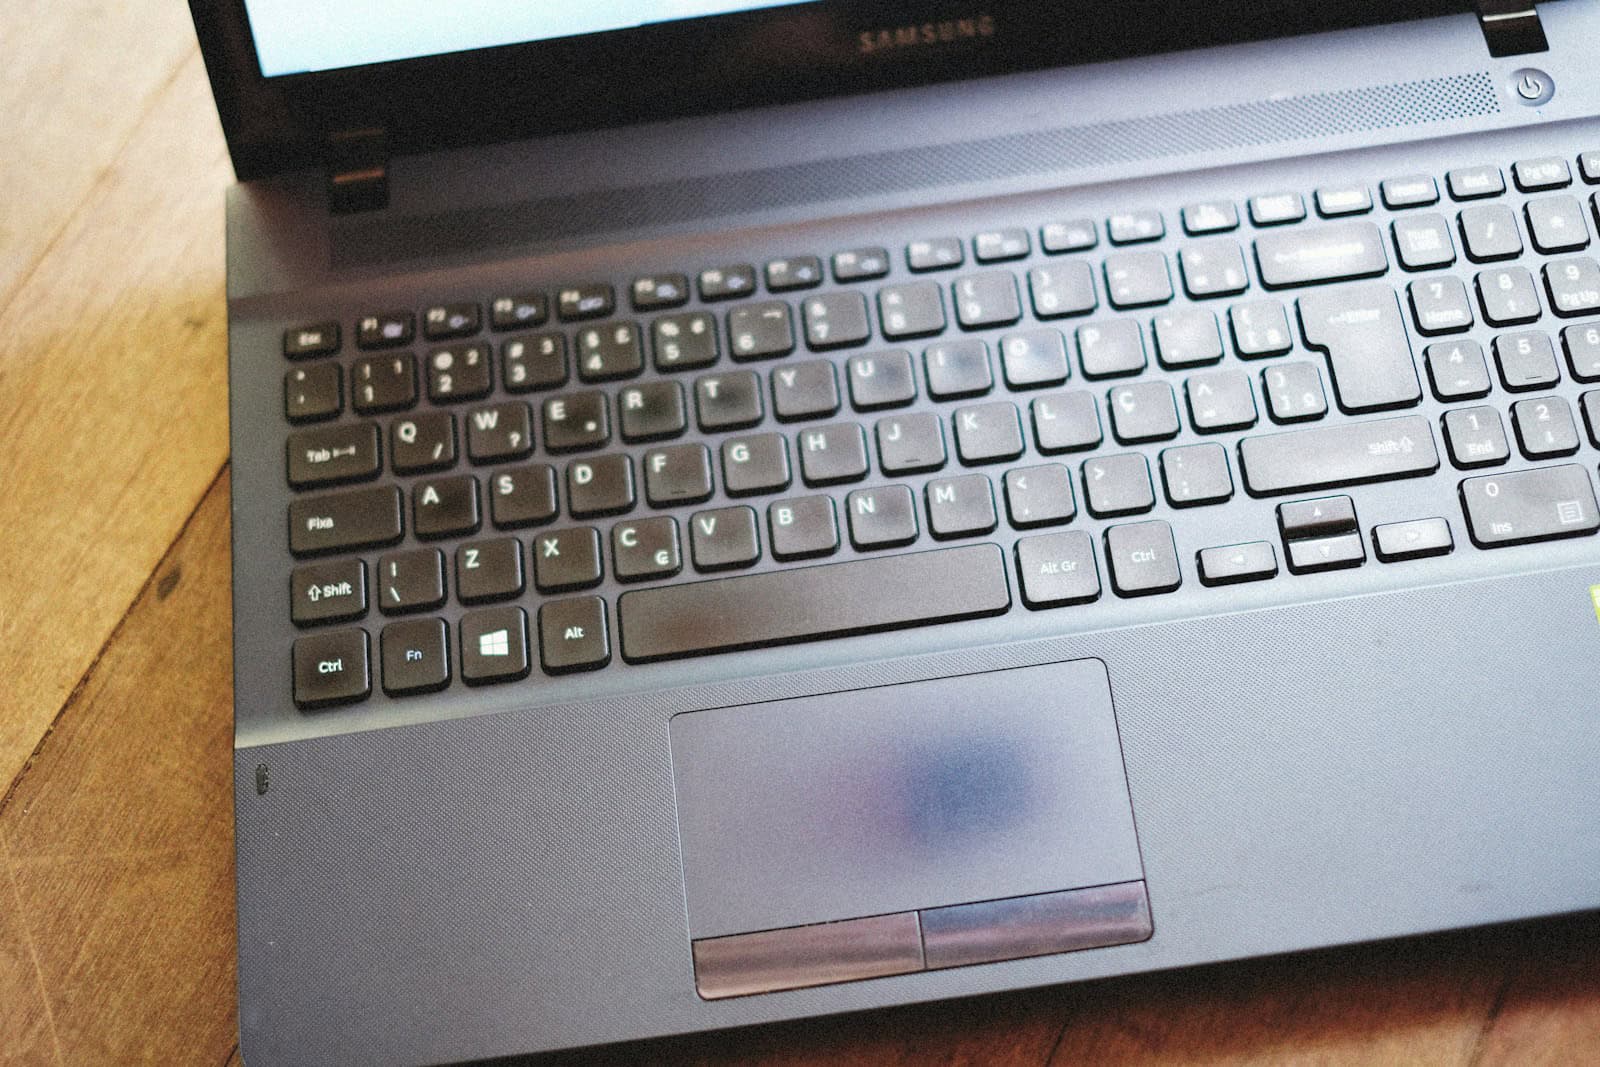
Keyboard & Touchpad
- Hold the laptop upside down and gently shake out debris.
- Use compressed air to blow out dust between keys.
- Wipe keys and touchpad with a microfiber cloth dampened with isopropyl alcohol.
- For stubborn grime, use a cotton swab dipped in alcohol.
Ports & Vents
- Use compressed air to blow dust out of USB, HDMI, and headphone ports.
- Clean vent openings carefully with short bursts of air.
Exterior Case
- Wipe the case with a slightly damp microfiber cloth.
- Use alcohol for sticky spots or fingerprints.
⚙️ 3. Cleaning the Inside (Advanced)
⚠️ Only attempt this if you’re comfortable opening your laptop. Otherwise, take it to a professional.
Step 1: Open the Laptop
- Use the correct screwdriver to remove the bottom panel.
- Keep track of screws (they may be different sizes).
Step 2: Remove Dust
- Use compressed air to blow dust off fans, heatsinks, and internal components.
- Hold the fan blades still while blowing air to avoid damaging them.
- Use a soft brush for stubborn dust.
Step 3: Optional Deep Maintenance
- Replace old thermal paste on CPU/GPU for better cooling.
- Check for loose cables or signs of damage.
Step 4: Reassemble
- Carefully screw the bottom panel back on.
- Ensure all screws are tightened but not overtightened.
🌡️ 4. How Often Should You Clean?
- Exterior: Every 1–2 weeks (keyboard, screen, ports).
- Interior: Every 6–12 months (fans, heatsinks, dust removal).
- If your laptop runs hot or fans are loud → clean sooner.
✅ Summary
- Outside → Wipe screen, keyboard, and case with microfiber + alcohol.
- Ports & vents → Use compressed air.
- Inside → Open carefully, clean fans & dust with compressed air/brush.
- Do regularly → Exterior every 1–2 weeks, interior every 6–12 months.
Key Takeaways
- Regular cleaning of both external surfaces and internal components extends your laptop’s life and maintains performance.
- Always power off and unplug your laptop before cleaning, and use appropriate tools like microfiber cloths and compressed air.
- For internal cleaning, carefully remove the back panel, disconnect the battery, and gently clean dust from fans and components.
Preparing for the Cleaning Process
Before diving into laptop cleaning, proper preparation is essential to ensure safety and effectiveness. Taking the right steps beforehand protects both you and your device from potential damage.
Gathering Necessary Supplies
To clean your laptop thoroughly, you’ll need several key items:
- Isopropyl alcohol (70-90%) for disinfecting surfaces
- Microfiber cloths (at least 2-3) for wiping surfaces without scratching
- Compressed air can with a thin nozzle for removing dust
- Cotton swabs for cleaning tight spaces and corners
- Small soft brush (like a clean makeup brush or soft paintbrush)
- Rubbing alcohol wipes (as an alternative to liquid alcohol)
- Phillips-head screwdriver (if opening the laptop case)
Avoid using paper towels, which can leave fibers behind. Never use household cleaners containing ammonia or bleach as these can damage screens and surfaces. Water should be used sparingly, if at all, to prevent internal damage.
Turning off and Unplugging the Laptop
Safety first! Always power down your laptop completely before cleaning. Don’t just put it to sleep or in hibernation mode.
- Save all open work and close all programs
- Shut down the laptop through the operating system
- Unplug the power adapter from both the wall outlet and laptop
- Wait 5-10 minutes for the device to cool down
This prevents electrical shorts and protects the internal components. It also reduces the risk of static electricity damage when cleaning deeper parts of the laptop.
Removing External Devices and Batteries
Disconnect all peripherals and accessories from your laptop before cleaning. Remove USB devices, external drives, headphones, and any other connected equipment.
For laptops with removable batteries, take them out before cleaning. Look for a battery release latch or switch on the bottom of your device. Some modern laptops have sealed batteries that can’t be removed without special tools – in these cases, skip this step.
If your laptop allows partial disassembly, consult your user manual for proper procedures. Taking pictures as you remove components helps ensure everything goes back correctly. Place small screws in labeled containers to keep them organized.
External Cleaning Techniques
Keeping your laptop’s exterior clean helps it look good and work properly. Regular cleaning prevents dirt buildup that can damage components or make your laptop look old before its time.
Wiping Down Surfaces
Start with the laptop’s case, keyboard, and touchpad. Turn off your laptop and unplug it before cleaning.
For the case, mix equal parts isopropyl alcohol and distilled water in a small spray bottle. This solution cleans effectively without damaging electronics.
Spray a microfiber cloth lightly—never spray directly on the laptop. The cloth should be damp, not wet.
Gently wipe all external surfaces, paying special attention to palm rests and other areas you touch often. These spots collect oils from your hands.
For stubborn spots, apply a bit more pressure but never scrub harshly. This could damage the finish.
Let all surfaces dry completely before turning your laptop back on.
Cleaning Ports and Connections
Dust and debris in ports can cause connection problems. Clean these areas carefully.
Use compressed air to blow out dust from USB ports, HDMI connections, and charging ports. Hold the can upright and use short bursts.
For visible dust, a small, soft brush works well. Makeup brushes or clean paintbrushes are perfect for this task.
Cotton swabs lightly dampened with isopropyl alcohol can clean around (not inside) port openings.
Never insert metal objects into ports. This can damage the delicate connectors inside.
Check ventilation areas too. Clogged vents trap heat and can cause overheating.
Polishing the Screen
Laptop screens need special care to avoid damage while cleaning.
Turn off your laptop before cleaning the screen. This makes smudges easier to see and prevents accidental key presses.
Use a dry microfiber cloth first to remove loose dust particles. Wipe gently in one direction.
For fingerprints and smudges, dampen (not wet) a clean microfiber cloth with a 50/50 mix of isopropyl alcohol and distilled water.
Wipe in gentle, circular motions. Never press hard on the screen.
Avoid household glass cleaners with ammonia or other harsh chemicals. These can damage screen coatings.
Allow the screen to dry completely before closing your laptop or turning it back on.
Internal Cleaning Procedures
Cleaning inside your laptop is crucial for keeping it running well. Dust buildup can cause overheating, slow performance, and even permanent damage to internal components if left unchecked.
Accessing the Internal Components
Before opening your laptop, power it off completely and unplug the power cord. Remove the battery if possible. This prevents electrical damage and protects you from shocks.
Find the screws that secure the bottom panel—they’re usually on the underside of the laptop. Use the correct screwdriver size to avoid stripping the screws. Keep track of all screws by placing them in a small container or taping them to a piece of paper with labels.
Some laptops have specific access panels for certain components, while others require removing the entire bottom panel. Check your laptop’s manual or the manufacturer’s website for specific instructions for your model.
Important: Opening your laptop may void the warranty. If your device is still under warranty, consider contacting the manufacturer for proper cleaning procedures.
Using Compressed Air
Compressed air is your main tool for removing dust from internal components. Hold the can upright—tilting it may release liquid propellant that can damage components.
Keep the nozzle at least 2 inches from any components. Short, controlled bursts work better than continuous spraying. This prevents moisture buildup and static electricity.
Focus on all visible dust deposits, especially around air vents and heat sinks. Work in a well-ventilated area since dust will become airborne.
When cleaning tight spaces between components, use the thin straw attachment that comes with most compressed air cans. This helps direct the airflow precisely where needed.
Tip: After using compressed air, wait 5-10 minutes before powering up your laptop to allow any condensation to evaporate.
Cleaning the Cooling Fan
The cooling fan often collects the most dust and is critical for preventing overheating. Locate the fan, usually near a vent on the side or bottom of the laptop.
Hold the fan blade gently with a cotton swab or toothpick to prevent it from spinning while you clean. Spinning fans can generate electrical current that might damage the motherboard.
Use compressed air in short bursts to blow dust from the fan blades. For stubborn buildup, lightly dampen a cotton swab with isopropyl alcohol and carefully wipe each blade.
Check the heat sink (metal fins near the fan) for dust accumulation as well. Clear dust from between the fins using compressed air or a soft brush.
Wiping Down the Motherboard and Other Elements
For the motherboard and other sensitive components, gentle cleaning is essential. Use a soft, lint-free microfiber cloth for general dusting of flat surfaces.
For detailed cleaning, lightly moisten cotton swabs with 90% isopropyl alcohol. The alcohol evaporates quickly without leaving residue. Never use household cleaners or water.
Clean connectors and ports by gently wiping with alcohol-dampened swabs. Pay special attention to RAM slots, drive connectors, and other connection points where dust may cause poor contact.
If you notice any corrosion on metal parts, carefully clean it with alcohol. Avoid touching capacitors (cylinder-shaped components) and other soldered parts.
Allow all components to dry completely before reassembling your laptop. Reconnect the battery last, after the case is closed and secured with all screws.
Maintaining a Clean Laptop Environment
Keeping your laptop clean isn’t just about occasional deep cleaning. Creating habits that protect your device from dust and damage can extend its life and improve performance.
Regular Cleaning Schedule
Set up a cleaning routine for your laptop based on your usage and environment. For most users, a monthly exterior cleaning is sufficient, but the internal components need attention every 3-6 months.
Use a microfiber cloth slightly dampened with water to wipe down the screen, keyboard, and chassis weekly. Never spray liquid directly onto any part of your laptop.
For internal cleaning, mark your calendar every quarter to check the cooling system. If you notice your laptop running hot or hear the fan constantly, it might need cleaning sooner.
For keyboard maintenance, turn your laptop upside down and gently tap the back to dislodge crumbs or debris. Follow up with compressed air between the keys.
Avoiding Dust Accumulation
Dust is your laptop’s worst enemy. It clogs vents, overheats components, and can cause serious damage over time.
Keep your laptop elevated on a stand or cooling pad to improve airflow beneath it. This prevents dust from being pulled in through bottom vents.
Avoid using your laptop on soft surfaces like beds or couches, which block ventilation and trap heat and dust. A hard, flat surface is always best.
Consider your environment carefully. Working near open windows, in dusty rooms, or around pets increases dust exposure. Use air purifiers in your workspace if possible.
When not using your laptop, close the lid to prevent dust from settling on the keyboard and screen.
Proper Storage and Handling
Store your laptop in a clean, dry place when not in use. A dedicated laptop sleeve or case offers protection from dust and accidental spills.
Avoid eating or drinking near your computer. Food particles and liquid spills can cause immediate damage or build up over time.
Handle your laptop with clean hands to prevent oil and dirt transfer to keys and touchpad. This simple habit reduces the need for deep cleaning.
When traveling, use a padded bag that includes separate compartments for accessories. This prevents cables and other items from scratching your device.
During temperature changes (like coming inside from cold weather), let your laptop adjust to room temperature before powering on to prevent condensation.
Troubleshooting Post-Cleaning Issues
After cleaning your laptop, you might face some unexpected problems. These can range from components not working properly to visible streaks on your screen.
Ensuring Components Function Correctly
Start by checking if your laptop powers on normally. If the laptop won’t turn on, make sure the battery is properly connected and charged. Sometimes moisture can get trapped in keyboards or ports during cleaning.
For keyboard issues, turn the laptop upside down and gently tap the back to remove any trapped liquid. Wait at least 24 hours before turning on your laptop if you suspect moisture might be present.
Check all ports by connecting external devices. If a port isn’t working, try using a small amount of Rubbing Alcohol on a cotton swab to clean it, then let it dry completely.
Fan noise after cleaning might indicate dust was pushed deeper inside. In this case, you may need professional help to avoid damage to internal components.
Test your touchpad, speakers, and camera to make sure everything works as expected after cleaning.
Addressing Residual Smudges or Streaks
Screen streaks are common after cleaning. Use a clean, dry Microfiber Cloth in gentle circular motions to remove streaks. Never press hard on the screen as this can damage the display.
For stubborn smudges, create a solution of equal parts distilled water and Rubbing Alcohol. Lightly dampen a Microfiber Cloth—it should be barely moist, not wet. Gently wipe the screen and follow immediately with a dry cloth.
Avoid commercial glass cleaners as they contain chemicals that can damage laptop screens. For keyboards with residue, use a slightly damp cloth with a tiny bit of mild soap, then dry thoroughly.
Fingerprint readers and camera lenses need special care. Use a dry Microfiber Cloth first, then a slightly damp one if needed. Always finish with a dry cloth to prevent moisture damage.
Frequently Asked Questions
Taking care of your laptop requires regular maintenance both inside and out. Here are answers to common questions about keeping your laptop clean and running smoothly.
What is the proper method to clean the exterior of a laptop?
To clean your laptop’s exterior, use a soft microfiber cloth slightly dampened with a 50-75% alcohol and water solution. This kills germs and removes fingerprints without damaging the surface.
Never spray liquid directly onto any part of your laptop. Apply the cleaning solution to the cloth first.
For hard-to-reach areas like between keyboard keys, use compressed air or a small brush to remove dust and debris.
What steps should be taken to clean a laptop’s internal components without disassembling it?
You can clean some internal components without opening your laptop. Use compressed air to blow dust out of vents and fans.
Hold your laptop at a slight angle when using compressed air so dust falls out rather than going deeper inside. Short bursts work better than long ones.
Power off your laptop completely before cleaning the vents. This prevents fans from spinning too fast when hit with compressed air.
How can I remove debris trapped inside my laptop’s screen?
If you notice debris under your laptop screen, don’t press on it as this might damage the display. Instead, gently tap the back of the screen to dislodge particles.
For persistent debris, take your laptop to a professional. Screen disassembly requires special tools and expertise.
Never use sharp objects to try to remove debris from your screen. This can permanently damage the display.
What are the best practices for cleaning a laptop to improve its performance?
Regularly clean your laptop’s cooling system to maintain performance. Dust buildup in fans and vents causes overheating, which slows your computer down.
Position your laptop on hard surfaces rather than soft ones like beds or couches. This prevents blocking airflow and reduces dust intake.
Clean your keyboard and touchpad regularly to prevent debris from getting inside. This helps maintain proper function of these components.
How can I effectively clean my laptop’s system and memory?
Uninstall unused programs and delete temporary files regularly. These take up valuable space and can slow down your system.
Empty your recycle bin and clear your browser cache periodically. These simple steps free up system resources.
Use your operating system’s built-in disk cleanup tools to find and remove unnecessary files. Windows has Disk Cleanup, while Macs have Storage Management.
What software tools are recommended for cleaning and speeding up a laptop?
Built-in system tools like Windows’ Disk Cleanup and macOS’s Storage Management are effective for basic maintenance. They remove temporary files safely.
Disk defragmentation tools help organize files for faster access. Windows has a built-in defragmenter, but this isn’t needed for SSDs.
Malware scanners help remove unwanted programs that slow down your system. Windows Defender works well, while Macs have XProtect built in.