Finding yourself frustrated with a disc that skips and freezes? Don’t toss that scratched CD, DVD, or video game in the trash just yet. Many scratched discs can be repaired at home using simple household items like toothpaste, which acts as a mild abrasive that can buff out surface scratches. Whether it’s your favorite music album or a cherished video game, these restoration methods could save you money and preserve your collection.
Before attempting any fix, it’s important to determine the severity of the damage. Light surface scratches can often be fixed with a gentle cleaning using a soft cloth and moving from the center outward. For deeper scratches, methods like using toothpaste with baking soda or specialized disc repair solutions may be necessary to restore playability.
The key to successful disc repair is patience and proper technique. Applying too much pressure or using the wrong materials can make the damage worse. By following the right procedures, many discs that seem beyond repair can be brought back to life, allowing you to enjoy your content without interruption.
Fixing A Scratched CD / DVD / Blu-Ray
Fixing a scratched disc can sometimes restore its playability, whether it’s a CD, DVD, Blu-ray, or video game disc. Below are several methods to try, depending on the severity of the scratch.
1. Clean the Disc
- Use a microfiber cloth and gently wipe the disc in a straight motion from the center outward. Do not use circular motions.
- Try warm water and mild dish soap if the disc is dirty.
- For stubborn smudges, use isopropyl alcohol or window cleaner on a lint-free cloth.
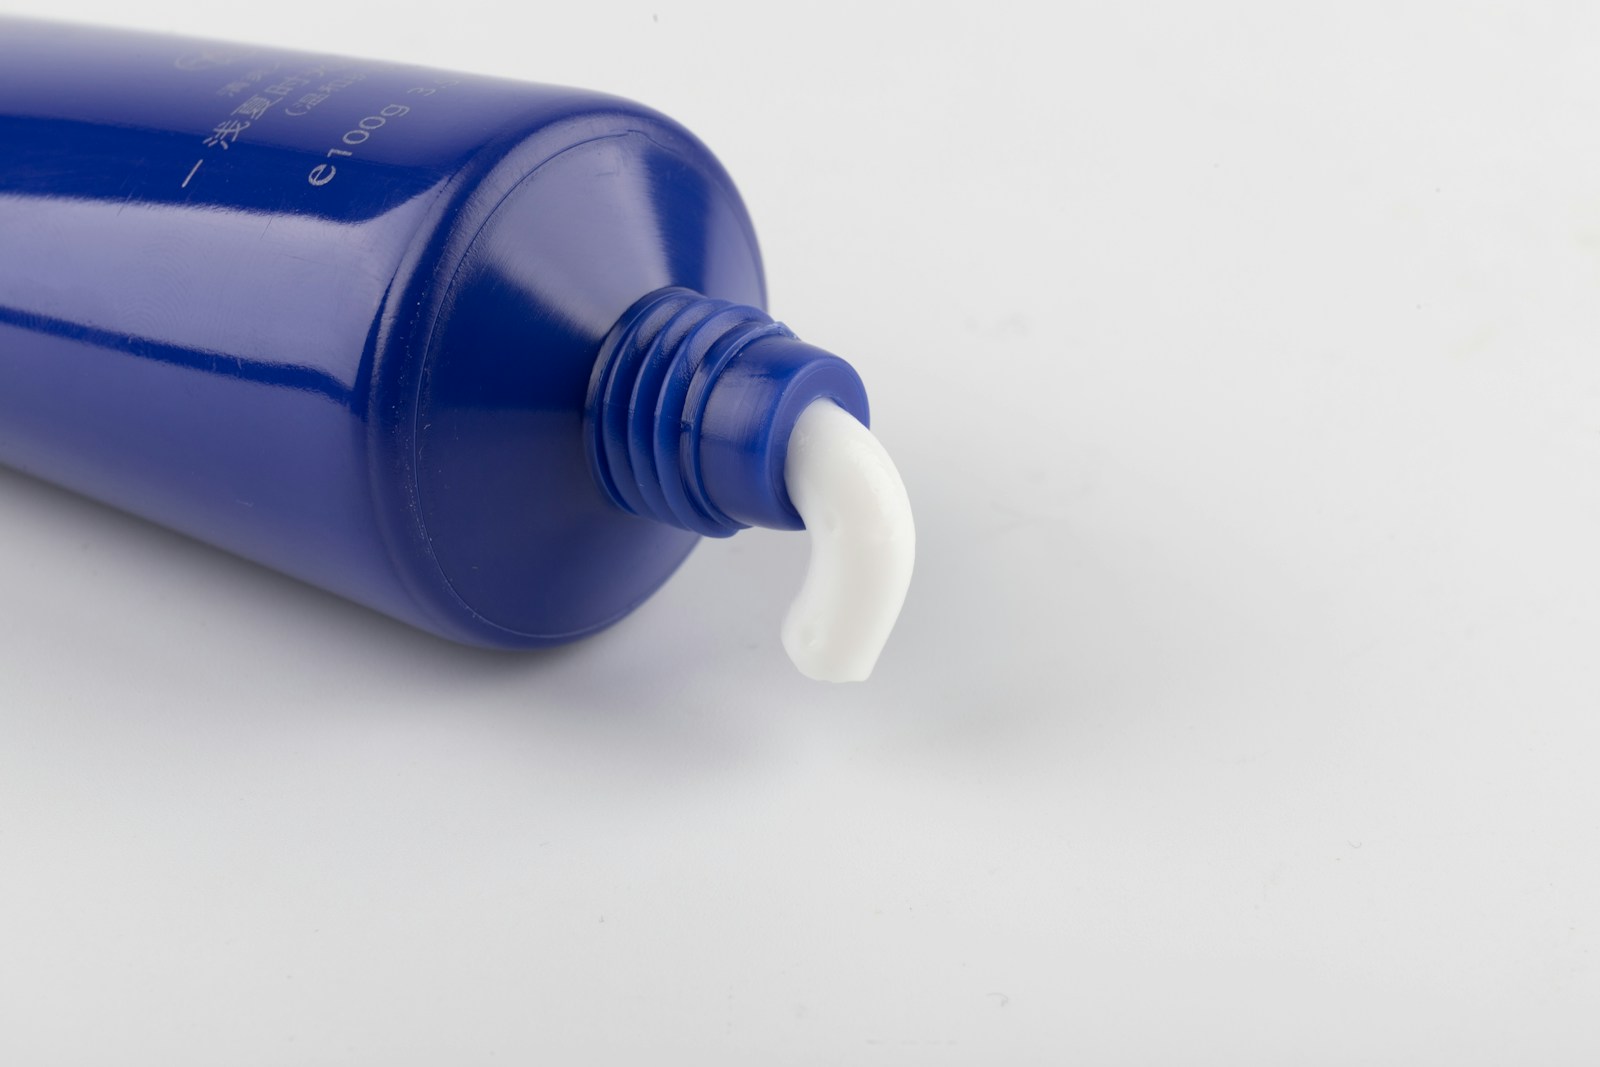
2. Use Toothpaste (Mild Abrasive)
- Apply a small amount of non-gel toothpaste (avoid those with microbeads).
- Use a soft cloth or cotton swab to rub the paste in straight lines from the center outward.
- Rinse with lukewarm water and dry with a microfiber cloth.
3. Baking Soda & Water Paste
- Mix baking soda and water into a thick paste.
- Apply with a soft cloth, rub gently in straight motions, and rinse off completely.
4. Use a Banana or Petroleum Jelly
- Rub the inside of a banana peel on the disc, then clean with a microfiber cloth.
- Petroleum jelly can help fill in small scratches, but it must be wiped off thoroughly.
5. Use a Commercial Disc Repair Kit
- Products like SkipDr or resurfacing kits buff out scratches and are effective for deeper damage.
- Follow the manufacturer’s instructions.
6. Apply Car Wax or Furniture Polish
- A thin layer of car wax or furniture polish can temporarily fill scratches.
- Buff with a soft cloth and remove excess residue.
7. Try the Banana Peel Trick
- Gently rub the inside of a banana peel over the scratches.
- Clean the disc with a soft cloth afterward.
8. Use a Professional Disc Repair Service
- Many video game stores, movie rental shops, or libraries offer professional resurfacing.
- If the disc is valuable, this might be the best option.
9. Test the Disc on Another Device
- Some disc drives are better at reading scratched discs than others.
- Try installing the game to your console (if possible) to avoid reading issues.
10. Backup & Digital Alternatives
- If the disc is still readable, make a backup before further damage occurs.
- Check if a digital version of the content is available.
If the disc is severely scratched and none of these methods work, replacement might be the only option.
Key Takeaways
- Clean the disc with water and soap before attempting any scratch repair techniques.
- Apply toothpaste in straight lines from the center outward to effectively remove surface scratches.
- Regular maintenance and proper handling can prevent future disc damage and extend media lifespan.
Understanding Disc Damage
Disc damage comes in various forms and affects how media plays back. The location and severity of scratches directly impact how the laser reads data from CDs, DVDs, and game discs.
Types of Scratches
Surface scratches are the most common type of damage. These shallow marks affect the protective layer but don’t reach the data layer. They typically cause minor playback issues that can be fixed with simple cleaning.
Deep scratches are more problematic. These penetrate closer to the data layer where the information is stored. Deep scratches often cause skipping, freezing, or complete failure to read the disc.
Circular scratches follow the disc’s rotation pattern. These can be particularly troublesome as they may affect entire tracks of data simultaneously.
Radial scratches run from the center outward. These are generally less problematic as they cross data tracks at perpendicular angles, affecting less continuous information.
Label-side damage is often overlooked but can be catastrophic. Since data is stored closer to the top layer, scratches on the label side can be more damaging than those on the bottom.
Impact on Laser Tracking System
The laser tracking system reads data by bouncing light off the disc’s reflective layer. When light hits a scratch, it scatters instead of reflecting cleanly back to the sensor.
This scattering creates read errors when the laser can’t distinguish between pits (data) and scratches. The player must then decide whether to skip the section or attempt multiple reads.
Error correction systems in modern players can compensate for minor damage. These systems use redundant data and algorithms to reconstruct missing information from scratched areas.
Different media players handle scratches differently. Tray-loading drives typically handle scratched discs better than slot-loading drives, which may further damage scratched media.
For game discs, scratches can be particularly problematic. Game consoles often have less robust error correction than dedicated audio or video players, making scratched game discs more likely to fail.
Preliminary Cleaning Steps
Before attempting to repair a scratched disc, it’s essential to clean it properly and determine how severe the damage is. Proper cleaning can sometimes resolve minor issues without further intervention.
Assessing the Scratch Severity
Start by examining the disc under bright light. Hold it at different angles to identify all scratches and their depth. Light surface scratches appear as thin lines that catch the light, while deep scratches look more pronounced and may feel rough to a gentle touch.
Circular scratches that follow the disc’s curve are typically less problematic than radial scratches (those running from center to edge). Deep scratches that cut through the data layer will be more difficult to repair than surface-level ones.
If the disc shows signs of what’s commonly called “laser burn” (circular rings), this indicates different issues than scratches but can be addressed with similar methods.
Cleaning with a Microfiber Cloth
Begin with a gentle cleaning using a microfiber cloth to remove dust, fingerprints, and oils. Always wipe from the center of the disc straight outward to the edge—never in a circular motion.
For stubborn spots, slightly dampen the cloth with distilled water. Avoid tap water as minerals can leave residue on the disc. If water alone doesn’t work, add a tiny amount of mild dish soap to the cloth.
For particularly dirty discs, you can rinse them under running water with a small amount of dish soap. Ensure you thoroughly rinse away all soap and completely dry the disc afterward with a lint-free cloth.
Never use paper towels or rough fabrics as they can create new scratches. A properly cleaned disc might work perfectly without further treatment if the issues were caused by dirt rather than actual scratches.
At-Home Remedies
Several household items can effectively repair scratched discs with simple application techniques. These methods use common products to fill surface scratches and restore playability to damaged CDs, DVDs, and video games.
Banana Method
The banana method uses natural oils and waxes from banana peels to fill in light scratches on discs. To try this technique, take a ripe banana peel and gently rub the inside (white part) on the scratched disc in a straight line from the center outward.
The oils from the peel help fill minor scratches. After application, let the residue sit for 1-2 minutes to penetrate the scratches.
Wipe the disc clean with a soft microfiber cloth, always moving from the center outward. This prevents smearing the banana residue across the disc surface.
This method works best for shallow scratches rather than deep gouges. Multiple applications may be necessary for better results.
Toothpaste Method
Toothpaste with baking soda is particularly effective for repairing scratched discs. Choose a white, non-gel toothpaste without whitening agents or crystals that could cause additional scratching.
Apply a small amount of toothpaste to the scratched area. Using a soft cotton cloth or cotton swab, work the paste into the scratches with a gentle circular motion.
Rub from the center of the disc outward in straight lines, never in circles around the disc. Allow the toothpaste to dry slightly.
Rinse thoroughly with cool water and pat dry with a lint-free cloth. The mild abrasives in toothpaste help smooth out surface irregularities, allowing laser readers to better scan the disc.
For badly scratched discs, this process may need to be repeated several times for best results.
Petroleum Jelly Application
Petroleum jelly works by filling in surface scratches to help the laser read through damaged areas. This method is best for light to moderate scratches on any optical disc.
Steps:
- Clean the disc thoroughly with mild soap and water
- Dry completely with a microfiber cloth
- Apply a thin layer of petroleum jelly to the scratched areas
- Let sit for 5 minutes
- Gently wipe away excess jelly, moving from center outward
The petroleum jelly creates a temporary seal over scratches, allowing the disc to be read. This is not a permanent fix, but it can be reapplied as needed before each use.
Avoid applying too much jelly as excess can gum up disc drives. This method works well for minor surface scratches that don’t penetrate the data layer.
Using Peanut Butter
Peanut butter contains oils and mild abrasives that can help fill and smooth small scratches. Choose creamy peanut butter without chunks for best results.
Apply a small dab of peanut butter to the scratched area and gently rub it in using your finger or a soft cloth. Work in straight lines from the center outward, never in circles around the disc.
Let the peanut butter sit for 1-2 minutes to allow the oils to penetrate the scratches. Rinse the disc thoroughly with warm water and mild soap to remove all peanut butter residue.
Dry the disc completely with a microfiber cloth before testing. This method is most effective for minor scratches and works by filling in surface imperfections with oils while the mild abrasives help smooth rough edges.
Natural fats in peanut butter can have a polishing effect on the plastic disc surface.
Specialized Scratch Removal
When standard household remedies don’t fix a damaged disc, specialized options can restore functionality to even badly scratched media. These professional-grade solutions offer deeper repair capabilities for discs that won’t play properly.
Using a CD Repair Kit
CD repair kits provide a structured approach to fixing scratched discs at home. These kits typically contain specialized cleaning solutions and buffing tools designed specifically for optical media repair.
Most kits include a manual or automatic buffing device that gently removes the top layer of plastic from the disc surface. This process effectively eliminates scratches by smoothing out the surface.
Quality kits often contain:
- Cleaning solution or polish
- Microfiber buffing pads
- A disc holder or machine
- Step-by-step instructions
For best results, users should follow the kit instructions precisely. Too little pressure won’t fix the scratch, while too much might damage the disc further.
Many kits can repair multiple discs, making them cost-effective for people with large media collections. Recovery success rates vary based on scratch severity and kit quality.
Professional Disc Resurfacing
For severely scratched discs that home methods can’t fix, professional resurfacing offers the highest success rate. This service uses commercial-grade machines to precisely remove layers of plastic from the disc surface.
Professional disc repair machines use water or specialized fluids while grinding the surface with extremely fine abrasives. The process creates a smooth, even surface that allows the laser to read the data properly again.
Repair shops typically charge $3-5 per disc, with discounts for multiple items. The process takes only minutes but can save rare or valuable discs that would be expensive to replace.
Most music stores, game shops, and electronics retailers offer this service. Libraries and rental stores often have resurfacing equipment as well.
The success rate depends on scratch depth. If scratches reach the data layer, even professional resurfacing cannot recover the disc.
Chemical Solutions and Application
Chemical solutions can effectively restore damaged discs when mechanical methods fail. These techniques use common household or automotive products to fill in scratches and restore playability without expensive equipment.
Rubbing Alcohol Technique
Rubbing alcohol offers a simple yet effective method for cleaning and repairing minor scratches on discs. This technique works by removing dirt and oils that might be causing playback issues.
To apply this method, mix isopropyl alcohol (91% or higher) with a small amount of distilled water in a 3:1 ratio. Dampen a microfiber cloth with the solution and wipe from the center of the disc outward in straight lines, never in circles.
The alcohol evaporates quickly without leaving residue, making it ideal for cleaning the disc surface. For best results, allow the disc to air dry completely before testing.
This method works best for light scratches and smudges rather than deep gouges. Always use a lint-free cloth to avoid leaving fibers on the disc surface.
Carnauba Car Wax Method
Carnauba car wax provides an excellent solution for more persistent scratches by filling in damaged areas and creating a protective layer over the disc’s surface.
Apply a small amount of pure carnauba wax to a clean, soft cloth. Gently rub the wax onto the disc using straight strokes from the center outward. Allow the wax to dry to a hazy finish (about 2-3 minutes).
Using a fresh, clean microfiber cloth, buff the disc in the same outward motion until all haziness disappears. The wax fills minor scratches and creates a protective coating that helps light pass through damaged areas.
This method works particularly well for playback discs like CDs and DVDs. The filling and smoothing action of the wax helps the laser read through minor imperfections.
Creating a Custom CD Cleaning Solution
A homemade cleaning solution can offer an economical way to address disc scratches using common household items.
Basic Cleaning Solution Recipe:
- 1 part white vinegar
- 1 part distilled water
- A few drops of mild dish soap
Mix the ingredients in a spray bottle and lightly mist the disc surface. Using a microfiber cloth, wipe from the center outward in straight lines. Rinse thoroughly with clean water and dry completely.
For more stubborn scratches, create a paste using baking soda and toothpaste with baking soda. Apply the paste to scratches with a cotton swab and work it into the damaged areas using gentle circular motions. Rinse thoroughly afterward.
Always test your custom solution on a less important disc first. Some combinations may be too abrasive for certain types of discs, particularly Blu-rays with their delicate coating.
Maintenance and Prevention Tips
Preventing scratches on discs is far more effective than trying to repair them after damage occurs. Proper care extends the life of your CDs, DVDs, and game discs significantly.
Proper Handling and Storage
Always handle discs by their edges or center hole, avoiding contact with the playing surface. Fingerprints and oils from hands can damage discs over time or interfere with playback. Consider wearing cotton gloves when handling valuable or frequently used discs.
Store discs in their original cases or protective jewel cases when not in use. Avoid paper or cardboard sleeves as they can scratch the surface. Always return discs to their cases immediately after use.
Keep discs away from direct sunlight, heat sources, and high humidity areas. Extreme temperatures can warp discs and make them unplayable. Vertical storage prevents discs from warping and reduces pressure on their surfaces.
Label discs using only markers specifically designed for CD/DVD labeling. Never use adhesive labels as they can unbalance the disc in the CD player.
Regular Cleaning Best Practices
Clean discs regularly with a soft, lint-free cloth. Wipe in straight lines from the center outward toward the edge—never in a circular motion which can create circular scratches that follow the data track.
For stubborn dirt or fingerprints, dampen the cloth slightly with distilled water. For tougher spots, use a mild dish soap solution (1 drop in 1 cup of water) or isopropyl alcohol (at least 90% concentration).
Recommended Cleaning Supplies:
- Microfiber cloths
- Lens cleaning solution
- Distilled water
- Isopropyl alcohol (90%+)
Regular maintenance cleaning every 15-20 uses helps prevent buildup that can eventually damage the disc surface.
Avoiding Common Missteps
Never stack discs on top of each other without cases. This practice almost guarantees scratches and can lead to discs that skip or won’t play at all. Avoid placing discs face down on any surface, even temporarily.
Don’t use household cleaners, especially those containing ammonia or abrasives. These chemicals can permanently damage the protective layer of the disc and make it impossible to remove scratches from a CD.
Avoid exposing discs to:
- Sand or dirt particles
- Eating or drinking near discs
- Writing directly on the disc surface with ballpoint pens
- Bending or flexing discs
Don’t leave discs in hot cars or freezing environments. Temperature fluctuations can cause the disc layers to separate, rendering them unplayable.


