The Canon Color imageCLASS MF642Cdw is a versatile printer that can sometimes run into issues. When problems arise, quick fixes can save you time and frustration. Most MF642Cdw issues can be solved by checking paper settings, updating drivers, or running maintenance tasks.
Common problems include paper jams, print quality issues, and connection errors. The printer may ask you to load paper into tray 1 even when it’s full. This often stems from incorrect paper size settings or sensor errors.
For many issues, you can use the printer’s web interface to diagnose and fix problems. You’ll need to set up an access PIN the first time you use it. The interface lets you check ink levels, run cleaning cycles, and adjust network settings.
| Common MF642Cdw Issues | Quick Fixes |
|---|---|
| Paper jams | Check paper size and type |
| Print quality | Run print head cleaning |
| Connection errors | Update printer drivers |
| Tray 1 paper requests | Verify paper settings |
Beyond troubleshooting, consider the long-term care of your printer. Regularly cleaning the interior, removing dust and debris, can prevent future malfunctions. Using high-quality paper, as mentioned before, not only improves print quality but also minimizes wear and tear on the printer’s internal mechanisms. Proper storage also plays a role. Avoid placing the printer in areas with high humidity or extreme temperatures, as this can affect its performance and lifespan. By taking these proactive steps, you can keep your Canon MF642CDW running smoothly for years to come.
Troubleshooting Your Canon MF642CDW
Common Canon MF642CDW Issues
The Canon MF642CDW is a popular multifunction printer, but like any device, it can sometimes experience problems. Understanding common issues and their solutions can save you time and frustration. This guide covers frequent problems users encounter, from paper jams to connectivity issues.
Paper Jams
Paper jams are a common printer problem. The MF642CDW is no exception. When a jam occurs, the printer usually displays an error message. Follow the on-screen instructions to clear the jam. This typically involves opening the relevant access panels and carefully removing the jammed paper. Make sure to remove all pieces of paper to prevent future jams. Check the paper tray for any obstructions or misaligned paper. Using the correct type and weight of paper for your printer is essential. Canon’s specifications outline acceptable paper types.
Connectivity Problems
Connectivity issues can prevent your computer from communicating with the printer. If you’re using a USB connection, ensure the cable is securely connected to both the printer and the computer. For wireless connections, verify that the printer is connected to the same Wi-Fi network as your computer. Check your router settings and ensure that the printer’s IP address is correctly configured. Restarting both the printer and your computer can often resolve temporary network glitches. You may need to reinstall the printer driver on your computer.
Print Quality Issues
Streaks, smudges, or faded prints can indicate problems with the toner cartridges. Check the toner levels and replace any low or empty cartridges. Ensure that the toner cartridges are installed correctly. Clean the printer’s internal components, such as the drum unit, according to the manufacturer’s instructions. Using high-quality paper can also improve print quality.
Driver Issues
Outdated or corrupted printer drivers can cause various problems. Visit Canon’s website to download the latest drivers for your operating system. Uninstall the existing driver before installing the new one. Make sure you select the correct driver for your printer model and operating system version. Compatibility is crucial for proper printer function.
Scanner Problems
If the scanner isn’t working, check the scanner glass for any dirt or smudges. Clean the glass with a soft, lint-free cloth. Ensure that the document you’re scanning is placed correctly on the scanner bed. Check the scanner settings in your software to make sure they are configured correctly. Restarting the printer can sometimes resolve scanner issues.
Troubleshooting Table
| Problem | Possible Solution |
|---|---|
| Paper Jam | Clear the paper path, check paper type, inspect paper tray. |
| Connectivity Issues | Check cables, verify Wi-Fi connection, restart devices, reinstall drivers. |
| Print Quality Problems | Check toner levels, replace cartridges, clean printer, use quality paper. |
| Driver Issues | Download and install latest drivers from Canon’s website. |
| Scanner Problems | Clean scanner glass, check document placement, verify settings, restart printer. |
Firmware Updates
Keeping your printer’s firmware up to date is important. Firmware updates often include bug fixes and performance improvements. Check Canon’s website for the latest firmware for your MF642CDW model. Follow the instructions provided by Canon to install the firmware update. This process usually involves downloading the firmware file to your computer and then transferring it to the printer via USB or network connection.
Contacting Canon Support
If you’ve tried these troubleshooting steps and are still experiencing problems, it’s time to contact Canon support. They can provide further assistance and may be able to diagnose more complex issues. Have your printer’s model number and serial number ready when you contact support. You can find this information on a label on the printer.
Maintaining Your Canon MF642CDW
Regular maintenance can help prevent problems and extend the life of your printer. Clean the printer regularly, following the manufacturer’s recommendations. Use genuine Canon toner cartridges and supplies. Avoid using excessive force when handling printer components. Store the printer in a clean, dry environment.
Initial Setup and Configuration
Canon’s MF642CDW is a reliable all-in-one printer, but even dependable devices can have problems. Issues like paper jams or unexpected connectivity drops can disrupt your work. This guide explains common problems users face with the MF642CDW and provides easy, step-by-step solutions. We will cover how to fix paper jams, troubleshoot network connections, improve print quality, and update drivers.
We will also share important maintenance tips to keep your printer running well. Use this guide as your helpful resource for keeping your MF642CDW in great shape. No more last-minute searches for answers when your printer malfunctions – this guide has everything you need.
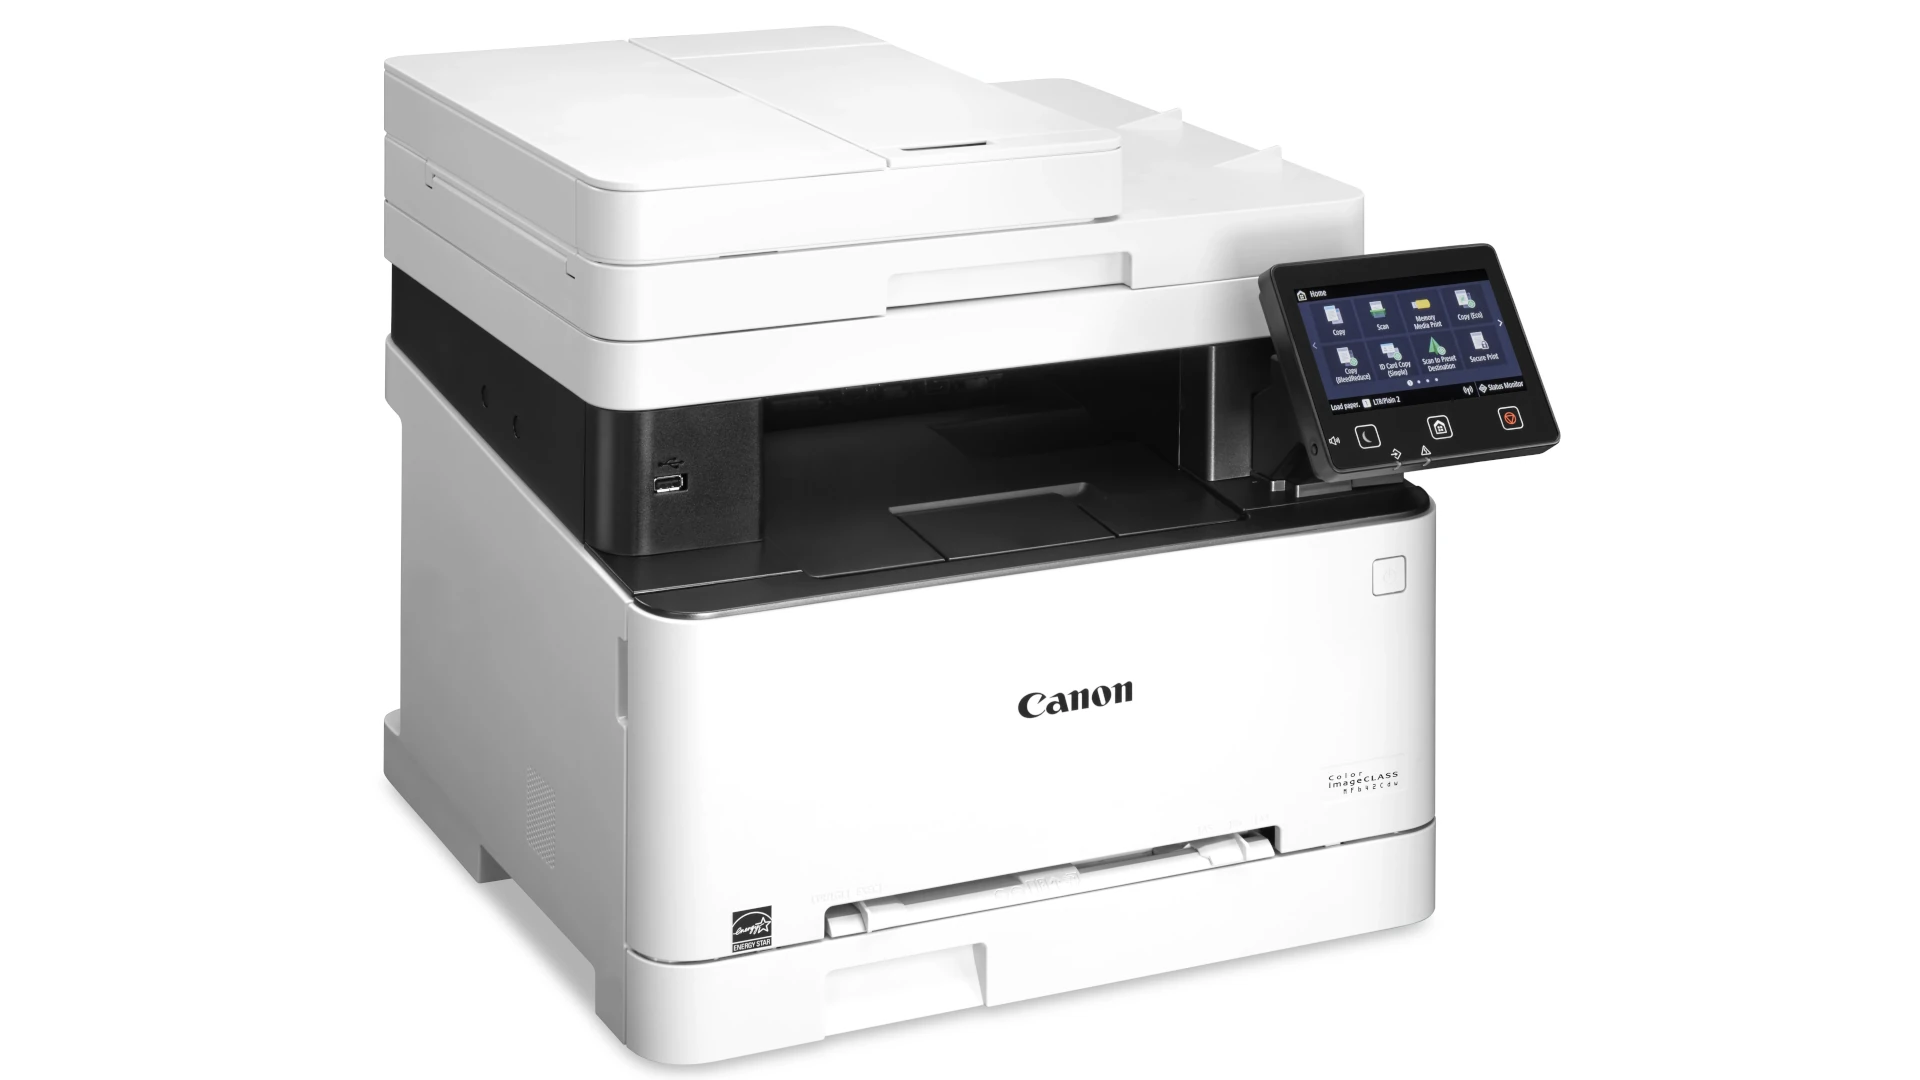
Setting up your Canon Color ImageCLASS MF642Cdw printer involves several key steps. This section guides you through the process from unboxing to wireless configuration.
Unboxing and Assembly
Start by removing the printer from its packaging. Take out all components including the main unit, power cord, and documentation. Check the box contents against the packing list to ensure everything is present.
Remove all tape and protective materials from the printer’s exterior and interior. Open the front cover to access the inner components. Look for any orange-colored shipping materials or plastic pieces that need removal.
Place the printer on a flat, stable surface with enough space for ventilation. Attach any external components like the output tray. Close all covers securely.
Connecting to Power
Locate the power cord that came with your printer. Plug one end into the power socket on the back of the MF642Cdw. Insert the other end into a grounded electrical outlet.
Press the power button on the front panel. The printer will start up and display the initial setup screen on its LCD panel. Wait for it to fully boot up before proceeding.
| Connection Type | Pros | Cons |
|---|---|---|
| Power outlet | Stable power | Limited placement |
| UPS | Protection from surges | Additional cost |
Installing Consumables
Open the front cover of the printer. You’ll see slots for four toner cartridges: black, cyan, magenta, and yellow. Remove each toner cartridge from its packaging.
Shake each cartridge gently to distribute the toner evenly. Remove the protective seal from each cartridge. Insert the cartridges into their corresponding slots until they click into place.
Close the front cover firmly. The printer will initialize the newly installed toner cartridges.
Wireless LAN Configuration
Access the printer’s control panel. Navigate to the Network Settings menu. Select “Wireless LAN Setup” and choose your preferred method:
- WPS Push Button: Press the WPS button on your router.
- Search for Access Point: Select your network from the list.
- Manual Setup: Enter your network name and password.
Follow the on-screen prompts to complete the wireless setup. The printer will attempt to connect to your network. Once connected, print a network status report to verify the connection.
Configure initial settings using the Setup Guide that appears on the LCD screen. This will help you set the date, time, and region settings.
Printing and Copying
The MF642Cdw offers versatile printing and copying options. You can load paper in different ways and adjust settings to improve quality. Efficient copying features help save time and resources.
Loading Paper into the Paper Drawer
To load paper in the MF642Cdw’s paper drawer:
- Pull out the drawer completely
- Adjust the paper guides to fit your paper size
- Fan the paper stack to prevent jams
- Insert the paper with the print side facing up
- Align the paper stack against the rear guide
- Push the drawer back in until it clicks
Make sure not to exceed the load limit mark on the drawer. The printer supports various paper sizes including Letter, Legal, and A4. Check the user manual for a full list of compatible sizes and types.
Using the Multi-Purpose Tray
The multi-purpose tray handles special media types:
- Open the tray and extend the paper support
- Adjust the paper guides to match your media width
- Insert paper print-side down
- For envelopes, insert flap-side up and to the left
This tray is ideal for printing on envelopes, labels, and thick paper. It holds up to 50 sheets of standard paper or 10 envelopes. Always select the correct paper type in your print settings to ensure optimal print quality.
Adjustment and Maintenance for Print Quality
To maintain high print quality:
- Clean the print head regularly
- Calibrate colors using the control panel
- Replace toner cartridges when low
If you notice streaks or faded prints, try these steps:
- Print a test page to identify issues
- Check toner levels and replace if needed
- Run the print head cleaning utility
- Perform a deep cleaning if regular cleaning doesn’t help
For persistent problems, contact Canon support for advanced troubleshooting.
Copying Documents Efficiently
The MF642Cdw offers features to streamline copying:
- Use the automatic document feeder for multi-page documents
- Enable duplex copying to save paper
- Adjust density and image quality settings for optimal results
- Use the ID Card Copy feature for easy document reproduction
To copy quickly:
- Place your document on the scanner glass or in the feeder
- Press the Copy button on the control panel
- Select your desired settings (copies, color/B&W, etc.)
- Press Start
For large copy jobs, use the collate function to automatically organize your output.
Advanced Features
The Canon MF642Cdw offers several advanced capabilities to enhance productivity. These include wireless printing, document digitization, and remote fax transmission.
Utilizing AirPrint
AirPrint allows you to print wirelessly from Apple devices without installing drivers. To use AirPrint:
- Ensure your MF642Cdw and Apple device are on the same Wi-Fi network
- Open the document you want to print
- Tap the share icon and select “Print”
- Choose your MF642Cdw from the list of printers
- Adjust print settings as needed
- Tap “Print” to send the job
If AirPrint isn’t working, try these fixes:
- Restart both the printer and your Apple device
- Update your printer’s firmware
- Check that AirPrint is enabled in the printer settings
AirPrint supports most common file types and allows you to easily print photos, emails, and web pages from your iPhone or iPad.
Scanning Documents
The MF642Cdw offers versatile scanning features to digitize your documents. You can scan to:
- Network folder
- USB drive
- Cloud services
To scan a document:
- Place it on the scanner glass or in the document feeder
- Press the Scan button on the control panel
- Choose your desired scan destination
- Adjust settings like resolution and file format
- Press Start to begin scanning
For multi-page documents, use the 50-sheet automatic document feeder. The MF642Cdw supports color scanning up to 600 x 600 dpi resolution.
You can also use the Canon PRINT Business app to scan directly to your mobile device.
Faxing Capabilities
While less common today, faxing remains important for some businesses. The MF642Cdw includes built-in fax functionality with these key features:
- 33.6 Kbps modem speed
- Up to 512 pages of memory
- 281 speed dial locations
- PC faxing (send only)
To send a fax:
- Load your document
- Press the Fax button
- Enter the recipient’s fax number
- Adjust settings if needed
- Press Start to send
| Fax Feature | Specification |
|---|---|
| Modem Speed | 33.6 Kbps |
| Memory | Up to 512 pages |
| Speed Dial | 281 locations |
| PC Faxing | Send only |
You can also receive faxes automatically or manually. The MF642Cdw stores incoming faxes in memory if it runs out of paper.
Troubleshooting and Support
The Canon MF642Cdw printer offers several solutions for common issues. These include handling paper jams, replacing toner cartridges, and resolving error messages. When problems persist, Canon provides additional support options.
Handling Paper Jams
Paper jams can disrupt your printing tasks. To clear a jam:
- Open the front cover
- Remove the toner cartridges
- Gently pull out jammed paper
Check for torn pieces of paper inside the printer. Clean the paper path with a soft cloth. Ensure you’re using the correct paper type and size for your printer.
Prevent future jams by fanning paper before loading. Don’t overfill the paper tray. Keep paper stored in a dry place to avoid moisture absorption.
Replacing Toner Cartridges
When print quality declines, it’s time to replace toner cartridges. The MF642Cdw uses four colors: black, cyan, magenta, and yellow.
To replace a cartridge:
- Open the front cover
- Pull out the empty cartridge
- Unpack the new cartridge and shake it gently
- Remove the protective seal
- Insert the new cartridge until it clicks
Always use genuine Canon toner for best results. The printer’s display will indicate which color needs replacement.
Keep spare cartridges on hand to avoid printing downtime. Store them in a cool, dry place away from direct sunlight.
Resolving Common Error Messages
Error messages can be frustrating. Here are solutions for common issues:
| Error Message | Possible Solution |
|---|---|
| Toner Low | Order replacement cartridge |
| Paper Out | Refill paper tray |
| Cover Open | Check all doors are closed |
| Network Error | Verify Wi-Fi or Ethernet connection |
For code-based errors, consult the user manual for specific troubleshooting steps. Restarting the printer often resolves temporary glitches.
Update the printer firmware regularly to fix known issues and improve performance. You can download the latest firmware from Canon’s website.
Seeking Further Assistance
If problems persist, Canon offers multiple support channels:
- Online Support: Visit Canon’s website for troubleshooting guides and FAQs
- Phone Support: Call Canon’s customer service for direct assistance
- Community Forums: Connect with other users to share solutions
For warranty service, locate an authorized Canon service center. Keep your proof of purchase handy for warranty claims.
Regular maintenance extends your printer’s life. Clean the exterior with a soft cloth. Use the built-in cleaning functions for internal components. Schedule professional servicing for optimal performance.
Frequently Asked Questions
The Canon MF642Cdw printer may encounter various issues during operation. These common problems can often be resolved through simple troubleshooting steps.
How can I resolve paper jam issues in the Canon MF642Cdw printer?
To fix paper jams in your MF642Cdw:
- Open the front cover and remove any visible jammed paper.
- Check the rear cover and duplex unit for stuck paper.
- Gently pull out jammed sheets in the direction of paper flow.
- Ensure paper is loaded correctly in the tray.
Clean the paper feed rollers with a lint-free cloth if jams occur frequently.
What steps should I take if my Canon MF642Cdw is not being recognized by Windows 10?
If Windows 10 doesn’t detect your MF642Cdw:
- Check all cable connections.
- Restart both the printer and computer.
- Update or reinstall the printer drivers.
- Use Windows troubleshooter to diagnose connection issues.
Ensure your printer’s IP address hasn’t changed if using a network connection.
How do I check the toner levels on the Canon MF642Cdw?
To view toner levels on your MF642Cdw:
- Press the Home button on the printer’s control panel.
- Select “Toner Information” from the menu.
- The display will show remaining toner levels for each color.
You can also check toner status through the printer driver on your computer.
What should I do if my Canon MF642Cdw is printing with incorrect colors?
For color issues with your MF642Cdw:
- Run a color calibration from the printer’s menu.
- Clean the print head using the maintenance function.
- Check if any color cartridges need replacement.
- Ensure you’re using genuine Canon toner cartridges.
Print a test page to verify color accuracy after making changes.
How can connectivity issues with the Canon MF642Cdw be troubleshooted?
To resolve MF642Cdw connectivity problems:
- Verify Wi-Fi or Ethernet cable connections.
- Restart your router and printer.
- Ensure the printer’s IP address is correct in your network settings.
- Check for firmware updates that may improve connectivity.
Try connecting via USB to isolate network-specific issues.
Where can I find the service manual for the Canon MF642Cdw?
Canon doesn’t publicly release service manuals for the MF642Cdw. For technical support:
- Visit Canon’s official support website.
- Contact Canon customer service directly.
- Consult with an authorized Canon service technician.
| Resource Type | Location | Purpose |
|---|---|---|
| User Manual | Canon Support Website | Basic operation and troubleshooting |
| Driver Downloads | Canon Support Website | Latest software and firmware |
| Customer Support | Canon Phone/Chat Support | Advanced troubleshooting assistance |
Always refer to official Canon resources for the most accurate and up-to-date information.