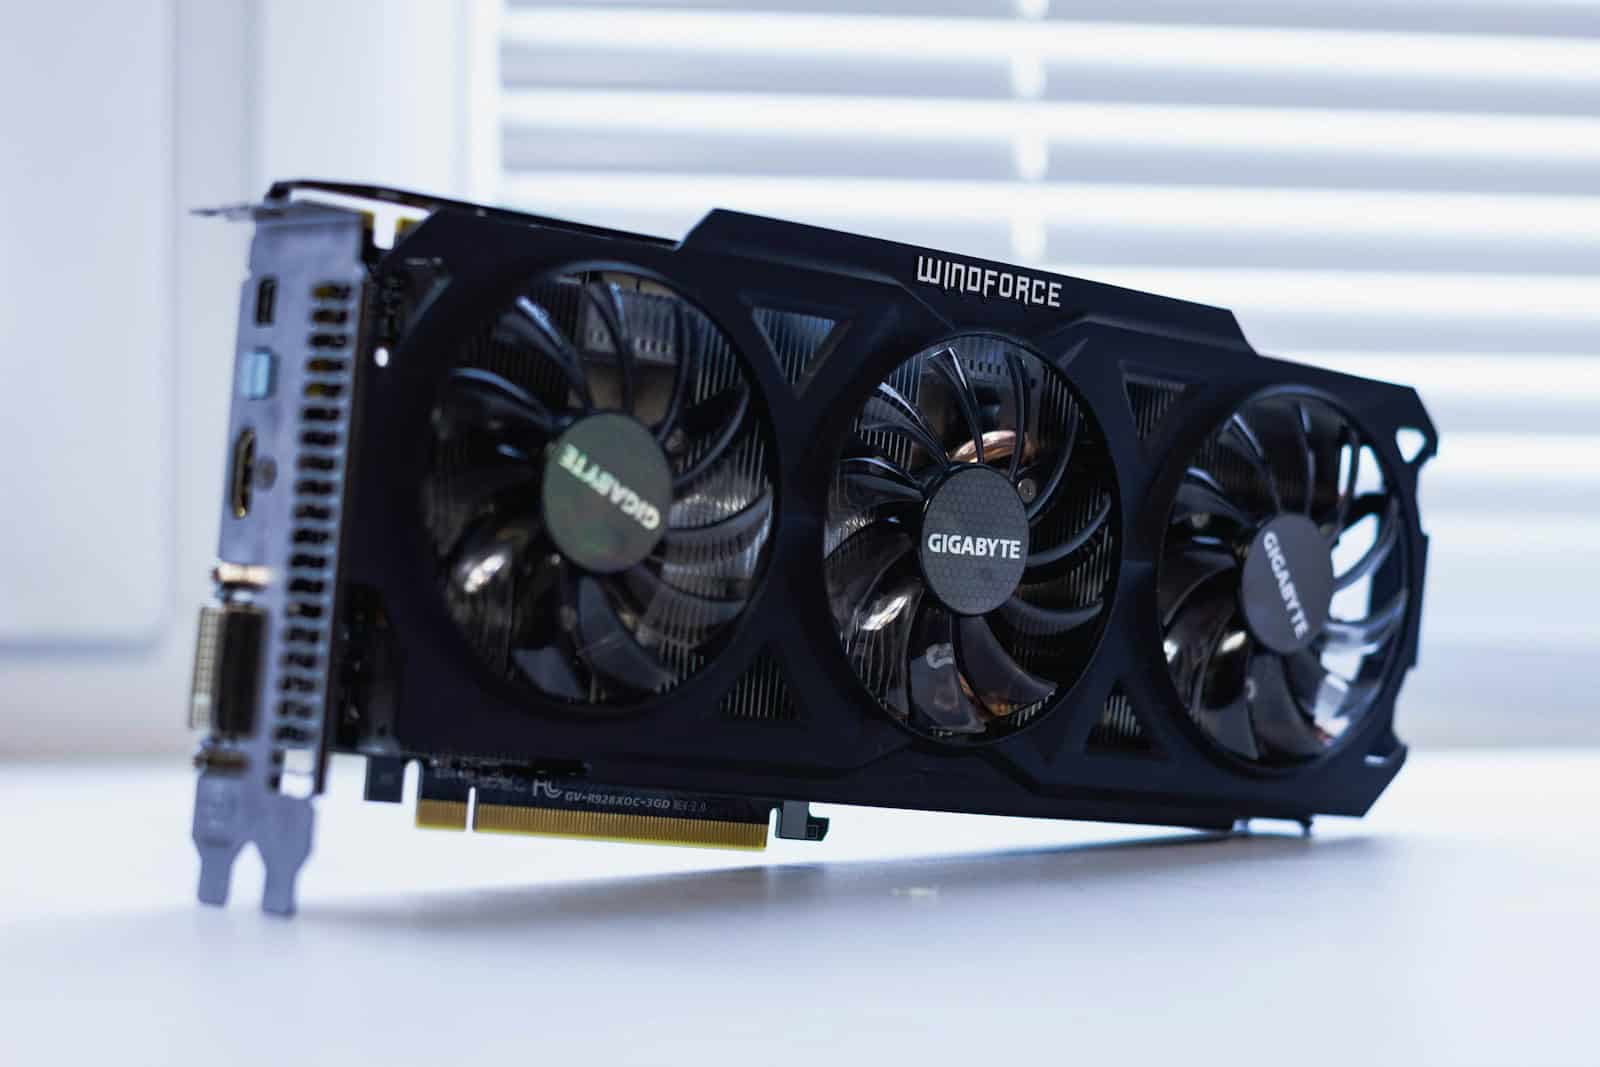
Overclocking a graphics card can significantly enhance computer performance. Essentially, by increasing the clock speed beyond the factory settings, the GPU works faster, improving gaming and rendering capabilities. However, understanding the process and risks is vital to avoid damaging the hardware. Starting slowly and patiently is key to finding a stable and safe overclock.
The crux of the task lies in adjusting settings like the core voltage, power limit, core clock, and memory clock. Tools like MSI Afterburner offer a user-friendly interface to make these changes. Stability testing after each increment is essential to maintain the delicate balance between speed and system safety. The aim is to achieve faster deliverables from the GPU without compromising the longevity or stability of the system.
A Comprehensive Guide to GPU Overclocking
Understanding GPU Overclocking
Overclocking involves pushing your graphics processing unit (GPU) beyond its factory-set clock speeds to achieve improved performance. Higher clock speeds translate to faster data processing, leading to smoother gameplay and potentially higher frame rates. It’s akin to squeezing extra horsepower out of a car engine.
However, it’s important to approach overclocking with caution. Pushing your GPU too hard can lead to instability, crashes, or even hardware damage. Always prioritize stability and incrementally increase clock speeds.
Key Components for GPU Overclocking
- Overclocking Software: Tools like MSI Afterburner are essential for adjusting clock speeds, voltages, and fan curves. They also provide real-time monitoring of GPU temperature and usage.
- Benchmarking Software: Programs like 3DMark or Unigine Heaven stress test your GPU to determine its stability under overclocked conditions.
- Monitoring Software: Applications like HWMonitor track your GPU’s vitals, such as temperature, voltage, and fan speeds.
Step-by-Step Overclocking Guide
- Baseline Testing: Run a benchmark with your GPU at factory settings to establish a baseline performance score.
- Incremental Clock Speed Increases: Start by increasing your GPU’s core clock by small increments, typically around 10-20 MHz.
- Benchmark and Monitor: After each increment, run a benchmark and monitor for instability or abnormal temperatures. If your system remains stable, continue to increase the clock speed.
- Adjust Voltage and Fan Speed: You might need to slightly increase the GPU’s voltage to maintain stability at higher clock speeds. Also, adjust the fan curve to keep temperatures in check.
- Memory Overclocking: Once you reach a stable core clock overclock, you can experiment with increasing the memory clock in a similar fashion.
- Finding the Sweet Spot: Keep increasing clock speeds until you reach a point where your system becomes unstable or temperatures become too high. Then, dial back slightly to find a stable overclock that offers optimal performance.
GPU Overclocking: Pros and Cons
| Pros | Cons |
|---|---|
| Improved performance in games and graphics-intensive tasks | Potential for instability and crashes |
| Higher frame rates and smoother gameplay | Risk of hardware damage due to excessive heat |
| Free performance boost (if done correctly) | Requires some technical knowledge and patience |
| Can extend the life of older GPUs | |
| Fun and rewarding for enthusiasts |
Key Takeaways
- Overclocking enhances graphics card speed and performance.
- Careful adjustments and testing are crucial.
- Overclocking requires balancing speed with hardware safety.
Understanding GPU Overclocking
To overclock a GPU means to increase its clock speeds beyond the manufacturer’s default settings to boost performance, especially in tasks like gaming or rendering. However, it requires careful consideration to ensure system stability and to avoid overheating.
Basics of Overclocking
Overclocking a GPU involves raising the core and memory clock speeds to make a graphics card run faster. This brings about higher frames per second in games and potentially smoother performance in other graphics-intensive tasks. The gains in performance depend on how much you can increase the clock speeds without affecting the GPU’s stability.
Prerequisites and Safety
Before you start overclocking, check the power supply unit (PSU) as it will need to supply more power. Your PC’s cooling should be efficient to handle the extra heat overclocking will generate. Additionally, confirm that your motherboard can support overclocking, as some are locked against such changes. Safety is paramount; always monitor temperature to avoid damaging components.
GPU Overclocking Tools
Overclocking is done through software tools such as MSI Afterburner, EVGA Precision, Nvidia’s GeForce Experience, and AMD’s software for their respective GPUs. These programs allow you to adjust the clock speeds, fan speed, and voltage. MSI Afterburner is widely used and supports GPUs from both Nvidia and AMD.
Benchmarking and Testing
After overclocking, run stress tests and benchmarking tools like 3DMark or Unigine Heaven to check system stability and performance gains. Monitor for artifacts that indicate the overclock is too high, and watch the temperature closely. If the system crashes or shows any sign of instability, reduce the overclock and test again.


