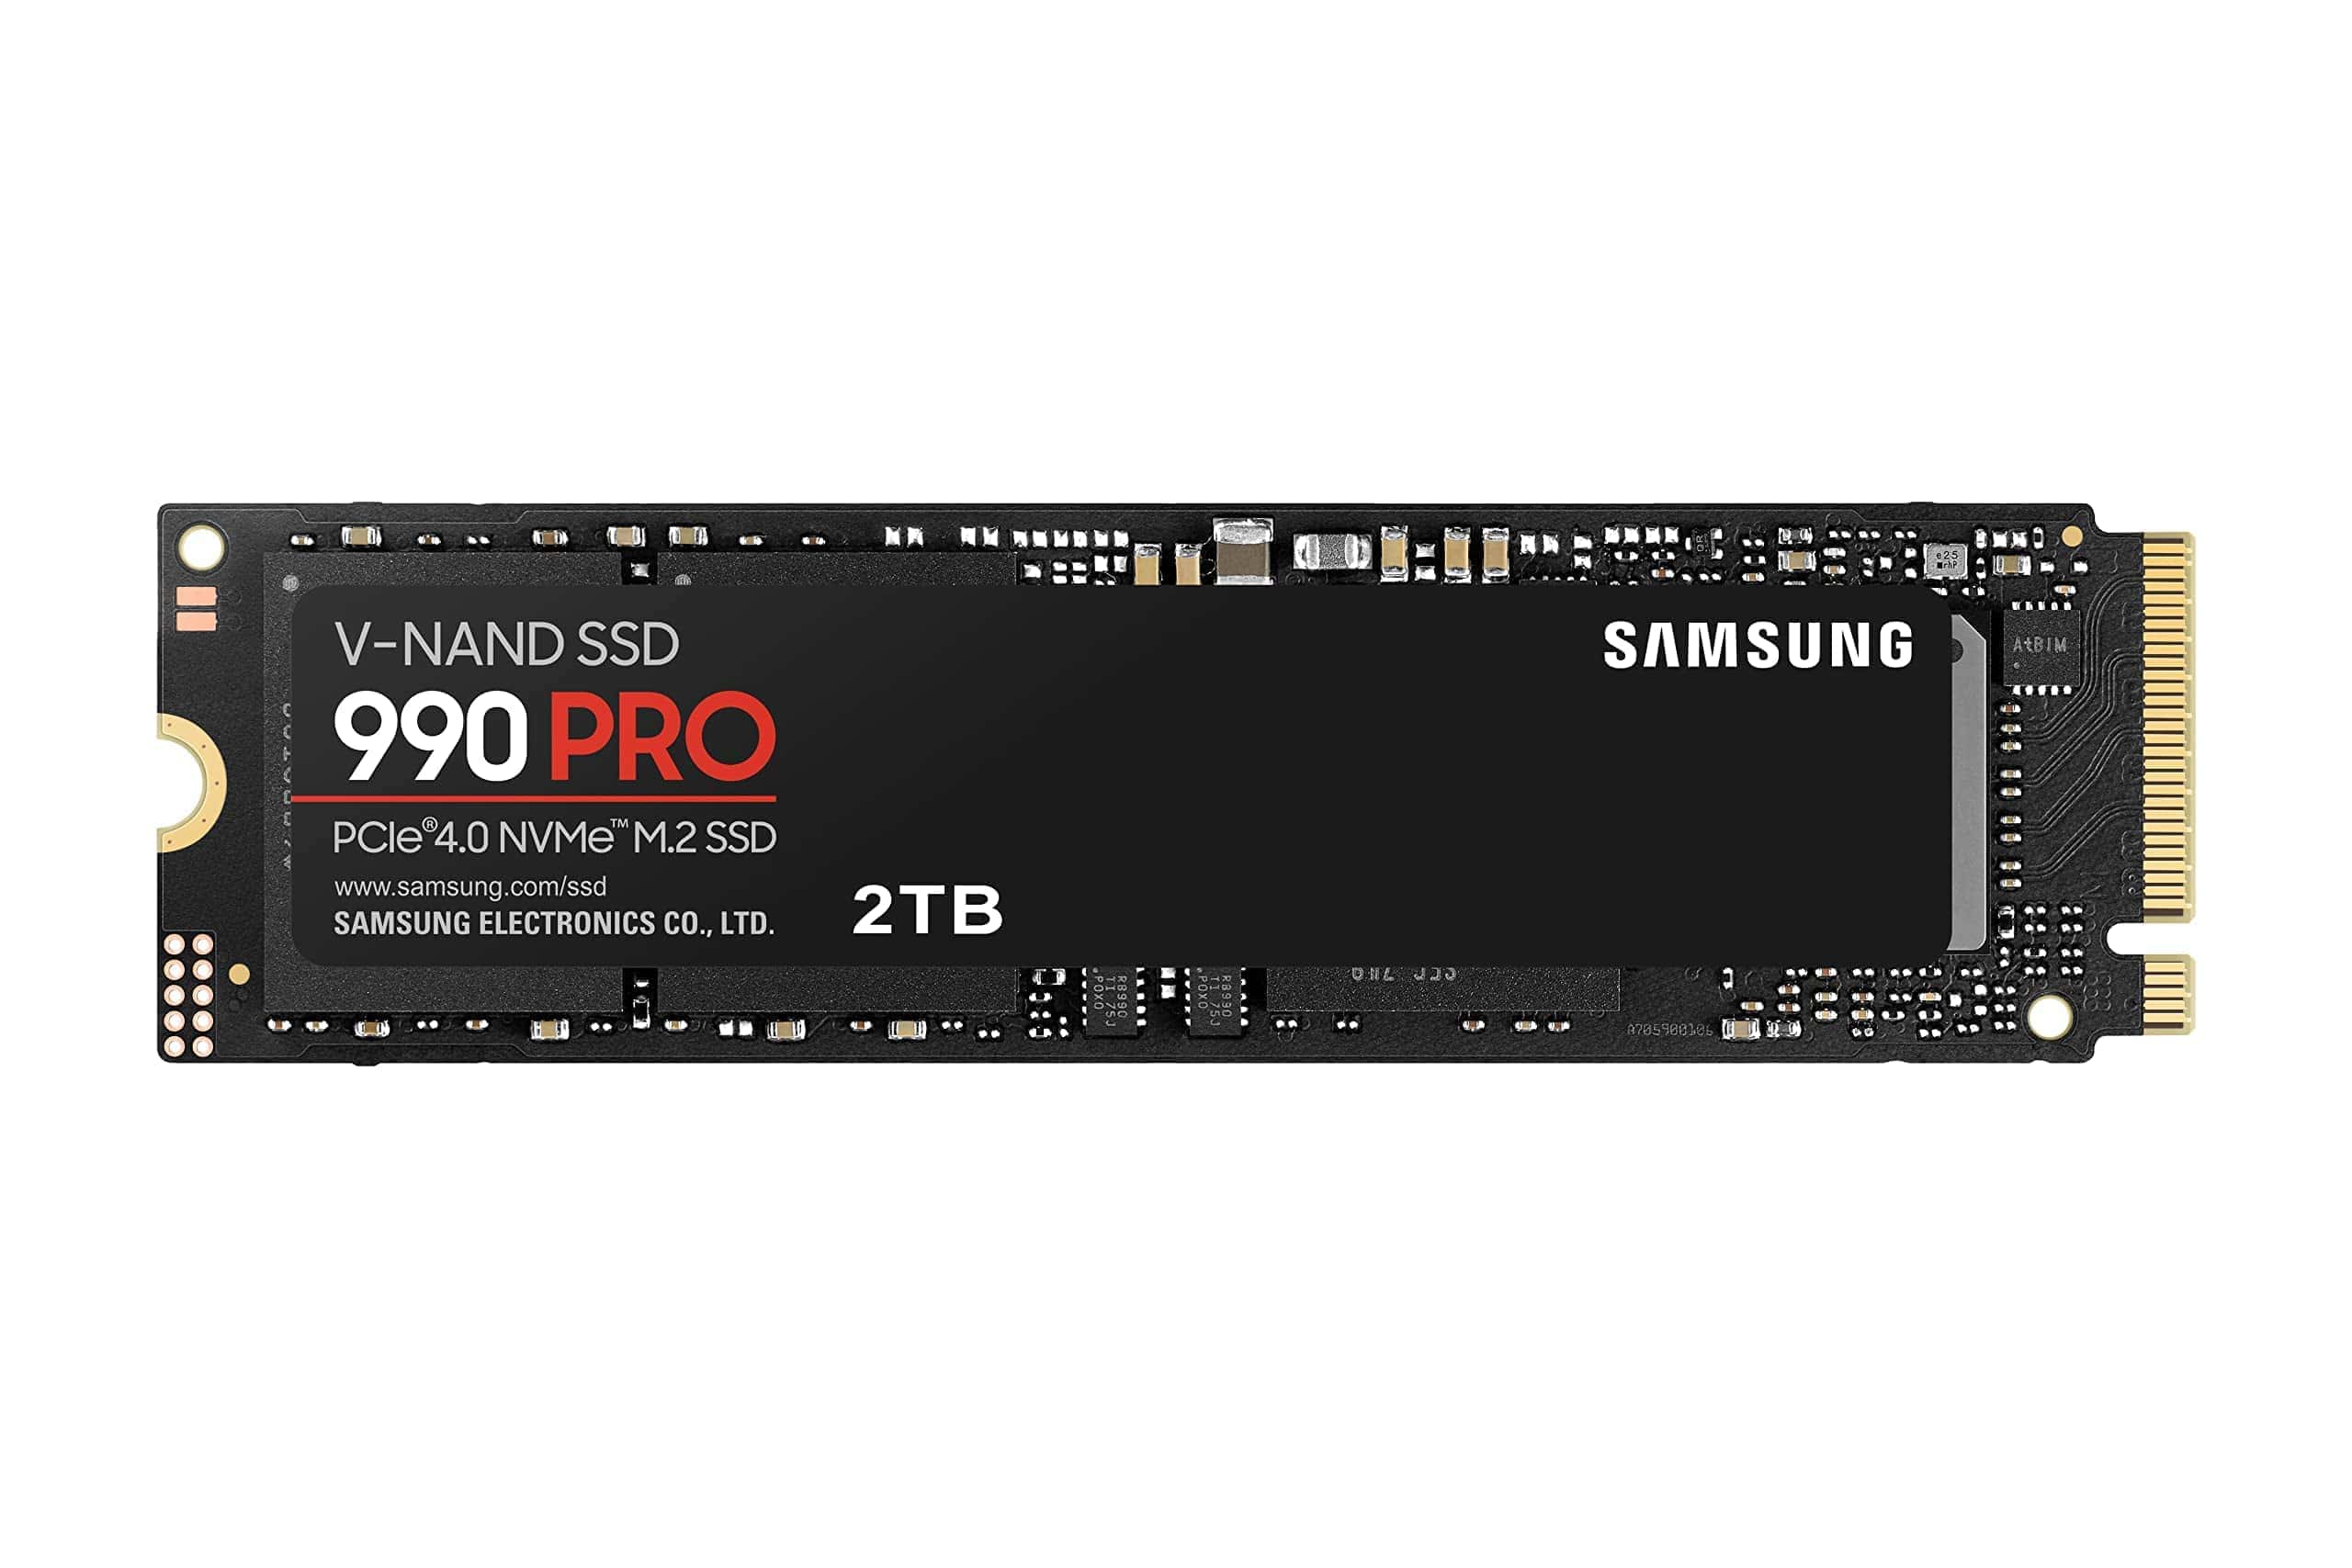
M.2 SSDs are popular storage solutions for modern computers, offering fast speeds and compact form factors. Sometimes, users encounter a puzzling issue where their M.2 SSD appears in the BIOS but not in Windows. This can be frustrating when trying to install or access the drive.
The most common causes for an M.2 SSD showing in BIOS but not Windows are outdated drivers, incorrect BIOS settings, or incompatible NVMe protocols. Users may need to update their motherboard drivers, enable NVMe support in the BIOS, or check if their M.2 slot supports the specific SSD type they are using.
Resolving this issue often involves a step-by-step approach. Users might need to initialize the SSD in Windows Disk Management, update their motherboard BIOS, or ensure proper physical installation of the drive. In some cases, switching between UEFI and Legacy boot modes can help Windows detect the M.2 SSD.
M.2 SSD Showing in BIOS But Not Windows
Understanding the Issue
It can be puzzling when your M.2 SSD shows up in the BIOS but not in Windows. This means the hardware is likely connected correctly, but Windows is having trouble recognizing it. Here are some common reasons for this:
- Uninitialized Disk: The SSD might not have been initialized or partitioned in Windows.
- Missing or Corrupted Drivers: Windows may be missing the necessary drivers to communicate with the SSD.
- Drive Letter Conflict: Another drive may have the same drive letter assigned.
- BIOS Settings (Less Common): In some cases, specific BIOS settings related to M.2 slots or storage controllers can cause issues.
- Hardware Issues (Less Common): Although the drive is seen in BIOS, there might still be a minor hardware problem.
Troubleshooting Steps
Here’s how to troubleshoot this issue:
1. Check Disk Management
This is the most common solution.
- Open Disk Management: Press Windows key + X and select “Disk Management.”
- Locate the SSD: Look for a disk that is listed as “Disk #,” but doesn’t have a drive letter or file system assigned. It might be labeled as “Unallocated” or “Not Initialized.”
- Initialize the Disk: If the disk is “Not Initialized,” right-click on it and select “Initialize Disk.” Choose GPT (GUID Partition Table) for modern systems and MBR (Master Boot Record) for older systems (if you are unsure choose GPT).
- Create a New Volume (Partition): Right-click on the unallocated space on the initialized disk and select “New Simple Volume.” Follow the on-screen instructions to create a partition and assign a drive letter.
2. Update Storage Controllers/Drivers
Outdated or corrupted storage controller drivers can prevent Windows from recognizing the SSD.
- Open Device Manager: Search for “Device Manager” in the Windows search bar.
- Expand “Storage controllers.”
- Update Drivers: Right-click on each storage controller and select “Update driver.” Choose “Search automatically for drivers.”
- Check Manufacturer Website: If Windows doesn’t find updated drivers, visit your motherboard or SSD manufacturer’s website to download the latest drivers.
3. Check BIOS Settings (Less Common)
While less frequent, some BIOS settings can affect M.2 detection in Windows.
- Enter BIOS: Restart your computer and press the appropriate key to enter the BIOS setup (usually Del, F2, F10, or Esc).
- Check M.2 Configuration: Look for settings related to M.2 slots. Ensure the correct M.2 slot is enabled and configured for the appropriate mode (PCIe or SATA, depending on your SSD).
- Check CSM (Compatibility Support Module): If you are installing Windows on the M.2 drive, and your system supports UEFI, ensure CSM is disabled. CSM is for legacy BIOS compatibility and can sometimes interfere with M.2 drives.
- Check SATA Mode: Ensure the SATA mode is set to AHCI (Advanced Host Controller Interface). This is important for SSD performance.
4. Check for Drive Letter Conflicts
Although less likely if the drive is not showing up at all in Disk Management, it’s worth checking.
- Open Disk Management: (Windows key + X, then “Disk Management”)
- Look for any drives with no drive letter assigned. If you find one that might be conflicting, right click on it, select “Change Drive Letter and Paths…”, and then “Remove”. Restart your computer and try assigning a drive letter to your M.2 SSD.
5. Reseat the M.2 SSD
Sometimes, the M.2 SSD might not be seated correctly in its slot.
- Power off your computer and unplug the power cable.
- Open your computer case.
- Locate the M.2 slot.
- Carefully remove the M.2 SSD and reinsert it, ensuring it is firmly seated.
- Secure the screw that holds the SSD in place.
6. Test the SSD in Another System (If Possible)
If none of the above steps work, testing the SSD in another computer can help determine if the SSD itself is faulty.
NVMe vs. SATA M.2 Drives
Make sure you understand the type of M.2 SSD you have (NVMe or SATA) and that your motherboard supports it. NVMe drives use the PCIe interface and are much faster than SATA M.2 drives. Your BIOS settings and drivers should be configured accordingly.
By systematically following these steps, you should be able to identify and resolve the reason why your M.2 SSD is showing in BIOS but not Windows. If you continue to have problems, it’s best to consult your motherboard or SSD manufacturer’s support.
If you are installing Windows on the M.2 drive, you may need to change the boot order in the BIOS to boot from the Windows installation media (USB drive or DVD). Once Windows is installed on the M.2 drive, you will then need to change the boot order again to boot from the M.2 drive.
Key Takeaways
- Check BIOS settings and update drivers to ensure M.2 SSD compatibility
- Initialize the SSD in Windows Disk Management if it’s not detected
- Verify physical installation and try different M.2 slots if available
Identifying the Issue
Issues with Windows not recognizing an M.2 SSD, despite it being detected in the BIOS, are common and can be frustrating. However, this problem is often resolved with straightforward troubleshooting steps. The methods outlined above target the most frequent causes and should assist you in getting your M.2 SSD functional.
When an M.2 SSD appears in BIOS but not in Windows, the problem often lies in system settings or configuration issues. Proper identification of the root cause is crucial for resolving this common storage problem.
Checking BIOS Settings
BIOS settings play a critical role in M.2 SSD detection. Users should verify that the M.2 slot is enabled in the BIOS. It’s important to check if the SATA mode is set to AHCI, which is often required for M.2 SSDs.
Some motherboards have a VMD controller setting that can affect NVMe drive visibility. Users should disable this if their SSD isn’t detected. For systems with multiple M.2 slots, trying different slots can help identify potential hardware issues.
BIOS updates can sometimes resolve compatibility issues. Checking for and installing the latest BIOS version is recommended.
Verifying Windows Configuration
In Windows, several tools can help identify SSD detection issues. The Device Manager is a good starting point. Users should look for the NVMe storage controller entry to confirm driver installation.
Disk Management is another crucial tool. If the SSD appears here but is uninitialized, it may need to be initialized and formatted. Users can right-click the disk and select “Initialize Disk,” choosing GPT for modern systems.
For more advanced troubleshooting, the DiskPart command-line tool can provide detailed information about connected drives. Users can open Command Prompt as administrator and type “diskpart” followed by “list disk” to see all detected storage devices.
Resolving the Detection Problem
Addressing M.2 SSD detection issues in Windows requires systematic troubleshooting. Key steps include updating system drivers and seeking help from tech communities.
Updating System Drivers
Outdated or incorrect drivers often cause SSD detection problems. Users should check for the latest NVMe drivers compatible with their M.2 SSD model. Windows 11 users can update drivers through Device Manager or Windows Update.
For Samsung SSDs, Samsung Magician software offers a convenient way to update firmware and drivers. This tool helps optimize SSD performance and resolve detection issues.
Microsoft 365 subscribers can use OneDrive to back up important files before making driver changes. This precaution ensures data safety during troubleshooting.
Engaging with the Community
When driver updates don’t solve the problem, seeking help from tech communities can be valuable. Users can ask questions on forums dedicated to hardware issues.
Microsoft’s official community forums provide a platform to interact with experts and other users facing similar problems. These forums often contain solutions for specific SSD models and Windows versions.
Tech enthusiasts on these platforms may suggest additional troubleshooting steps, such as BIOS updates or changes to SATA controller settings. Their experience can be crucial in resolving complex detection issues.


