USB drives are useful tools for storing and transferring files. Many people use them daily, but some may find it tricky to access their contents on Windows. To open a USB drive on Windows, connect it to your computer, open File Explorer, locate the USB drive, and click on it to view its contents. This process is straightforward and allows you to manage your files with ease.
Windows provides a user-friendly interface for accessing USB drives. When you plug in a USB drive, Windows usually detects it automatically. You can then find it listed in File Explorer under “This PC” or “Computer.” Clicking on the drive icon opens its contents, letting you view, copy, or move files as needed.
It’s important to safely remove your USB drive when you’re done. This step prevents data loss and keeps your files safe. Look for the “Safely Remove Hardware” icon in the taskbar, click it, and select your USB drive to eject it properly.
Accessing Files on a USB Drive in Windows
USB drives are super convenient for storing and transferring files. Here’s how to open a USB drive on a Windows computer and access your files:
1. Plug It In
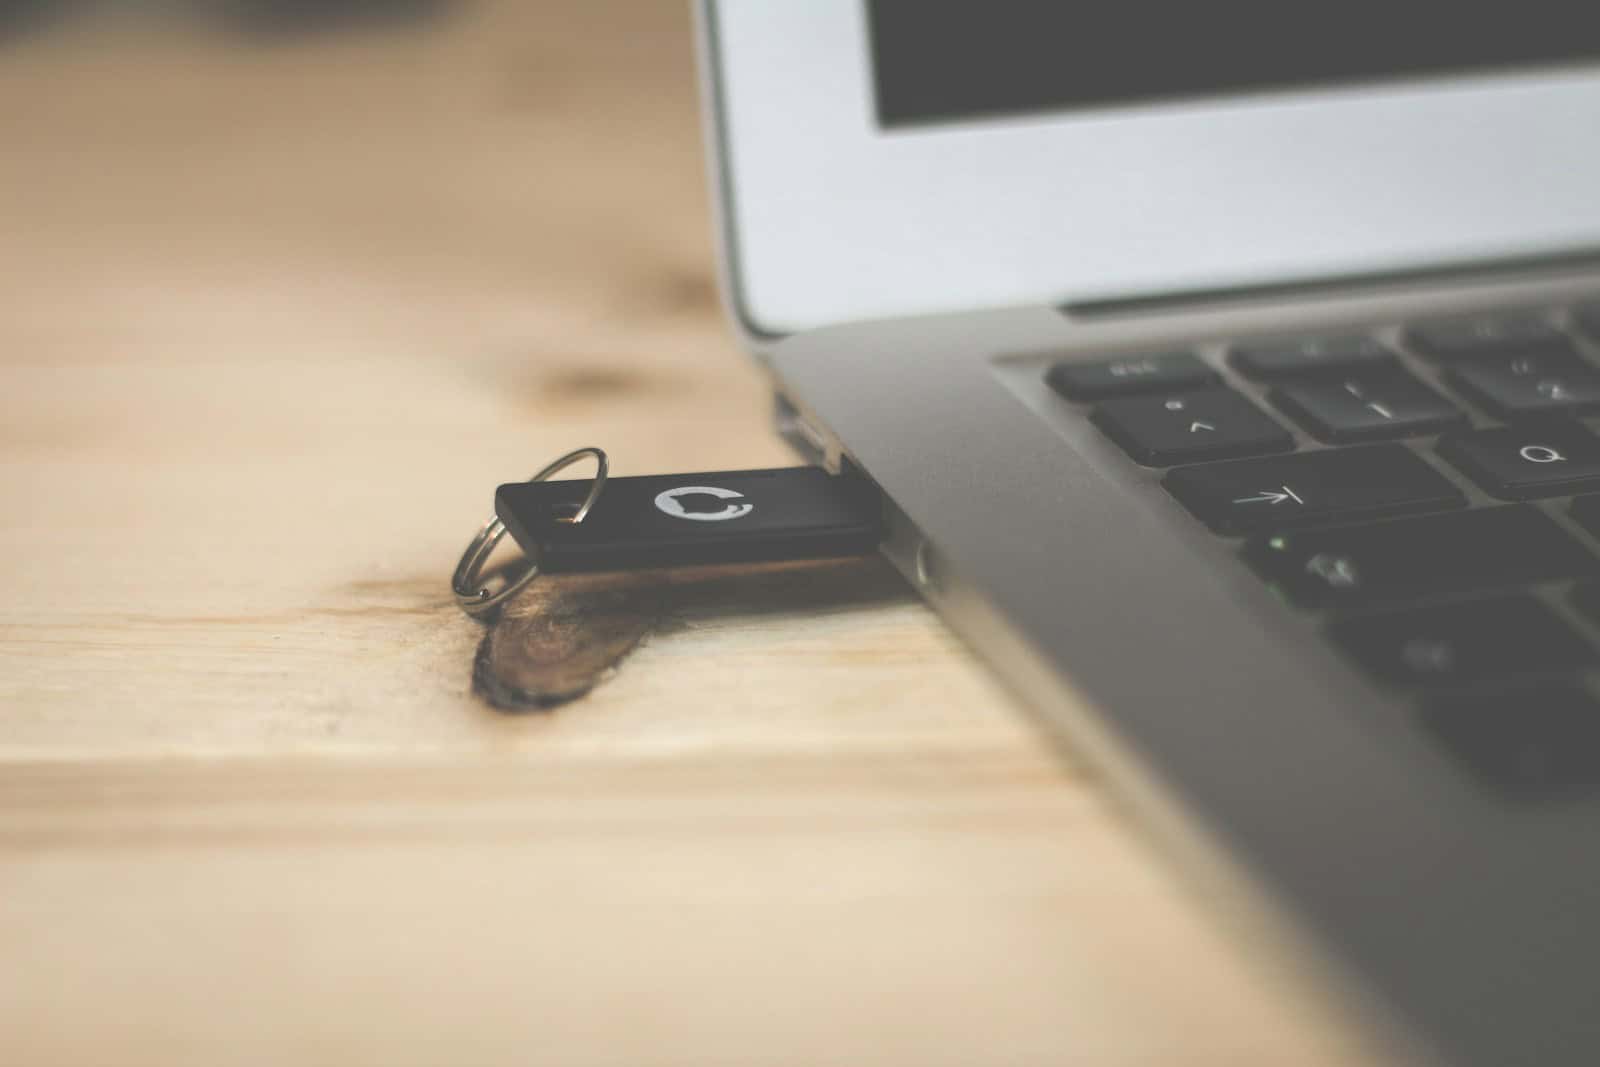
Find an available USB port on your computer and insert the USB drive. It should fit snugly.
2. Wait for Detection
Windows will automatically detect the USB drive. You might see a notification pop up in the corner of your screen.
3. Open File Explorer
Open File Explorer. You can do this by clicking the folder icon on your taskbar or pressing the Windows key + E.
4. Locate Your Drive
In File Explorer, look under “This PC” on the left sidebar. You should see your USB drive listed with a unique drive letter (e.g., D:, E:, F:). It might have a name or label, depending on how it’s formatted.
5. Access Your Files
Double-click on the USB drive’s icon. This will open a new window displaying all the files and folders stored on the drive. You can now browse, open, copy, or move files just like you would with any other folder on your computer.
Additional Tips
- AutoPlay: If you have AutoPlay enabled, a window might pop up asking how you want to open the USB drive. You can choose to open it in File Explorer, view the files directly, or perform other actions.
- Safely Remove: When you’re finished using the USB drive, it’s important to safely remove it to prevent data loss. Click the small upward-pointing arrow in the system tray (bottom-right corner of the screen) and find the icon for your USB drive. Right-click on it and select “Eject.” You can then unplug the drive.
That’s all there is to it! Opening a USB drive on Windows is a simple process that gives you quick access to your portable files. Whether you’re transferring documents, photos, or other data, USB drives remain a reliable and convenient way to move information between devices.
Key Takeaways
- Connecting a USB drive and opening File Explorer allows quick access to your files
- Locating and clicking on the USB drive in File Explorer displays its contents
- Safely ejecting the USB drive protects your data and prevents file corruption
Preparing to Open USB Drives on Windows
Before accessing USB drives on Windows, users need to understand file systems and ensure compatibility. These steps are crucial for smooth data transfer and storage.
Understanding USB File Systems
USB drives use different file systems to organize and store data. The most common file systems are FAT32, exFAT, and NTFS. Each has its own advantages and limitations.
FAT32 is widely compatible but has a 4GB file size limit. It works with older devices and operating systems.
exFAT supports larger files and is ideal for external drives used across different platforms. It’s compatible with Windows and macOS.
NTFS is the default file system for Windows. It offers advanced features like file compression and encryption. However, it may have limited compatibility with non-Windows systems.
Users should choose the appropriate file system based on their needs and the devices they’ll use the USB drive with.
Ensuring USB Drive Compatibility
Compatibility between USB drives and Windows is essential for proper functionality. Most modern USB drives work with Windows 10 and Windows 11 without issues.
To ensure compatibility:
- Check the USB version (2.0, 3.0, 3.1, etc.)
- Verify that Windows recognizes the drive
- Update USB drivers if necessary
For optimal performance, use USB 3.0 ports with compatible drives. These ports are often marked with a blue interior.
If Windows doesn’t detect the USB drive, try a different USB port or computer to rule out hardware issues. Sometimes, reformatting the drive can resolve compatibility problems.
Accessing and Managing USB Content
Connecting a USB drive to your Windows computer opens up convenient options for file storage and transfer. Proper handling ensures data integrity and smooth operations.
Using Windows File Explorer
File Explorer is the primary tool for accessing USB content on Windows. To open it, press Windows key + E or click the folder icon in the taskbar.
Once File Explorer is open, locate the USB drive under “This PC” or “Devices and drives”. The drive usually appears with a name like “USB Drive” or the manufacturer’s brand name.
Double-click the USB drive to view its contents. Files and folders on the drive will be displayed in the main window. Users can browse, open, copy, or move files as needed.
File Explorer offers various view options to suit different preferences. These include details view, list view, and tile view. To change the view, use the “View” tab at the top of the window.
Safely Transferring Files
To copy files from the computer to the USB drive, select the desired files and drag them to the USB drive icon. Alternatively, use the copy and paste functions.
For moving files, use the cut and paste options instead. Right-click the file, select “Cut”, then right-click in the USB drive window and choose “Paste”.
Large file transfers may take time. A progress bar will appear to show the transfer status. It’s crucial not to disconnect the USB drive during this process.
If transferring sensitive data, consider using encryption tools built into Windows or third-party software for added security.
Ejecting USB Drives Properly
Always eject USB drives properly to prevent data corruption. This ensures all file operations are complete before disconnection.
To eject a USB drive, right-click its icon in File Explorer and select “Eject”. Alternatively, use the “Safely Remove Hardware” icon in the system tray.
Wait for the “Safe to Remove Hardware” message before physically unplugging the USB drive. This step is crucial for maintaining data integrity.
If Windows reports that the device is in use, close any open files or programs that might be accessing the USB drive before trying to eject again.


