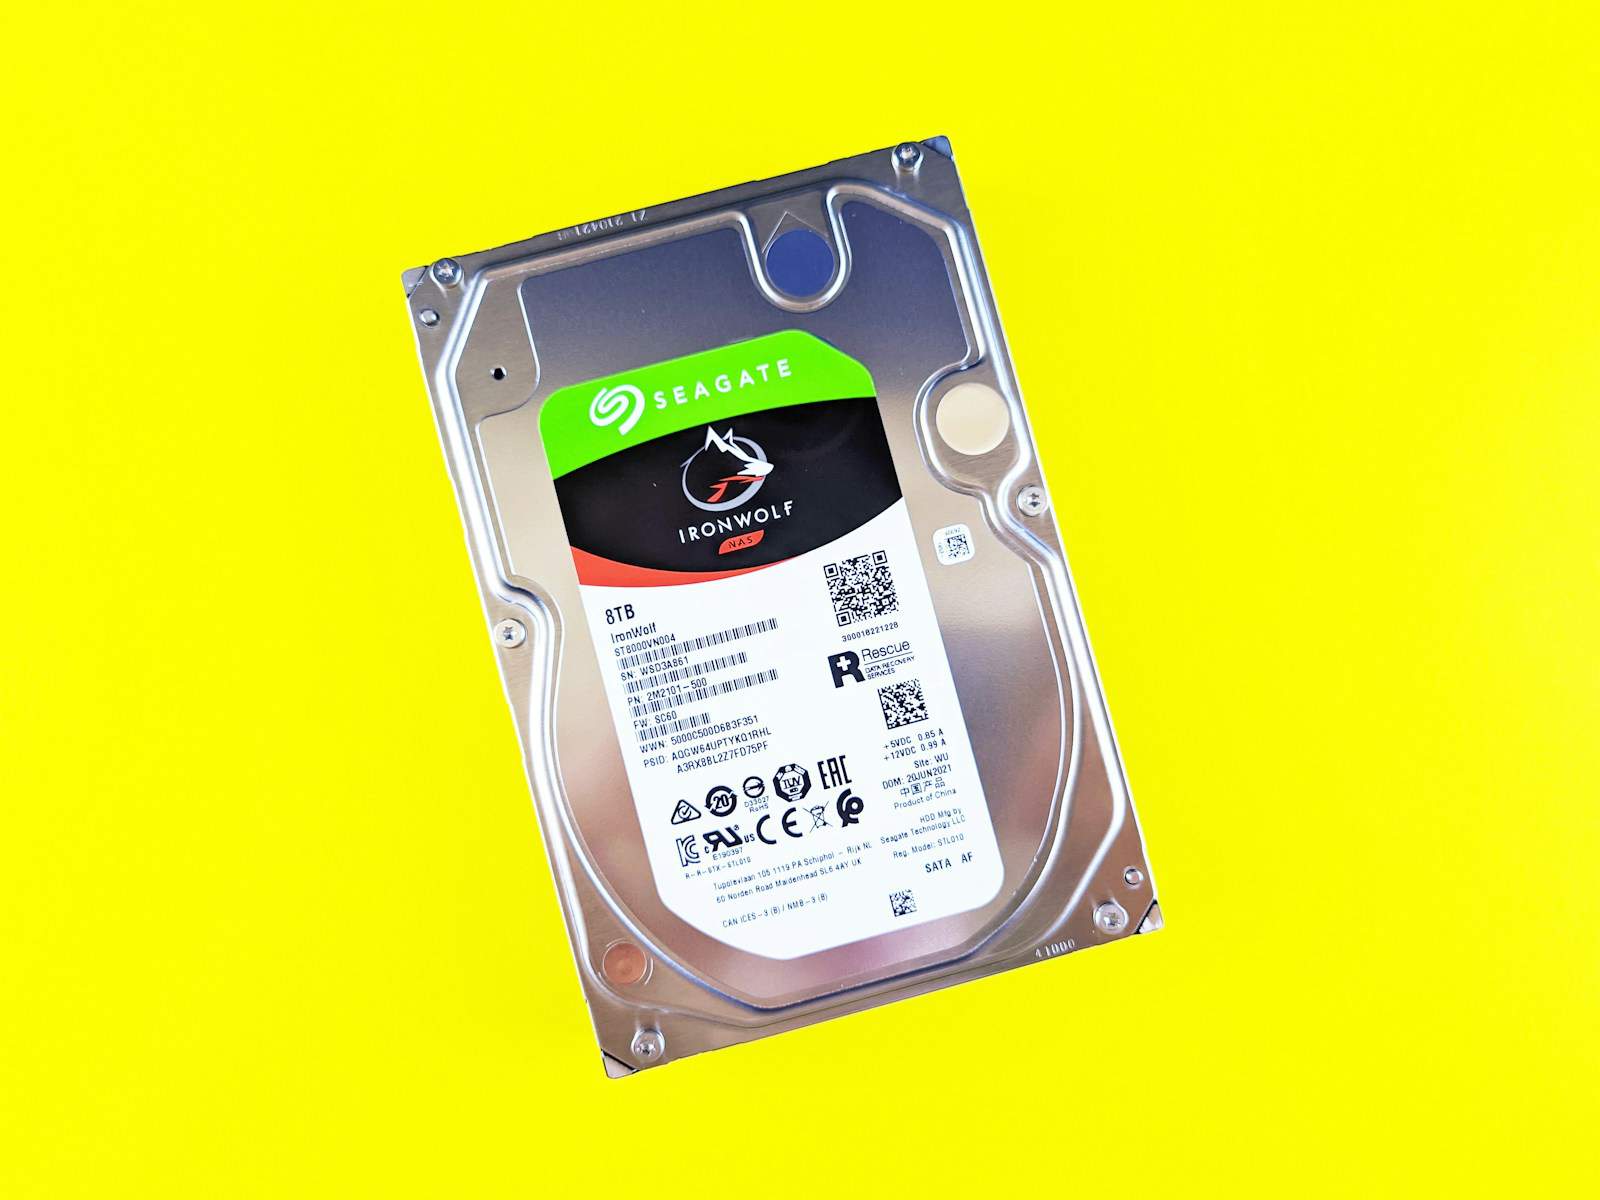
Formatting a hard drive can feel tricky, especially when switching between Windows and Mac computers. To successfully format your hard drive for both Windows and Mac, use tools like Disk Utility on Mac and File Explorer on Windows. This will ensure that your hard drive is compatible with both operating systems.
Before you begin, check if you’ve backed up your data. Formatting will erase everything on the drive, so it’s important to save any important files. Different file systems offer various benefits depending on how you use your storage device, and knowing the right one will make the process smoother.
Many users wonder, “What file system should I choose?” The answer depends on your needs. For a drive used with both Windows and Mac, exFAT is a strong choice. This article will guide you through each step, ensuring your hard drive is ready for use across different platforms.

A Step-by-Step Guide to Formatting Your Hard Drive
Windows
- Back Up Your Data: Before formatting, copy any important files to another drive or cloud storage. Formatting erases all data on the drive.
- Open Disk Management: Right-click the Start button and select “Disk Management.”
- Identify Your Drive: Find the drive you want to format in the list of disks. Note its drive letter.
- Format the Drive: Right-click the drive and select “Format.”
- Choose a File System: Select a file system. NTFS is the standard for Windows, but exFAT is a good choice for compatibility with both Windows and Mac.
- Set Allocation Unit Size: Choose “Default allocation size.”
- Perform a Quick Format: Check the “Perform a quick format” box to save time.
- Start the Format: Click “OK” to begin formatting. The process may take a few minutes.
Mac
- Back Up Your Data: Copy important files to another drive or cloud storage.
- Open Disk Utility: Go to Applications > Utilities > Disk Utility.
- Select Your Drive: Choose the drive you want to format from the sidebar.
- Click “Erase”: Click the “Erase” button in the toolbar.
- Choose a Name: Enter a name for the drive.
- Select a Format: Choose a format. APFS is the standard for newer Macs, but exFAT works with both Mac and Windows.
- Choose a Scheme: Select “GUID Partition Map.”
- Start the Erase: Click “Erase” to begin formatting.
Important Notes
- Formatting erases all data on the drive. Be sure to back up anything important before starting.
- If you’re unsure which file system to choose, exFAT is a safe bet for compatibility with both Windows and Mac.
- For external drives, you may want to partition them into multiple volumes for different uses.
| File System | Windows Compatibility | Mac Compatibility |
|---|---|---|
| NTFS | Yes | Read-only (unless third-party software is used) |
| exFAT | Yes | Yes |
| APFS | No (unless third-party software is used) | Yes |
Key Takeaways
- Back up all important data before formatting.
- Use Disk Utility on Mac and File Explorer on Windows to format your drive.
- Choose exFAT for compatibility between Windows and Mac.
Preparing to Format Your Hard Drive
Before starting the process, there are important steps you need to take, like understanding file systems and partitions, backing up important data, and choosing the right format for your needs.
Understanding File Systems and Partitions
A file system determines how data is stored and retrieved on a drive. Common file systems include NTFS, exFAT, HFS+, APFS, and FAT32.
- NTFS: Best for Windows PCs. Supports large files and security features.
- exFAT: Works with both Windows and macOS. Good for large files.
- HFS+ and APFS: Used on macOS drives. APFS is the preferred option for newer mac machines.
- FAT32: Compatible with many devices but limited to 4GB files.
Partitions divide a drive into sections. Each partition can have its own file system. This helps in organizing data and running multiple operating systems.
Backing Up Important Data
Formatting a drive erases all data on it. To avoid losing important files, back up your data first.
- Connect an external drive or use a cloud service.
- Copy personal information, documents, photos, videos, and any other important files.
- Ensure the backup is complete before proceeding.
Using data recovery software after formatting is complex and may not always work, so it’s safer to back up files beforehand.
Selecting the Appropriate Format for Your Needs
Choosing the right format depends on how you plan to use the drive.
- For Windows-only use: Select NTFS.
- For mixed environments (Windows and macOS): exFAT is ideal.
- For macOS systems: Choose APFS or HFS+.
Volume label is the name you give the drive, making it easier to recognize. For partitioning and formatting in Windows, use Disk Management. On mac machines, use Disk Utility.
Steps for Windows 11:
- Go to File Explorer.
- Right-click the drive and select Format.
- Choose the file system, give the volume a name, and follow the prompts.
For macOS:
- Open Disk Utility.
- Select the drive and choose Erase.
- Pick the file system and confirm.
By following these steps, you prepare your hard drive properly for formatting.
Frequently Asked Questions
This section covers common questions about formatting hard drives. It includes tips for making drives compatible with both Windows and Mac.
How do I format an external hard drive for both Mac and Windows compatibility?
To format a drive for both systems, use exFAT. Connect the drive to your Mac. Open Disk Utility, select the drive, and click Erase. Choose exFAT from the format dropdown, then click Erase again to finish.
What steps are involved in formatting a hard drive on Windows 10?
Connect the drive to your computer. Go to Disk Management by right-clicking Start and selecting it. Find your drive, right-click on it, and select Format. Follow the prompts in the wizard that appears to choose the file system and complete the process.
Which file system is best to use when formatting an external hard drive for both Mac and PC?
The best file system for compatibility is exFAT. It works well with both Mac and Windows. NTFS is another option but is more complex as Mac can only read but not write to NTFS drives without special software.
How can I reformat my Mac’s hard drive using Disk Utility?
Open Disk Utility from Finder > Applications > Utilities. Select the drive from the sidebar. Click the Erase button. Choose the format, such as Mac OS Extended (Journaled) or APFS, then click Erase again.
What is the difference between exFAT and APFS regarding format compatibility and speed?
exFAT is compatible with both Windows and Mac, making it ideal for external drives. APFS is faster and optimized for Mac but is not readable by Windows. exFAT provides broader compatibility, while APFS offers better performance on Mac.
When formatting a hard drive, should I choose GUID Partition Map or Master Boot Record?
GUID Partition Map (GPT) is recommended for new drives, especially for those larger than 2TB. Master Boot Record (MBR) is older and used for drives smaller than 2TB or for compatibility with very old systems. GPT is more modern and efficient.


