If you’re looking to increase your PC’s storage capacity and performance, adding a new hard drive or solid state drive (SSD) is a simple task that many computer users can do themselves. Whether you choose an internal or external drive, the process is relatively simple and can be done with basic technical skills.
By following the steps outlined in this guide, you can quickly and easily add a new drive to your PC and enjoy the benefits of increased storage space. The first step is to make sure you have the right type of drive for your PC.
Check if your computer has space for a standard hard disk drive (HDD) or a smaller M.2 SSD. Also, gather any needed cables and screws before proceeding. The process involves opening your computer case, connecting the new drive, and setting it up in Windows. You’ll need a few basic tools and some care when handling the parts. With the right steps, you can add storage to your PC in less than an hour.
Expanding Your PC’s Storage: A Step-by-Step Guide
Choosing the Right Storage Drive
Before diving in, decide whether you need an HDD (Hard Disk Drive) or SSD (Solid State Drive). HDDs offer more storage for less money, but SSDs are faster and more durable. Consider your budget and performance needs.
Next, check your PC’s available storage interface. Most modern PCs use SATA (Serial ATA) for HDDs and SSDs, while some high-end systems might support NVMe (Non-Volatile Memory Express) for ultra-fast SSDs. Choose a drive compatible with your system.
Installation Steps
Internal Drives (HDD or SSD)
Step 1: Turn off your PC, unplug it, and open the case.
Step 2: Locate an empty drive bay and any available SATA or NVMe slots on your motherboard.
Step 3: Mount the drive securely in the drive bay using screws (if applicable).
Step 4: Connect the SATA data cable to the drive and the corresponding SATA port on the motherboard. For NVMe drives, insert the drive into the M.2 slot and secure it.
Step 5: Connect the SATA power cable from your power supply to the drive. NVMe drives don’t require a separate power cable.
Step 6: Close the PC case, plug it back in, and turn it on.
External Drives (HDD or SSD)
Step 1: Choose an external drive with a USB or Thunderbolt connection.
Step 2: Plug the drive into an available USB or Thunderbolt port on your PC.
Step 3: Your PC should automatically recognize the drive. If not, you may need to install drivers or format the drive.
Drive Setup and Formatting
After installing the drive, you may need to initialize and format it before you can use it. This can usually be done through Disk Management (Windows) or Disk Utility (macOS).
Windows
Step 1: Right-click the Start button and select “Disk Management.”
Step 2: If your new drive is unallocated, right-click it and select “New Simple Volume.”
Step 3: Follow the wizard to assign a drive letter, format the drive (NTFS is recommended for Windows), and give it a name.
macOS
Step 1: Open “Disk Utility” from the Utilities folder.
Step 2: Select your new drive in the sidebar and click the “Erase” button.
Step 3: Choose a name, format (APFS is recommended for macOS), and scheme (GUID Partition Map) for the drive. Click “Erase” to complete the process.
Key Takeaways
- Adding a storage drive can increase your PC’s space and speed
- You need to open the PC case and connect the new drive
- Set up the drive in Windows after installation
Preparing to Install the Storage Drive
Getting ready to add a new drive takes some planning. You’ll need to check a few things and gather supplies before you start.
Confirming Compatibility with Your Motherboard
Check your motherboard manual to see what drive types it supports. Look for SATA ports or M.2 slots. Count how many are free. Make sure you have enough power connectors from your power supply. If you want to use an M.2 drive, check if your motherboard has the right slot size. Some only fit 2280 size drives while others can use longer 22110 drives.
For SATA drives, you’ll need open ports on the motherboard. Most boards have 4-6 SATA ports. M.2 slots are less common. Many boards only have 1-2 M.2 slots.
Gathering Necessary Tools and Safety Equipment
You’ll need a few basic tools:
- Phillips head screwdriver
- Anti-static wrist strap
- SATA cables (if not included with your motherboard)
The anti-static strap protects parts from static shock. Plug it into a grounded metal object before you touch PC parts.
Have a clean, well-lit workspace. Keep small screws in a safe place as you work.
Understanding the Types of Storage Drives
There are two main types of drives:
Hard disk drives (HDDs): Use spinning platters to store data. They’re cheaper but slower than SSDs.
Solid state drives (SSDs): Use flash memory with no moving parts. They’re faster but cost more per GB than HDDs.
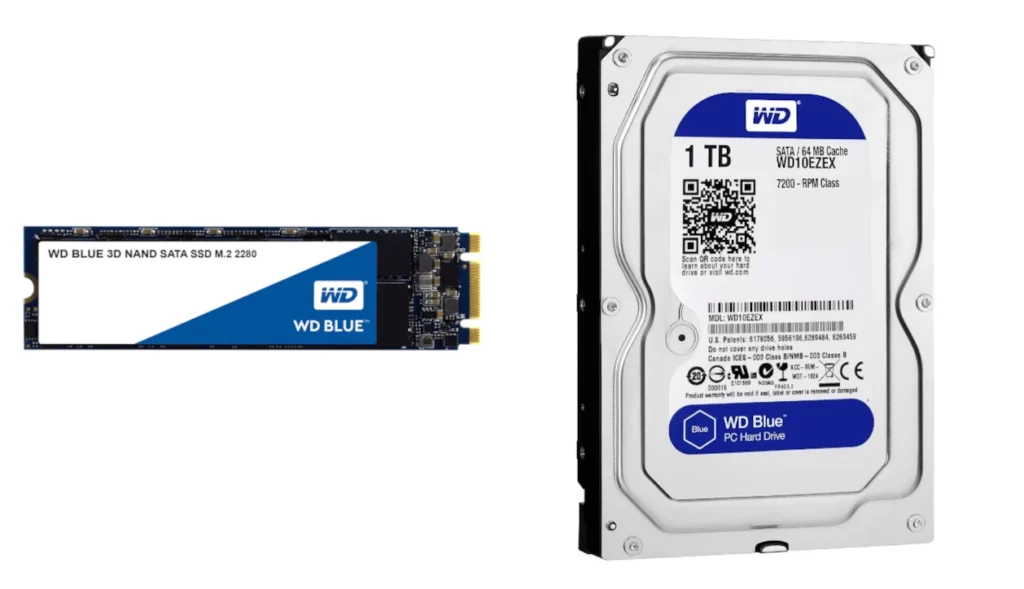
SSDs come in two form factors:
- 2.5-inch drives that connect via SATA
- M.2 drives that plug directly into the motherboard
M.2 drives can use either SATA or NVMe. NVMe is much faster but costs more. Check your motherboard specs to see which type it supports.
Installing and Configuring the Storage Drive
Adding a new storage drive to your PC involves physical installation and software setup. This process requires careful handling of hardware and configuring the drive in your computer’s settings.
Physical Installation of the Drive
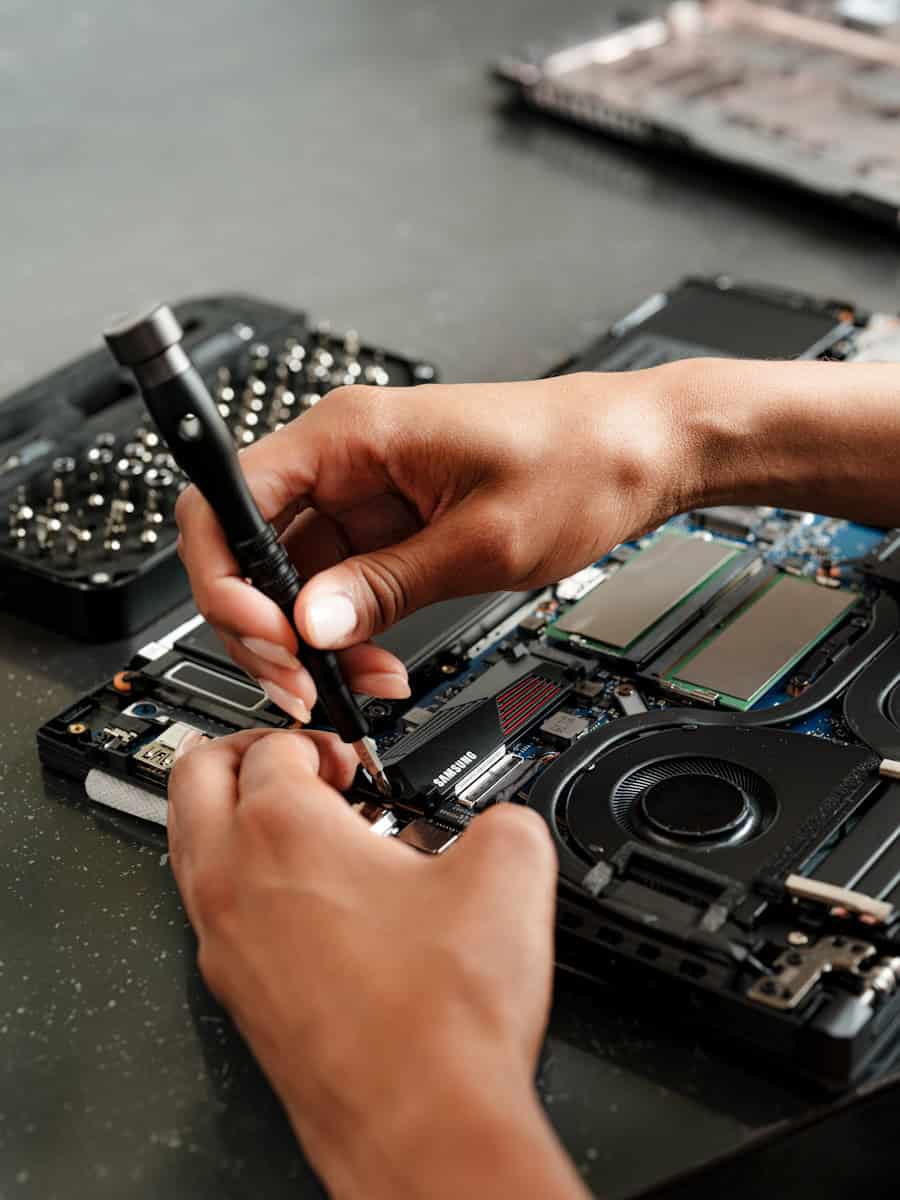
Turn off your PC and unplug it. Open the case and find an empty drive bay. For a 2.5-inch SSD or 3.5-inch hard drive, slide it into the bay. Secure it with screws. If you’re adding an M.2 drive, locate the slot on the motherboard and insert the drive at a 30-degree angle. Press it down and secure it with a screw.
Connect the drive to power and data. For SATA drives, plug in the SATA power cable from the power supply and the SATA data cable to the motherboard. M.2 drives don’t need extra cables.
Close the case and plug your PC back in.
Initial Setup in the BIOS or UEFI
Turn on your PC and enter the BIOS or UEFI. Look for a key prompt during startup, often Delete, F2, or F12. In the BIOS/UEFI menu, find the storage settings. Make sure your new drive is detected. If it’s not listed, check the connections.
For some systems, you may need to enable the drive or change the connection mode from IDE to AHCI. Save your changes and exit the BIOS/UEFI.
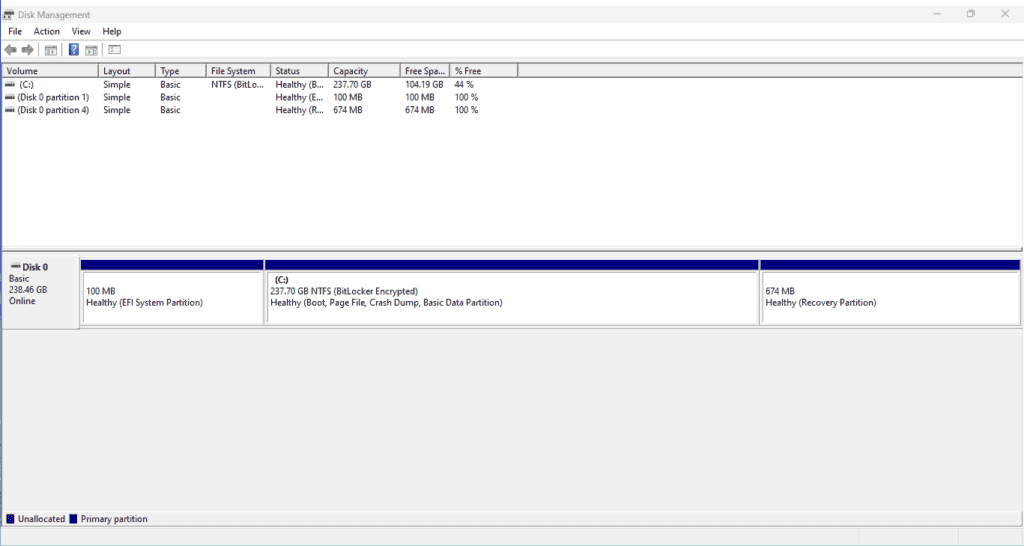
Partitioning and Formatting the Drive
Boot into Windows. Open Disk Management by right-clicking the Start button and selecting “Disk Management.” Your new drive should appear as “unallocated space.”
Right-click the unallocated space and choose “New Simple Volume.” Follow the wizard to create a partition. Choose a drive letter and file system (usually NTFS for Windows). Set the allocation size to maximum for the full drive space.
Format the drive with the “Quick Format” option checked. This process prepares the drive for use in Windows.
Installing and Managing the Operating System
If you want to use the new drive for your operating system, you’ll need to install Windows on it. Backup your data first. Insert a Windows installation USB and boot from it. During setup, choose the new drive as the install location.
For a storage-only drive, no OS install is needed. You can start using it right away to store files, games, and other data. Move your files to the new drive through File Explorer.
To manage drive space, use the Storage settings in Windows. You can change where new apps and files are saved by default.
Frequently Asked Questions
Adding storage to a PC involves several key steps and considerations. These vary depending on the type of drive and operating system being used.
What steps are involved in installing a second hard drive in Windows 10?
- Turn off the PC and unplug it.
- Open the case and locate an empty drive bay.
- Connect the power and data cables to the new drive.
- Secure the drive in the bay with screws.
- Close the case and start the PC.
- Open Disk Management to initialize and format the new drive.
Can you increase a PC’s storage with an external drive, and how would you do this?
Yes, external drives can boost storage. Here’s how:
- Buy a USB external hard drive.
- Plug it into an available USB port.
- Windows will detect the drive automatically.
- Format the drive if needed using Disk Management.
- Start using the new storage space.
What is the process for adding an SSD as a second drive in a Windows 10 PC?
The steps are like those for a regular hard drive:
- Power down the PC and open the case.
- Find an open SATA port on the motherboard.
- Connect the SSD to power and data cables.
- Mount the SSD in an available drive bay.
- Close the case and boot up.
- Use Disk Management to set up the new SSD.
How do you install additional storage on a PC specifically for gaming purposes?
For gaming storage:
- Choose a fast SSD or high-capacity HDD.
- Install the drive as outlined above.
- Use Steam or other game platforms to set it as a new library folder.
- Move existing games or install new ones to the new drive.
What are the requirements for installing a new hard drive in Windows 11?
Windows 11 needs:
- A compatible hard drive (SATA or NVMe).
- An available connection on the motherboard.
- Enough power connectors from the PSU.
- Physical space in the PC case.
- UEFI BIOS support for drives over 2TB.
Is it possible to add a hard drive to an existing PC, and what tools would be needed?
Yes, it’s possible. Tools needed:
- Screwdriver (usually Phillips head)
- Anti-static wrist strap (optional but recommended)
- New hard drive
- SATA cables (if not included with drive)
- Mounting brackets (if required by the case)