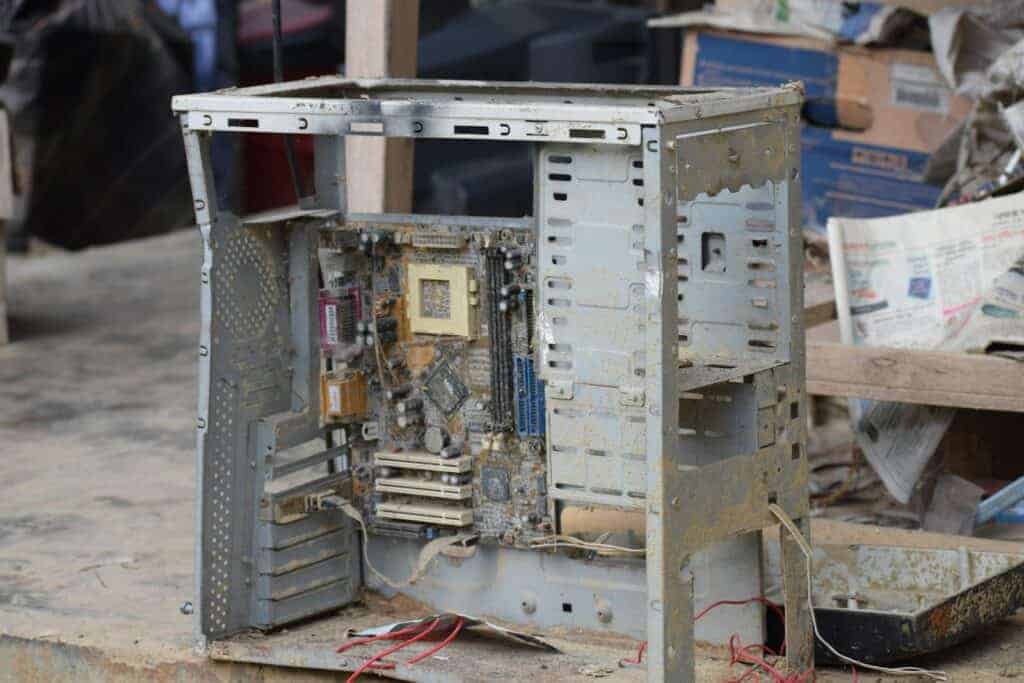
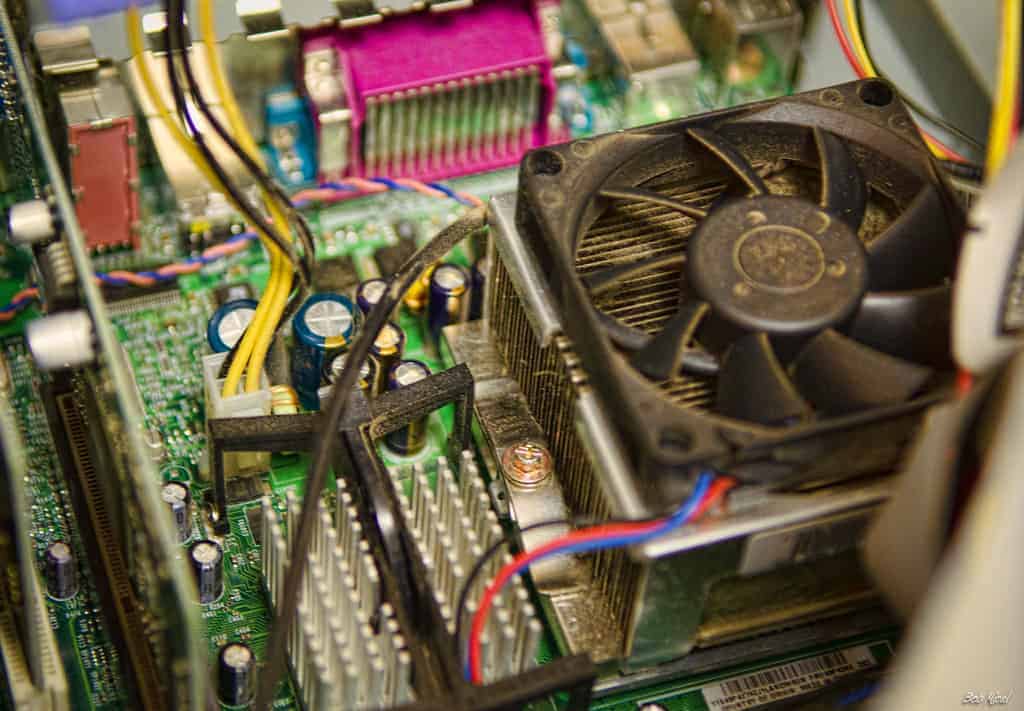
To keep your computer running well for longer, it’s important to clean the fan regularly. Dust can build up on the fan blades over time, causing them to work harder or overheat. Before you start, make sure your computer is switched off and unplugged. Open the side panel and use a can of compressed air to blow away the dust.
Hold the can at an angle and use short bursts to avoid spreading dust into the computer. After cleaning, double-check all connections and then switch your computer back on. Regular cleaning like this prevents overheating and ensures your computer runs efficiently. Cleaning your computer fan is an easy task that doesn’t require advanced technical skills.

Maintaining Computer Hardware
Why Clean a Computer Fan?
Dust buildup on computer fans can lead to several issues:
- Overheating: Dust hinders the fan’s ability to cool components, potentially causing damage.
- Noise: A dusty fan works harder and becomes louder.
- Reduced Lifespan: Overworking and overheating can shorten the fan’s lifespan.
Regular cleaning helps to maintain optimal performance and longevity.
Tools and Materials
- Compressed Air Can: Removes loose dust from hard-to-reach areas.
- Cotton Swabs: Ideal for cleaning fan blades and intricate areas.
- Isopropyl Alcohol (90% or higher): Removes stubborn grime without damaging components.
- Optional: Soft Brush, Screwdriver: Used if deeper cleaning or fan removal is needed.
| Item | Purpose |
|---|---|
| Compressed Air Can | Removes loose dust |
| Cotton Swabs | Cleans fan blades and small areas |
| Isopropyl Alcohol | Removes grime |
| Optional: Soft Brush | Cleans larger areas |
| Optional: Screwdriver | Removes fan for deeper cleaning |
Cleaning Process
Step 1: Power Down and Unplug
Ensure the computer is off and unplugged to prevent electrical shock or damage.
Step 2: Open the Computer Case
Refer to your computer’s manual for instructions on opening the case. Some cases have thumb screws, while others require a screwdriver.
Step 3: Blow Out Dust with Compressed Air
Use short bursts of compressed air to dislodge dust from the fan blades and surrounding areas. Hold the fan blades in place with a finger or tool to prevent them from spinning too fast.
Step 4: Clean with Isopropyl Alcohol and Cotton Swabs
Dip a cotton swab in isopropyl alcohol and gently wipe the fan blades, motor housing, and other areas where dust remains.
Step 5: Reassemble and Test
Once the fan is dry, carefully reassemble the computer case. Power it on and listen for any unusual noises.
Additional Tips
- For a deep clean, you can remove the fan from the computer for easier access.
- Hold the compressed air can upright to prevent liquid propellant from spraying on components.
- If a fan is making grinding noises after cleaning, it might be time for a replacement.
- Clean your computer regularly, every 3-6 months, to prevent dust buildup.
By following these simple steps, you can keep your computer fans clean and running smoothly, ensuring optimal performance and extending the life of your machine.
Key Takeaways
- Power off your computer and disconnect it before cleaning.
- Use short bursts of compressed air to clean dust from the fan.
- Regular cleaning prevents overheating and maintains performance.
Preparing Your Computer for Cleaning
Before cleaning your computer fan, take steps to ensure safety and gather the necessary tools. This will help prevent any damage to your computer components and protect you from potential hazards.
Safety Precautions
First, power off your computer and unplug it from the wall socket. This reduces the risk of electrical shock.
Next, ground yourself to get rid of any static electricity. You can do this by touching a metal object that’s connected to the ground. This helps prevent electrostatic discharge that could damage your computer’s internal parts.
Wear a mask to avoid inhaling dust. Dust particles can be harmful to your respiratory system.
Finally, read the computer’s manual if you’re unsure about any part. It often has specific instructions for safe handling.
Tools and Materials
Gather all the necessary tools and materials before starting:
- A screwdriver to open the computer case
- Compressed air to blow dust off the fan
- Cotton swabs for tight areas
- A microfiber cloth to wipe surfaces
- Rubbing alcohol or isopropyl alcohol for sticky residue
Keep these items close by to avoid delays while cleaning.
Having these tools ready makes the cleaning process smoother and more efficient.
Frequently Asked Questions
This section will address common questions about cleaning computer fans, outlining the best methods and tools to safely and efficiently remove dust.
What is the best method to clean a computer fan without dismantling it?
Use compressed air to clean the fan without taking it apart. Hold the fan blades still to avoid damaging them. Apply short bursts of air to blow away dust.
Can compressed air be safely used to clean PC fans?
Yes, compressed air can safely clean PC fans. Follow the instructions on the can. Keep the can upright to prevent liquid from coming out. Hold the fan blades still to avoid damage.
What are effective alternatives to using compressed air to remove dust from computer fans?
Cotton swabs and soft brushes are good alternatives. Use them to wipe or brush away dust gently. Avoid using excessive force, which can damage fan components.
How should one clean a computer fan filter to ensure optimal airflow?
Remove the filter from the PC case. Brush off loose dust with a soft brush. Wash the filter with soapy water. Let it dry completely before putting it back.
Is it possible to clean a laptop fan thoroughly without having to open it?
Cleaning a laptop fan without opening it is hard. Use compressed air through the vents. Clean the exterior vents to minimize dust buildup inside.
What steps should be taken to remove stubborn dust build-up from a computer fan?
For stubborn dust, use a cotton swab dipped in isopropyl alcohol. Clean the fan blades and other parts gently. Ensure everything is dry before reassembling and powering on the computer.


