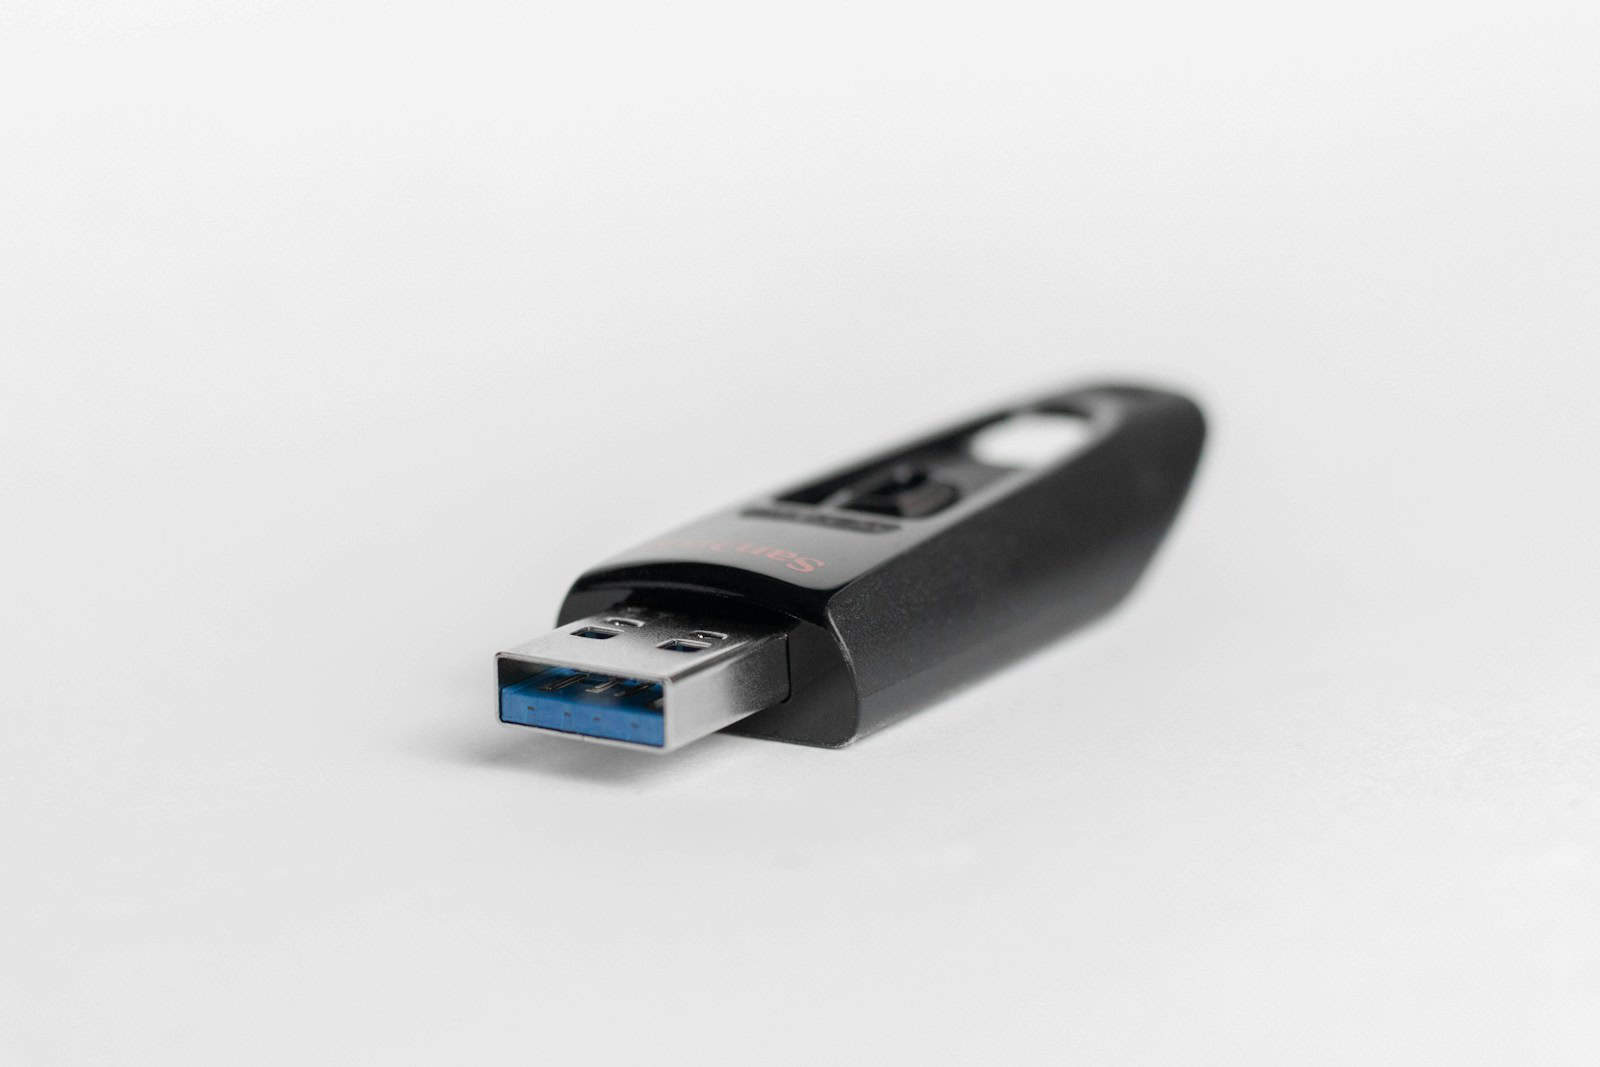
Wiping a USB drive in Windows is a crucial skill for maintaining data security and preparing devices for reuse. To wipe a USB drive in Windows 10 or 11, right-click the drive in File Explorer, select “Format,” uncheck “Quick Format,” and click “Start” to erase all data. This process ensures sensitive information is removed and the drive is ready for new use.
Before wiping a USB drive, users should back up any important data they wish to keep. The formatting process permanently erases all files on the drive. Windows offers built-in tools for drive wiping, making it accessible to all users without the need for third-party software.
For those seeking additional security, third-party tools like Eraser provide more thorough data destruction methods. These tools overwrite the drive multiple times, making data recovery virtually impossible.
Wiping a USB Drive in Windows: A Complete Guide
Wiping a USB drive erases all data, making it clean for reuse or secure disposal. Here are several methods to wipe a USB drive in Windows, ranging from simple to more secure:
1. Basic Formatting
This is the quickest and easiest method, suitable for general data removal.
- Connect the USB drive: Insert the USB drive into a USB port on your computer.
- Open File Explorer: Press the Windows key + E to open File Explorer.
- Locate the USB drive: Find the USB drive under “This PC” or in the left sidebar.
- Right-click and select “Format”: A format window will appear.
- Choose settings: Select the desired file system (NTFS, FAT32, exFAT), give the drive a name (optional), and uncheck “Quick Format” for a full format.
- Start the format: Click “Start” to begin the formatting process.
2. Disk Management Tool
This built-in Windows utility offers more control over drive management.
- Open Disk Management: Press the Windows key + X and select “Disk Management.”
- Locate the USB drive: Find the USB drive in the list of drives.
- Right-click and select “Format”: Configure the format settings as described in the previous method.
- (Optional) Delete the partition: For a more thorough wipe, you can right-click the USB drive and select “Delete Volume” before formatting.
3. Command Prompt (DiskPart)
This method provides a command-line interface for advanced disk operations.
- Open Command Prompt as administrator: Search for “cmd” in the Start menu, right-click on “Command Prompt,” and select “Run as administrator.”
- Open DiskPart: Type
diskpartand press Enter. - List disks: Type
list diskand press Enter to see all connected drives. - Select the USB drive: Type
select disk #(replace # with the disk number of your USB drive) and press Enter. - Clean the drive: Type
clean alland press Enter. This will completely wipe the drive. - Create a new partition and format: You can now use Disk Management or File Explorer to create a new partition and format the drive.
4. Third-Party Tools
For more secure data wiping, consider using third-party tools that offer advanced wiping methods:
- Eraser: A free tool that overwrites data multiple times, making it difficult to recover.
- CCleaner: A popular system cleaning tool that includes a drive wiper feature.
- DBAN (Darik’s Boot and Nuke): A powerful open-source tool for securely wiping entire hard drives.
Important Notes
- Data Recovery: Formatting or wiping a drive does not guarantee complete data destruction. Specialized tools can potentially recover deleted data. For highly sensitive data, consider physical destruction of the drive.
- Write Protection: If your USB drive is write-protected, you won’t be able to format or wipe it. You’ll need to remove the write protection first.
- Drive Errors: If you encounter errors during the wiping process, the drive may have physical damage.
By following these methods, you can effectively wipe your USB drive and ensure your data is removed or securely erased. Choose the method that best suits your needs and level of security required.
Key Takeaways
- Wiping a USB drive removes all data and prepares it for reuse
- Windows offers built-in formatting tools for easy drive wiping
- Third-party software provides enhanced security for sensitive data erasure
Preparing to Wipe Your USB Drive
Before wiping a USB drive, it’s crucial to understand data security, back up important files, and choose the right file system. These steps ensure a smooth and secure wiping process.
Understanding the Need for Data Security
Data security is essential when wiping a USB drive. Sensitive information can linger on storage devices even after deletion. Standard deletion methods often leave data recoverable with specialized tools.
Full formatting overwrites all data sectors, making recovery nearly impossible. This process is vital for protecting personal or confidential information.
USB flash drives often contain:
- Financial documents
- Personal photos
- Work-related files
- Passwords or login credentials
Proper wiping prevents unauthorized access to these sensitive files. It’s especially important when recycling, selling, or disposing of USB drives.
Backing Up Important Data
Backing up data is a critical step before wiping a USB drive. Once wiped, all information on the drive becomes irrecoverable.
Steps for backing up:
- Connect the USB drive to a computer
- Open File Explorer and locate the drive
- Select all files and folders
- Copy selected items to a secure location (e.g., cloud storage or another drive)
It’s wise to verify the backup by opening a few files. This ensures the data transferred correctly and remains accessible.
Consider using automated backup software for large amounts of data. These tools can streamline the process and reduce the risk of overlooking important files.
Choosing the Correct File System
Selecting the right file system is crucial for optimal USB drive performance. The choice depends on the drive’s size and intended use.
Common file systems include:
- FAT32: Compatible with most devices but limited to 4GB file sizes
- NTFS: Supports large files and offers better security features
- exFAT: Combines FAT32 compatibility with support for larger files
For drives under 32GB, FAT32 often works well. NTFS is ideal for larger drives used primarily with Windows systems. exFAT offers a good balance for cross-platform use.
Formatting options in Windows allow users to select the desired file system during the wiping process. Consider the devices that will use the USB drive when making this choice.
Executing the Wipe
Wiping a USB drive involves several methods, each with its own benefits and drawbacks. The process can range from quick and simple to more thorough and time-consuming, depending on your security needs and available tools.
Using Windows Quick Format
Quick Format is the fastest way to wipe a USB drive in Windows. It erases the file system table but doesn’t overwrite existing data.
To use Quick Format:
- Open File Explorer
- Right-click the USB drive
- Select “Format”
- Check “Quick Format”
- Click “Start”
This method is ideal for clearing space quickly or preparing a drive for reuse. It takes only seconds to complete.
Quick Format doesn’t securely erase data. Advanced recovery tools may still retrieve old files. For sensitive information, a more thorough method is recommended.
Performing a Full Format via File Explorer
A full format overwrites the entire drive, making data recovery much harder. It’s more secure than Quick Format but takes longer.
Steps for a full format:
- Open File Explorer
- Right-click the USB drive
- Choose “Format”
- Uncheck “Quick Format”
- Select file system (usually NTFS or FAT32)
- Click “Start”
Full format can take several minutes to hours, depending on drive size. It’s more thorough than Quick Format and can detect bad sectors.
This method is suitable for most users who need a balance of security and convenience.
Secure Wiping with Third-Party Software
For maximum security, third-party software offers advanced wiping features. These tools overwrite data multiple times, making recovery nearly impossible.
Popular options include:
- CCleaner
- DBAN (Darik’s Boot and Nuke)
- Eraser
To use Eraser:
- Download and install Eraser
- Right-click in the program window
- Choose “New Task”
- Select “Run Immediately”
- Click “Add Data”
- Choose your USB drive
Third-party tools often offer multiple overwriting methods, from quick single-pass to thorough multi-pass options.
Advanced Techniques with Diskpart and PowerShell
For tech-savvy users, Windows provides built-in tools like Diskpart and PowerShell for advanced drive wiping.
Diskpart method:
- Open Command Prompt as administrator
- Type “diskpart” and press Enter
- Enter “list disk”
- Identify your USB drive number
- Type “select disk X” (replace X with drive number)
- Enter “clean”
This method removes all partitions and data from the drive.
PowerShell offers similar functionality with more scripting options. It’s useful for automating wipe processes or handling multiple drives.
These advanced techniques provide powerful control over drive wiping but require careful use to avoid accidental data loss.


