Cleaning thermal paste off a CPU is an essential maintenance task that can help maintain your computer’s performance. Thermal paste is a conductive material applied between the CPU and its cooler to ensure efficient heat transfer. Over time, this paste can dry out or become less effective, necessitating its removal and replacement to prevent the CPU from overheating.
The process to clean off old thermal paste requires care to avoid damage to the CPU or other components. Proper removal involves first safely disassembling your computer to access the CPU. One must use the right materials, such as isopropyl alcohol and lint-free cloths or wipes, to remove the paste gently without leaving behind any residue. Once the old paste is removed, the CPU should be prepped for the application of new thermal paste, which will restore optimal heat conduction from the CPU to the cooler.
Maintain Your PC’s Cool: A Thermal Paste Cleaning Guide
Essential Tools
Gather the following materials before starting:
- Isopropyl alcohol (90% or higher): This is the best solvent for dissolving thermal paste.
- Lint-free cloth/paper towel: Microfiber cloths, coffee filters, or even toilet paper work well. Avoid tissues or paper towels that leave fibers.
- Cotton swabs: For cleaning tight corners and delicate components.
- Optional: Thermal paste remover: If available, this can simplify the cleaning process.
Cleaning Steps
- Power Down and Unplug: Ensure your computer is completely powered off and unplugged from any power sources.
- Remove CPU Cooler: Carefully detach the CPU cooler from the motherboard. This may involve loosening screws, unclipping brackets, or disconnecting cables.
- Remove Old Paste from Cooler: Apply a small amount of isopropyl alcohol to your cloth or paper towel and gently wipe away the thermal paste from the cooler’s base. Avoid using excessive force to prevent damage.
- Clean CPU Surface: With the CPU still in the socket, moisten a cotton swab with alcohol and gently clean the surface of the processor. Be meticulous but avoid applying excessive pressure.
- Inspect and Repeat: Check both the CPU and cooler surfaces for any remaining paste. Repeat the cleaning process if necessary until both surfaces are clean and dry.
- Apply New Paste and Reassemble: Once everything is clean, apply a small amount of fresh thermal paste to the center of the CPU. Then, carefully reattach the CPU cooler, ensuring even contact and proper pressure.
Troubleshooting Tips
- Stubborn Paste: If the old paste is dried or difficult to remove, apply a bit more alcohol and let it soak for a few minutes before wiping again.
- Cotton Swabs for Corners: Use a cotton swab dipped in alcohol to clean any hard-to-reach areas or corners.
- Avoid Spills: Be careful not to spill alcohol on other components or the motherboard.
- Air Dry: Allow the alcohol to evaporate completely before reapplying thermal paste and reassembling the cooler.
Remember, patience and a gentle touch are key to cleaning thermal paste effectively and safely.
Key Takeaways
- Thermal paste must be replaced periodically to maintain CPU performance.
- Use isopropyl alcohol and lint-free materials for safe cleaning.
- The CPU should be clean and dry before applying new thermal paste.
Cleaning Process
The process of cleaning thermal paste off of a CPU is precise and requires careful preparation and attention. The following steps will guide you through each phase of the process.
Safety and Preparation
First, one should ensure the safety of both themselves and their computer. Grounding oneself by using an anti-static wrist strap is advisable to prevent static electricity damage. The workspace should be clean, well-lit, and free of clutter. Before starting, one must unplug the computer and remove all cables.
Removing the Old Thermal Paste
Gently detach the CPU cooler from the motherboard, removing any screws if necessary. The old thermal paste can be wiped off from the CPU’s heat spreader using a lint-free cloth or coffee filter with a bit of isopropyl alcohol. One should use gentle circular motions until they clean off the thermal paste without leaving any residue.
Reapplying Thermal Paste
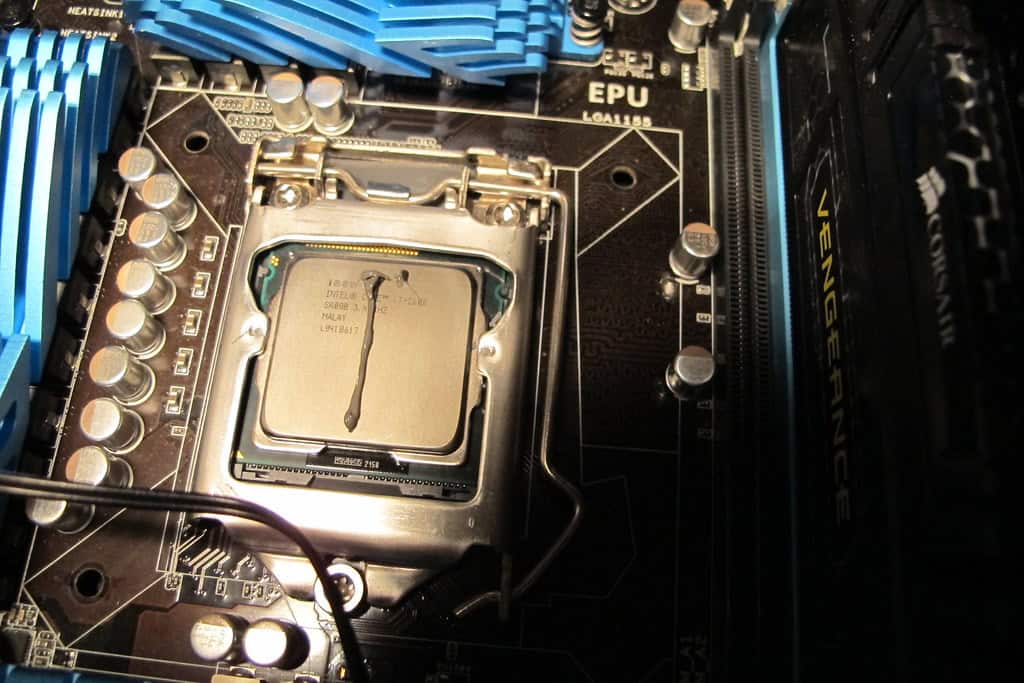
Once the CPU is clean, it’s time to reapply thermal paste. Place a pea-sized drop of thermal interface material in the center of the CPU. This method avoids air bubbles and ensures even spreading once the cooler is reattached.
Final Steps
After reapplying the thermal paste, one needs to carefully reattach the CPU cooler. They should ensure that it sits evenly on the processor and then secure it with screws, applying uniform pressure. The cables can now be reconnected, being mindful not to disrupt the fresh layer of thermal paste.
Post-Cleaning Checklist
Before powering on the computer, check that all components are securely in place and the workspace is cleared of any tools or materials. Monitor the CPU temperature to ensure the new thermal paste is effectively transferring heat.
Troubleshooting and FAQ
If the computer experiences overheating or the CPU temperature seems too high post-cleaning, one may need to repeat the process ensuring that they apply the correct amount of paste and that air bubbles aren’t present. Manufacturers like AMD and Intel provide guides for their specific processors.
Preventive Measures and Maintenance
Regular maintenance, like a spring clean, can extend the lifespan of a CPU. It’s beneficial to periodically check and refresh thermal paste to maintain heat transfer efficiency over time.
Common Mistakes to Avoid
Avoid the mistake of using excessive paste or an incorrect method when applying it, which can lead to poor thermal conductivity or even damage to sensitive components. The paste should never spill over onto the motherboard.
Tools and Materials
Essential materials for this task include microfiber cloths, isopropyl alcohol, anti-static wristbands, and high-quality thermal paste. Tools might also count cotton swabs for finer cleaning and an appropriate screwdriver for cooler removal.