Changing your laptop’s thermal paste can significantly improve its performance and lifespan. This simple maintenance task helps prevent overheating, which can cause system slowdowns or even permanent damage. The process involves carefully removing the old thermal compound and applying a fresh layer between the CPU and heatsink to ensure optimal heat transfer.
Many laptop users overlook this crucial maintenance step. Over time, thermal paste can dry out or become less effective, leading to higher temperatures and reduced efficiency. By replacing the thermal paste, you can keep your laptop running cooler and potentially boost its speed.
While the idea of opening up your laptop might seem daunting, the process is straightforward with the right tools and guidance. This guide will walk you through the steps to safely change your laptop’s thermal paste, helping you maintain your device’s performance for years to come.
How to Change Laptop Thermal Paste
What is Thermal Paste?
Thermal paste is a substance applied between a CPU or GPU and its heatsink. It fills tiny air gaps. This improves heat transfer. It helps keep your components cool.
Why Change Thermal Paste?
- Improved Cooling: Old thermal paste can dry out. This reduces its effectiveness. Replacing it improves heat transfer.
- Lower Temperatures: Lower temperatures lead to better performance and longer component life.
- Reduced Fan Noise: Better cooling can result in quieter fan operation.
Tools You’ll Need
- New Thermal Paste: Choose a quality thermal paste.
- Screwdrivers: You’ll need the correct size screwdrivers for your laptop. Usually Phillips head. Sometimes Torx or other specialized bits.
- Isopropyl Alcohol (90% or higher): For cleaning the old thermal paste.
- Microfiber Cloths or Cotton Swabs: For cleaning.
- Anti-Static Wrist Strap (Recommended): To prevent electrostatic discharge (ESD) damage.
- Small Container or Tray: To hold screws.
- Thermal Paste Spreader (Optional): Can help with even application.
Steps to Change Laptop Thermal Paste
- Power Off and Unplug Your Laptop: This is crucial for safety.
- Ground Yourself: Wear an anti-static wrist strap if you have one. Or touch a grounded metal object before you start.
- Open the Laptop Case: Consult your laptop’s service manual or online guides for specific instructions. This process varies greatly between laptop models. Be gentle and patient.
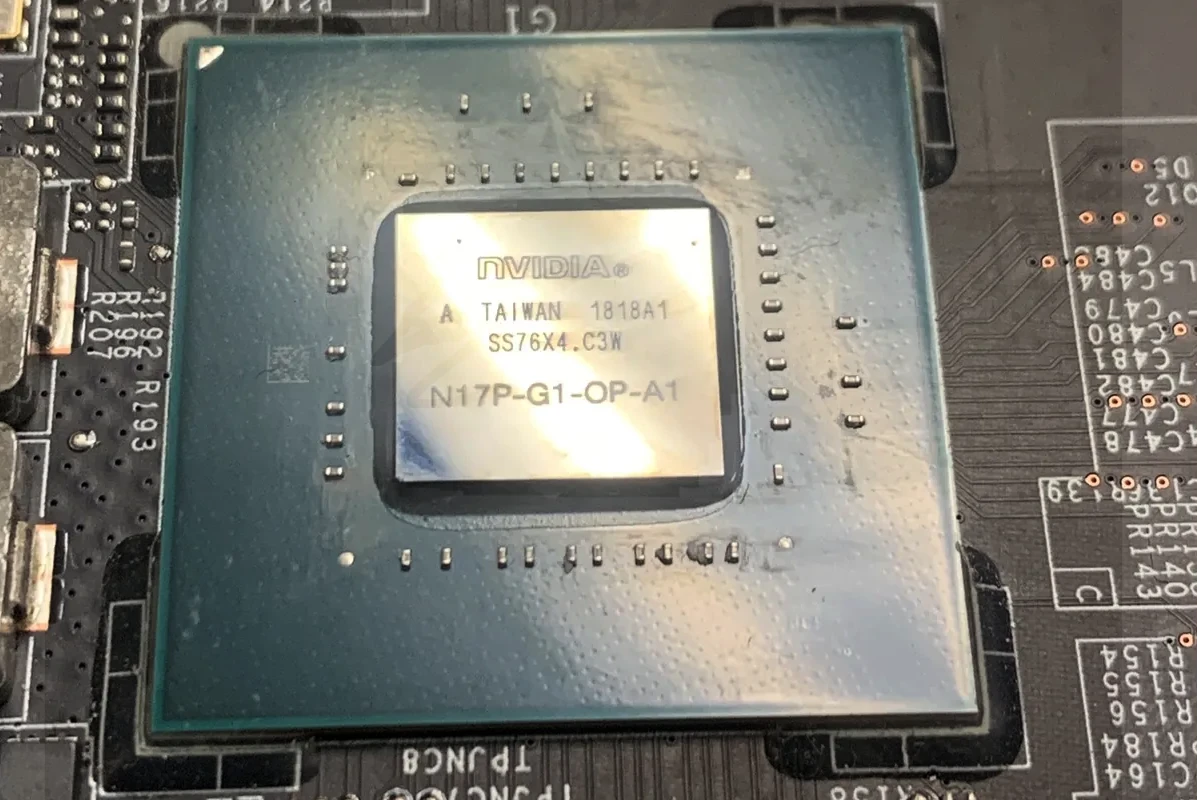
- Locate the Heatsink: The heatsink is a metal component attached to the CPU and sometimes the GPU.
- Disconnect the Heatsink: Remove the screws holding the heatsink in place. Disconnect any fan cables.
- Clean the Old Thermal Paste: Use a microfiber cloth or cotton swab dipped in isopropyl alcohol. Gently clean the old thermal paste from the CPU/GPU and the heatsink. Make sure both surfaces are clean and dry.
- Apply New Thermal Paste: There are different application methods:
- Pea-Sized Dot: Place a small, pea-sized dot of thermal paste in the center of the CPU/GPU.
- Line Method: Apply a thin line of thermal paste along the longest part of the CPU/GPU. This is more common on rectangular chips.
- Spread Method: Spread a very thin layer of thermal paste evenly across the CPU/GPU using a spreader or a clean, flat object (like a credit card edge wrapped in plastic wrap). This is less common now as it creates more opportunity to get air bubbles.
- Reattach the Heatsink: Carefully place the heatsink back onto the CPU/GPU. Make sure it is aligned correctly. Tighten the screws evenly. Do not overtighten.
- Reconnect Fan Cables: Reconnect any fan cables you disconnected earlier.
- Reassemble the Laptop: Put the laptop case back together.
- Test Your Laptop: Turn on your laptop and monitor the CPU/GPU temperatures. Use a monitoring tool like HWMonitor or Core Temp.
Important Considerations
- Laptop Model Specifics: The process varies greatly between laptop models. Always consult your laptop’s service manual or online guides.
- Be Gentle: Laptop components are delicate. Handle them with care.
- Don’t Overtighten Screws: Overtightening can damage the motherboard or CPU/GPU.
- Apply the Right Amount of Thermal Paste: Too much or too little thermal paste can reduce cooling effectiveness.
- Static Electricity: Take precautions to avoid ESD damage.
When to Seek Professional Help
If you are not comfortable working with laptop hardware, seek professional help. A computer repair shop can change the thermal paste for you.
Changing your laptop’s thermal paste can significantly improve cooling performance and extend the life of your components. While the process requires some care and attention to detail, it is manageable for most users with some basic technical skills. By following these steps and taking the necessary precautions, you can effectively maintain your laptop’s thermal health and ensure optimal performance.
Key Takeaways
- Replacing thermal paste improves laptop cooling and performance
- The process requires careful disassembly and precise application
- Regular thermal paste replacement extends laptop lifespan
Preparing the Laptop
Laptop cooling systems are designed to dissipate heat generated by the CPU and GPU. These systems usually consist of heatsinks, fans, and heat pipes. Heatsinks absorb heat from the components. Fans blow air over the heatsinks to dissipate the heat. Heat pipes transfer heat away from the components to the heatsinks.
Over time, dust can accumulate in the cooling system. This reduces its effectiveness. Regularly cleaning the cooling system can help maintain optimal temperatures. This can often be done with compressed air. It’s important to do this regularly to keep your laptop running well.
Proper preparation is crucial for successfully changing laptop thermal paste. This process involves identifying when paste needs reapplying, gathering the right tools, and carefully disassembling the laptop.
Identifying the Need to Reapply Thermal Paste
Signs that a laptop needs new thermal paste include:
- Overheating during normal use
- Frequent shutdowns or crashes
- Loud fan noise
- Reduced performance
Thermal paste typically needs replacing every 3-5 years. Regular CPU temperature monitoring can help detect issues early.
Laptops running resource-intensive tasks like gaming or video editing may require more frequent reapplication. Checking temperatures under load using software tools can reveal if the CPU or GPU is overheating.
Gathering Necessary Materials
Essential items for changing laptop thermal paste:
- New thermal paste
- Isopropyl alcohol (90% or higher)
- Lint-free cloths
- Screwdriver set
- Anti-static wristband
- Compressed air
Choose high-quality thermal paste appropriate for laptops. Arctic Silver and Thermal Grizzly are reputable brands. A syringe-style applicator offers precise control.
Disassembling the Laptop to Access the Heat Sink
Laptop disassembly varies by model. General steps include:
- Power off and unplug the laptop
- Remove the battery (if possible)
- Unscrew and remove the back panel
- Locate the heat sink (usually near the fan)
- Carefully disconnect any cables blocking access
- Remove screws securing the heat sink
- Gently lift the heat sink away from the CPU/GPU
Take photos or notes during disassembly to aid reassembly. Keep screws organized and labeled. Work in a clean, well-lit area to avoid losing small parts.
Handle components gently to prevent damage. The heat sink may stick due to old paste – twist slightly to break the seal before lifting.
Applying the Thermal Paste
Proper application of thermal paste is crucial for optimal heat transfer between the CPU/GPU and heatsink. This process involves careful cleaning, precise paste application, and correct reassembly.
Cleaning the Thermal Contact Surfaces
Start by removing all old thermal paste from the CPU/GPU and heatsink. Use isopropyl alcohol and a lint-free cloth to clean the surfaces thoroughly.
Gently wipe in a circular motion until all residue is gone. Be patient and thorough – any leftover paste can reduce heat transfer efficiency.
For stubborn residue, a plastic scraper can help. Avoid metal tools that might scratch the delicate surfaces.
After cleaning, use compressed air to remove any remaining dust or debris. This ensures a clean surface for the new paste.
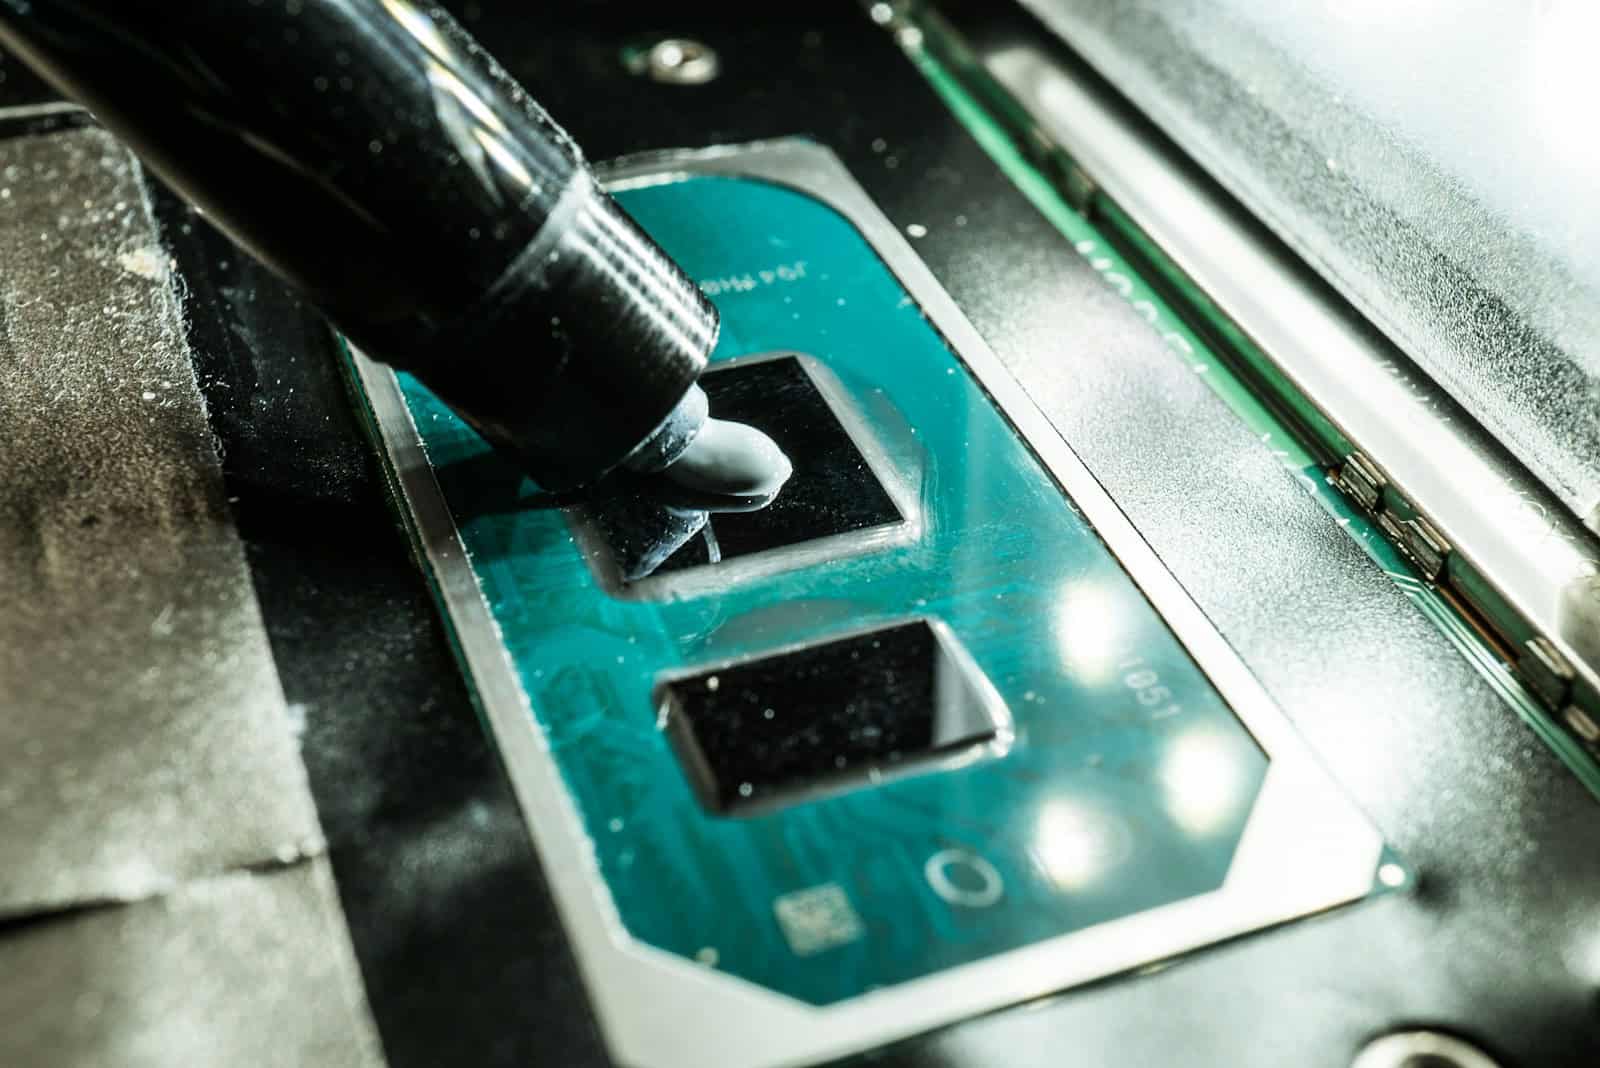
Applying the New Thermal Paste
Choose a high-quality thermal paste for best results. Apply a small amount, about the size of a grain of rice, to the center of the CPU/GPU.
Do not spread the paste manually. The pressure from attaching the heatsink will spread it evenly.
For larger CPUs or GPUs, use a thin line or X-pattern instead of a single dot. This ensures full coverage.
Avoid using too much paste. Excess can spill over and potentially cause electrical issues.
Reassembling the Laptop and Testing
Carefully reattach the heatsink, ensuring even pressure. Tighten screws in a cross-pattern to distribute pressure evenly.
Reconnect all cables and components in reverse order of disassembly. Double-check all connections before closing the laptop case.
Power on the laptop and run temperature monitoring software. Compare temperatures to pre-paste change readings.
If temperatures are higher or the laptop doesn’t boot, recheck all connections and consider reapplying the paste.
Run stress tests to ensure stability under load. Monitor temperatures during these tests to confirm improved thermal performance.


