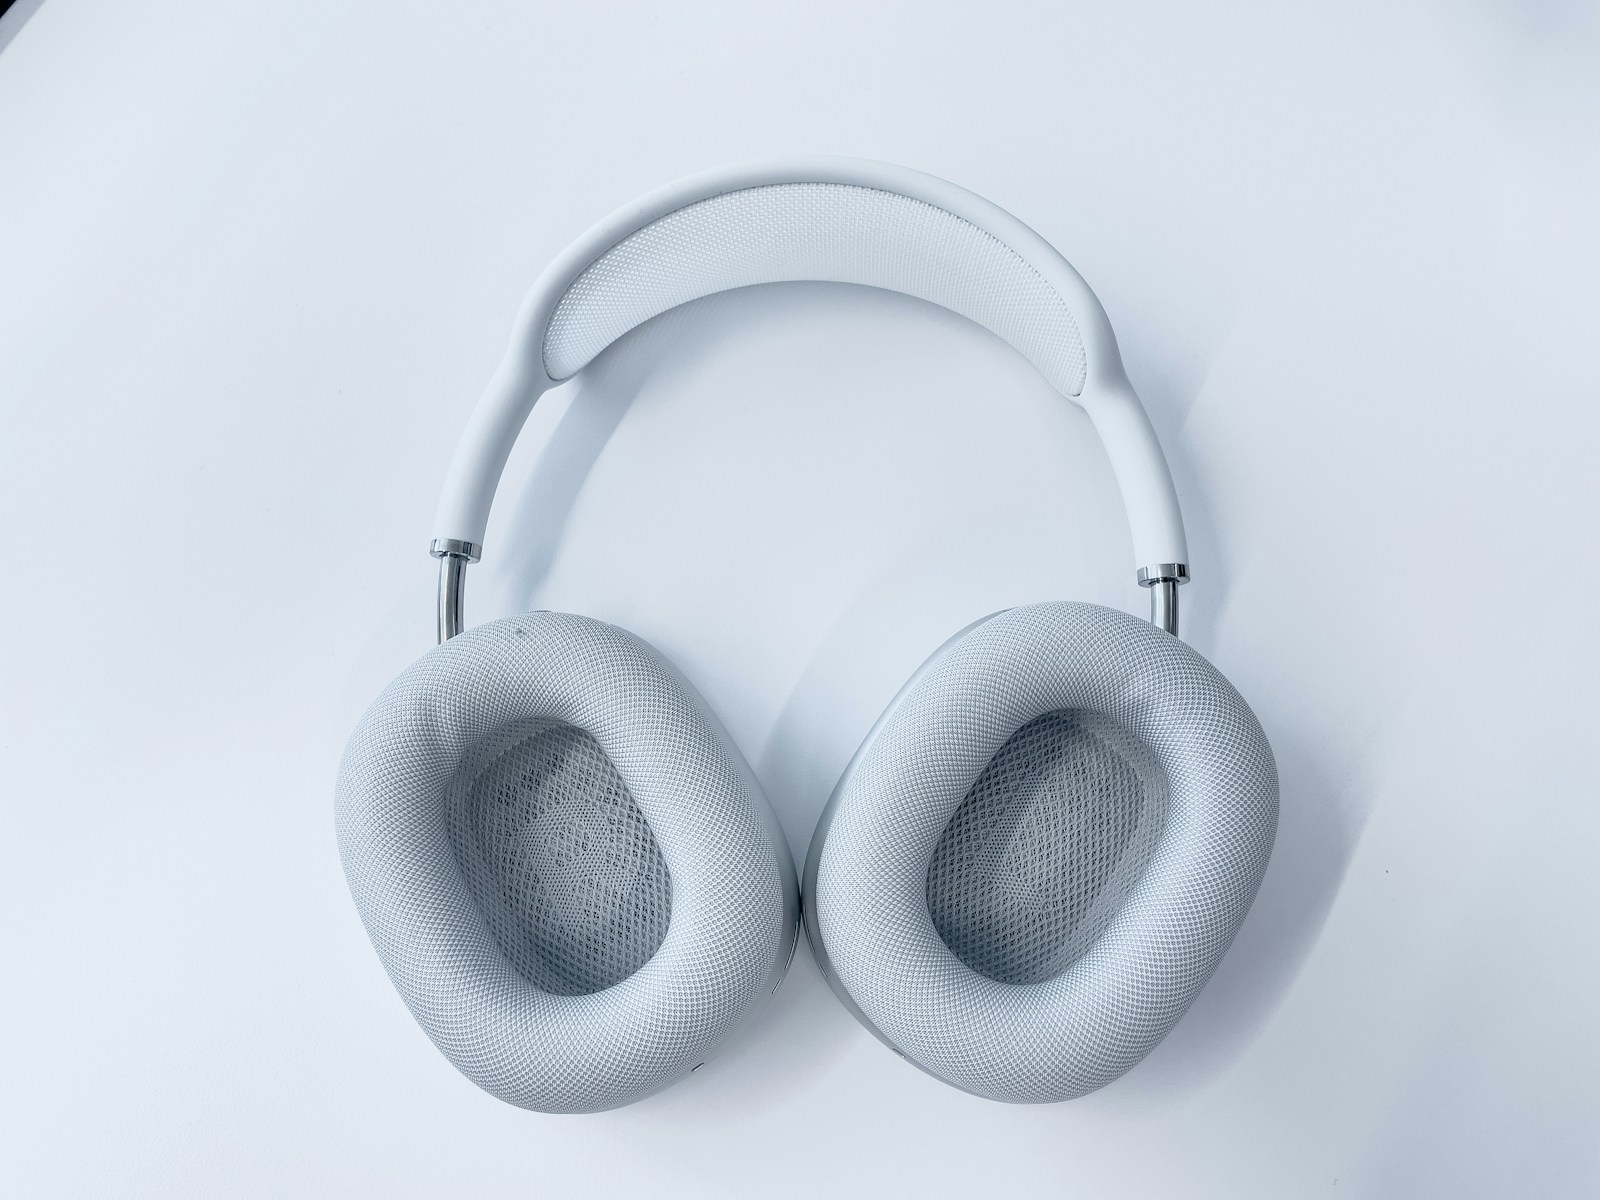
If you’ve purchased a pair of used AirPods Max or received them as a gift, but they’re still linked to the previous owner’s Apple ID, you won’t be able to use all their features. That’s because Apple uses Activation Lock via Find My to prevent theft and unauthorized use.
Here’s a step-by-step guide on how to remove AirPods Max from a previous owner’s Apple ID:
🔐 Why Activation Lock Matters
Activation Lock is a security feature that prevents others from using your AirPods Max if they’re lost or stolen. If you see a message saying they’re “linked to another Apple ID”, it means Activation Lock is turned on—and only the original owner can remove it.
✅ Step-by-Step Guide to Removing AirPods Max from Previous Owner’s Apple ID
Option 1: Ask the Previous Owner to Remove Them via iCloud
This is the only Apple-approved way to remove Activation Lock remotely.
- Ask the previous owner to sign in to iCloud.com
Have them use a browser and log in with their Apple ID. - Go to Find My iPhone
Once signed in, they should click on “Find iPhone”, then choose “All Devices” at the top. - Select the AirPods Max
They’ll see a list of devices associated with their account. Have them click on the AirPods Max. - Remove from Account
Click “Remove from Account”. Once that’s done, the AirPods Max will no longer be linked to their Apple ID. - Restart the AirPods Max
After removal, reset the AirPods Max to factory settings (see reset steps below), then you can pair them with your own Apple ID.
Option 2: Meet in Person and Remove via iPhone or iPad
If you can meet the previous owner physically:
- Have them bring their iPhone or iPad used with the AirPods Max.
- Make sure the AirPods Max are nearby and connected to their device.
- Open the Find My app.
- Tap on Devices → Tap on the AirPods Max.
- Scroll down and tap “Remove This Device”.
Once that’s done, follow the reset steps below and pair them with your own device.
🚫 What You Can’t Do Without the Previous Owner
If the previous owner doesn’t remove the AirPods Max from their Apple ID, you won’t be able to use them fully. They’ll still function as standard Bluetooth headphones on non-Apple devices, but:
- You won’t be able to link them to your iCloud account.
- Spatial Audio, automatic switching, and Find My won’t work.
- Resetting or updating firmware won’t help—Activation Lock remains active.
Apple will not remove Activation Lock without proof of original purchase by the rightful owner.
🔁 How to Reset AirPods Max (After Activation Lock Is Removed)
Once the AirPods Max are no longer tied to a previous Apple ID:
- Make sure they’re not connected to any device.
- Press and hold the Digital Crown and Noise Control button together.
- Keep holding for about 15 seconds, until the LED flashes amber, then white.
- Your AirPods Max are now reset and ready to be paired with your device.
🛠️ Final Tips
- Always check for Activation Lock when buying used Apple products.
- If a seller refuses or is unable to remove the AirPods Max from their account, do not complete the purchase—they may be lost or stolen.
- Only trust sellers who can show they’ve removed the item from their Apple ID or are willing to help in person.
If you need more help, you can contact Apple Support—but remember, they cannot bypass Activation Lock without the original owner’s credentials or documentation.
How to Update AirPods and AirPods Max
Apple has finally addressed a long-standing mystery for AirPods owners by revealing exactly how to update the firmware on their wireless earbuds. For years, users have been told that updates happen automatically, but many were left wondering if they were doing everything correctly to trigger these updates. Apple has now published clear, step-by-step instructions on how to update AirPods, AirPods Pro, and AirPods Max firmware on their official support page, giving users more control over their devices.
This new guidance comes as a welcome change for AirPods owners who previously had to guess at the best methods to ensure their devices received the latest features and bug fixes. The update process requires connecting the AirPods to an iOS device, placing them in their charging case, and connecting the case to a power source. Users then need to wait about 30 minutes for the update to complete.
The detailed instructions make it easier for users to keep their AirPods up to date with the latest improvements. Apple regularly releases firmware updates that enhance functionality, fix bugs, and sometimes add new features to AirPods products. With these clear instructions, users can now be confident they’re getting the most out of their premium audio devices.
AirPods and AirPods Max firmware updates are generally handled automatically by Apple. There isn’t a manual “update” button you can press. However, you can encourage the update process by following these steps:
General Steps for AirPods (and AirPods Pro):
- Ensure your paired Apple device is updated: Make sure your iPhone, iPad, or Mac is running the latest version of iOS, iPadOS, or macOS. This is crucial as the AirPods update relies on the host device.
- Connect to Wi-Fi: Ensure your iPhone, iPad, or Mac is connected to a Wi-Fi network.
- Bluetooth On: Make sure Bluetooth is enabled on your Apple device and your AirPods are connected to it.
- Place AirPods in Charging Case: Put both AirPods into their charging case.
- Connect Case to Power: Plug your AirPods charging case into a power source using a Lightning or USB-C cable (or place it on a wireless charging pad if supported).
- Keep Lid Closed and Near Device: Keep the charging case lid closed and within Bluetooth range of your iPhone, iPad, or Mac.
- Wait: Apple recommends waiting at least 30 minutes for the firmware to update. The update happens in the background.
Specific Steps for AirPods Max:
- Ensure your paired Apple device is updated: Make sure your iPhone, iPad, or Mac is running the latest version of iOS, iPadOS, or macOS.
- Connect to Wi-Fi: Ensure your iPhone, iPad, or Mac is connected to a Wi-Fi network.
- Bluetooth On: Make sure Bluetooth is enabled on your Apple device and your AirPods Max are connected to it.
- Connect AirPods Max to Power: Plug the charging cable into the bottom-right earphone of your AirPods Max, then plug the other end of the cable into a USB charger or port.
- Keep Near Device: Keep your AirPods Max in Bluetooth range of your iPhone, iPad, or Mac.
- Wait: Apple recommends waiting at least 30 minutes for the firmware to update.
How to Check Your AirPods Firmware Version:
After waiting, you can check if the update has been successful:
- On iPhone or iPad:
- Go to Settings > Bluetooth.
- Tap the Info button (i) next to the name of your AirPods.
- Scroll down to the About section to find the firmware version.
- On Mac:
- Choose Apple menu () > System Settings.
- Click Bluetooth.
- Click the Info button (i) next to the name of your AirPods. The firmware version will be listed.
Troubleshooting Tips if Your AirPods Don’t Update:
- Reset your AirPods: If the firmware still hasn’t updated, resetting your AirPods can sometimes help.
- For AirPods (and AirPods Pro): Place them in their charging case with the lid closed. Wait 30 seconds. Open the lid, then press and hold the setup button on the back of the case until the status light flashes amber, then white. Re-pair them with your device.
- For AirPods Max: Press and hold the Noise Control button and the Digital Crown simultaneously until the status light flashes amber, then white.
- Ensure sufficient battery: Make sure both your AirPods/AirPods Max and the connected Apple device have enough battery charge.
- Be patient: Sometimes it simply takes longer for the automatic update to occur.
- Contact Apple Support: If you’ve tried all the steps and your AirPods still aren’t updating, it’s best to contact Apple Support for further assistance.
Key Takeaways
- Apple has published official instructions for updating AirPods firmware after years of leaving users to figure it out themselves.
- The update process requires connecting AirPods to an iOS device and charging them for about 30 minutes.
- Keeping AirPods firmware updated ensures users get the latest features and performance improvements from Apple.
Understanding AirPods Firmware Updates
Apple’s AirPods receive regular firmware updates that add features, improve performance, and fix bugs. These invisible software improvements happen behind the scenes but play a crucial role in keeping your wireless earbuds working at their best.
The Importance of Firmware Updates
Firmware updates for AirPods provide several key benefits that enhance the user experience. These updates often improve sound quality, battery life, and connection stability between your AirPods and Apple devices.
Security patches included in firmware updates protect your devices from potential vulnerabilities. Some updates also add new features, like the Adaptive Audio feature that came to AirPods Pro through a firmware update.
Apple releases these updates periodically throughout the year. Unlike iOS updates, AirPods firmware updates install automatically in the background when the AirPods are connected to an Apple device. This hands-off approach makes updates seamless for users.
However, sometimes users may want to check if they have the latest firmware or try to trigger an update manually.
Determining Your Current Firmware Version
Finding your current AirPods firmware version is simple:
- Connect your AirPods to your iPhone or iPad
- Go to Settings on your device
- Tap General, then About
- Scroll down to find your AirPods in the list
- Tap on your AirPods name
- Look for “Firmware Version” in the information displayed
The latest firmware versions vary by AirPods model. As of February 2025, the newest AirPods Max firmware was just released for the original Lightning model.
To check if your AirPods need updating, compare your current version with Apple’s firmware update support page which lists all current versions.
Compatibility Across Apple Devices
AirPods firmware updates require specific Apple devices to install properly. iPhones running iOS 13.2 or later, iPads with iPadOS 13.2 or later, and Macs with macOS 10.15.1 or newer can all facilitate AirPods firmware updates.
The update process works the same way regardless of which Apple device you use. Simply connect your AirPods to your device and wait while the update installs automatically in the background.
For the first time ever, Apple has officially revealed the exact steps for updating AirPods firmware. This new transparency helps users who want to ensure their AirPods have the latest features.
If your AirPods won’t update, Apple recommends:
- Making sure your Apple device has the latest operating system
- Keeping your AirPods connected to your device for at least 30 minutes
- Resetting your AirPods if updates still fail to install
Step-by-Step Guide to Updating AirPods
Apple has finally revealed the official method to update AirPods firmware. This clear process ensures your AirPods have the latest features and improvements for optimal performance.
Preparing Your AirPods for Update
Before starting the update process, several preparation steps are necessary:
Check current firmware version:
- On iPhone/iPad: Go to Settings > Bluetooth > tap the (i) icon next to your AirPods
- On Mac: Choose Apple menu > System Settings > Bluetooth > click the Info button next to your AirPods
Ensure proper charging:
- Place AirPods in their charging case and close the lid
- Connect the case to a power source using a USB charger and charging cable
- For AirPods Max, connect directly to a power source
Verify device compatibility:
- Use an Apple device (iPhone, iPad, or Mac) running the latest iOS, iPadOS, or macOS
- Sign in with your Apple ID on the device
Your AirPods must have sufficient battery charge (at least 40%) before proceeding with any firmware updates.
The Update Process for Different AirPods Models
The update process varies slightly between different AirPods models:
For AirPods and AirPods Pro:
- Keep your AirPods in their case with the lid closed
- Make sure they’re within Bluetooth range of your Apple device (about 30 feet)
- Leave both devices undisturbed for at least 30 minutes
- The update will install automatically
For AirPods Max:
- Connect them to a power source
- Place them near your Apple device
- Leave both devices undisturbed for about 30 minutes
For AirPods Pro 2 with USB-C:
- Place in charging case and close lid
- Connect to power source
- Keep within Bluetooth range of Apple device
- Wait for the update to complete (status light may flash during update)
Apple has confirmed that firmware updates typically happen overnight when devices are charging and idle.
Troubleshooting Update Issues
If your AirPods aren’t updating to the latest firmware, try these solutions:
Common update issues:
- Update not installing: Reset your AirPods by pressing and holding the setup button on the charging case for 15 seconds until the status light flashes amber, then white
- Device not recognized: Forget the AirPods in Bluetooth settings, then reconnect them
- Update stalled: Ensure both devices remain powered and within range
When all else fails:
- Restart your Apple device
- Check for iOS/iPadOS/macOS updates
- Set up an appointment at an Apple Store if problems persist
Battery considerations:
- Updates require sufficient battery in both your AirPods and Apple device
- Keep charging case connected to power throughout the update process
- Don’t use your AirPods during the update process
For persistent issues, Apple Support can provide specific troubleshooting based on your AirPods model and firmware version.


