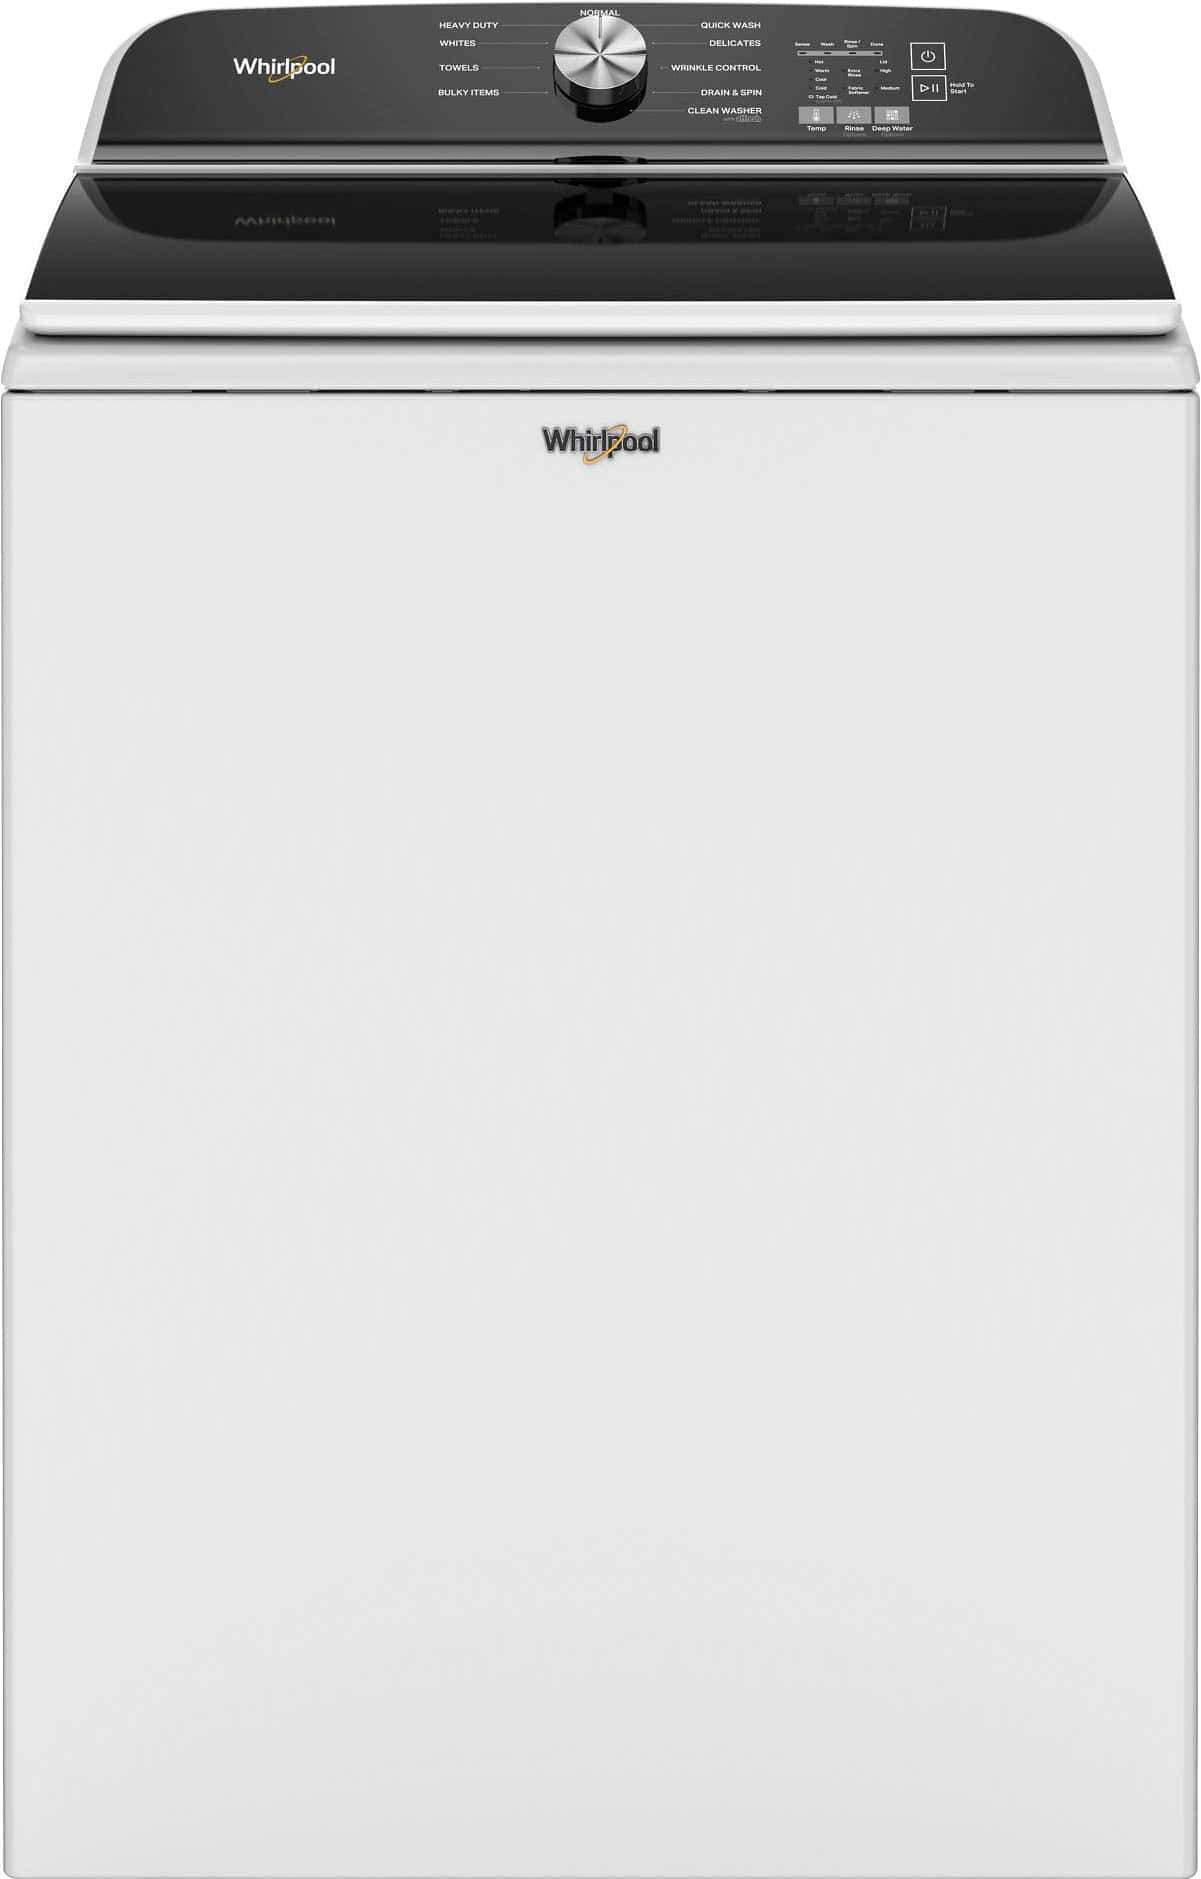
Whirlpool washing machines have been a staple in homes for over a century, offering a range of models to suit various needs. From front-loaders to smart washers, these appliances have evolved to provide efficiency and convenience. However, even the most advanced machines can face common issues, with drainage problems being a particularly disruptive occurrence.
When a Whirlpool washer fails to drain, it can throw off laundry routines and leave clothes waterlogged. This issue affects all types of Whirlpool washers, regardless of their features or age. Understanding the potential causes and solutions for drainage problems can help users address the issue quickly and get their laundry back on track.
Spin Cycle Blues: Why Your Whirlpool Washer Won’t Drain
A washer that won’t drain can bring laundry day to a screeching halt. If your Whirlpool washer is leaving your clothes soaking wet, don’t worry! Many common causes are easily fixable. Here’s a breakdown of why your washer might not be draining and how to troubleshoot the problem.
1. Clogged Drain Hose or Pump Filter
This is one of the most frequent culprits. Lint, hair, and small objects can accumulate in the drain hose or pump filter, blocking water flow.
- Solution:
- Disconnect the power: Safety first! Unplug the washer or turn off the circuit breaker.
- Locate the drain hose: It’s usually at the back of the washer.
- Check for kinks or clogs: Straighten any kinks and clear any visible blockages.
- Clean the pump filter: Consult your user manual for its location. Place a shallow pan underneath to catch water, then carefully remove the filter and clean it thoroughly.
2. Lid Switch Malfunction
Whirlpool washers have a safety switch that prevents the machine from spinning or draining if the lid is open. If this switch is faulty, it can prevent draining even if the lid is closed.
- Solution:
- Inspect the lid switch: Look for any signs of damage or debris.
- Gently clean the switch: Use a damp cloth to remove any buildup.
- Test the switch: If it still seems faulty, you may need to replace it.
3. Drive Belt Issues
The drive belt connects the motor to the drain pump. If the belt is broken or loose, the pump won’t function properly.
- Solution:
- Unplug the washer: Again, safety first!
- Access the drive belt: You’ll likely need to remove the washer’s cabinet (consult your user manual).
- Inspect the belt: Look for any signs of wear, damage, or slippage.
- Replace or tighten the belt: If necessary, replace the belt or adjust its tension.
4. Drain Pump Failure
The drain pump itself can fail due to wear and tear or a blockage. This will prevent the washer from draining.
- Solution:
- Unplug the washer.
- Access the drain pump: Consult your user manual for its location.
- Check for obstructions: Remove any debris that might be blocking the pump.
- Test the pump: If it’s not working, you’ll likely need to replace it.
5. Control Board Problems
In some cases, the control board, which sends signals to the drain pump, can malfunction. This is a more complex issue that might require professional help.
- Solution:
- Unplug the washer.
- Inspect the control board: Look for any visible signs of damage, such as burnt components.
- Contact a technician: If you suspect a control board issue, it’s best to contact a qualified appliance repair technician.
Troubleshooting Your Whirlpool Washer Drainage Issues
| Problem | Possible Causes | Solution |
|---|---|---|
| Washer not draining | Clogged drain hose or pump filter | Clean the hose and filter |
| Washer not draining | Lid switch malfunction | Inspect and clean or replace the switch |
| Washer not draining | Drive belt issues | Inspect, tighten, or replace the belt |
| Washer not draining | Drain pump failure | Check for obstructions or replace the pump |
| Washer not draining | Control board problems | Inspect for damage or contact a technician |
By following these troubleshooting steps, you can often identify the cause of your Whirlpool washer’s drainage problem and take the necessary steps to fix it. If you’re unsure about any of these procedures or the problem persists, it’s always best to consult your user manual or contact a qualified appliance repair technician.
Key Takeaways
- Drainage issues can affect all Whirlpool washer models, disrupting laundry routines
- Common causes include clogged hoses, faulty pumps, and blocked filters
- Regular maintenance and proper use can prevent many drainage problems
Key Issues Causing Whirlpool Washers to Stop Draining
A Whirlpool washing machine that won’t drain can be frustrating. Several common problems often lead to this issue. Let’s explore these culprits and how to address them.
Clogged drain hoses are a frequent cause. These hoses can develop kinks or accumulate debris over time. To fix this:
- Unplug the washer
- Locate the drain hose
- Straighten any bends
- Remove and clean out any blockages
Regular checks of the drain hose can prevent future clogs.
Faulty drain pumps also hinder proper draining. Signs of pump problems include:
- Unusual noises during draining
- Water remaining in the tub after cycles
The drain pump is usually found at the bottom of the machine. Inspecting it for obstructions or damage can help identify issues.
Door locks and lid switches play a crucial role in drainage. If these components malfunction, the washer may not complete its cycle. For front-load washers, ensure the door lock engages properly. Top-load models rely on a functioning lid switch.
Small items can sometimes slip past the drum and clog the pump filter. This filter traps objects to protect the pump. Cleaning it regularly helps maintain proper drainage:
- Locate the filter (usually behind a small door at the front)
- Place a shallow pan underneath
- Slowly unscrew the filter
- Remove any debris
- Replace and tighten the filter
Error codes often signal drainage problems. Common Whirlpool error codes related to draining include:
| Error Code | Meaning |
|---|---|
| F2 | Long drain time |
| Sud | Excessive suds |
| F9 | Drain pump system problem |
Consulting the user manual for specific code meanings can guide troubleshooting efforts.
Overloading the washer can also lead to drainage issues. Too many clothes can prevent proper water circulation and drainage. Following the manufacturer’s capacity guidelines helps avoid this problem.
Sometimes, the main drain line of the house can be the culprit. If multiple appliances have drainage problems, the issue might lie beyond the washer itself.
Electrical problems can affect the washer’s ability to drain. A blown fuse or tripped circuit breaker might prevent the drain cycle from activating. Checking the electrical connections and home circuit box can rule out these issues.
In rare cases, a faulty timer or control board may cause drainage problems. These components regulate the washer’s cycles, including when to drain. Professional diagnosis is often needed for these complex issues.
Regular maintenance can prevent many drainage problems:
- Clean the washer monthly
- Run empty hot water cycles to flush the system
- Check hoses for wear and replace them every 5 years
By understanding these common causes, homeowners can often resolve Whirlpool washer drainage issues quickly. For persistent problems, professional appliance repair services may be necessary to diagnose and fix more complex issues.
Fixing a Whirlpool Washer That Won’t Drain
When a Whirlpool washer fails to drain, several simple steps can often resolve the issue. By following these methods, homeowners can potentially avoid costly repairs or replacements.
- Examine the Drain Hose
The first step is to check the drain hose for any obstructions. Users should:
- Straighten any kinks in the hose
- Clear any blockages
- Ensure proper connection to both washer and drain
- Verify the hose height (39-96 inches from the floor)
A quick test involves pouring water into the standpipe to check for clogs in the home’s drainage system.
- Inspect the Drain Pump
The drain pump is crucial for water removal. To check it:
- Listen for humming during the drain cycle
- Look for visible damage or wear
- Gently turn the impeller (if accessible)
- Clear any debris found in the pump
- Check Door Lock or Lid Switch
These components prevent operation if not engaged properly. Users can:
- Visually inspect for damage
- Ensure proper alignment of actuators
- Test continuity with a multimeter
- Clean any debris around the mechanism
- Assess the Control Panel
The washer’s brain can sometimes cause draining issues. Try these steps:
- Perform a soft reset by unplugging for 1 minute
- Look for error codes on the display
- Consult the manual for diagnostic mode instructions
- Clear any error codes found
- Clean the Drain Filter
Many Whirlpool washers have a drain filter that can become clogged. To clean it:
- Locate the filter (usually at the bottom front)
- Place a shallow pan to catch water
- Remove and clean the filter
- Reinstall the clean filter securely
- Verify Washer Level
An unlevel washer can affect draining. Use a level to check, and adjust the feet if necessary.
- Check for Clothing Interference
Small items can sometimes block the drain:
- Remove all clothes from the drum
- Look for small items like socks near the drain
- Run an empty cycle to test drainage
Safety is paramount when attempting these fixes. Always unplug the washer before internal inspections. If these steps don’t resolve the issue, or if users feel uncomfortable performing them, professional help is recommended.
By following these steps, many Whirlpool washer drainage problems can be solved at home, saving time and money. Regular maintenance can prevent future issues, ensuring the washer operates efficiently for years to come.
Preventing Future Drainage Problems
Regular maintenance can keep your Whirlpool washer draining smoothly. Clean the filter often to avoid clogs. Check the drain hose for kinks and secure it properly. Remove any objects that might block water flow in the drain.
Don’t forget about the water inlet filters. These small parts can get clogged with sediment over time. Clean them to ensure good water flow during wash cycles. This simple step can help your machine run better and last longer.
When using your washer, be mindful of load sizes. Overloading can cause drainage issues. Use the right amount of detergent to prevent excess suds. Too many suds can interfere with proper draining.
For delicate items, use the gentle cycle. This can help prevent small fabric pieces from clogging the drain. After each wash, leave the door open to let the machine air out. This prevents mold and mildew growth, which can affect drainage.
Consider running an empty cycle with vinegar once a month. This cleans the machine and helps keep drains clear. Lastly, pay attention to unusual sounds or long drain times. These may signal a problem that needs fixing before it gets worse.
When Your Washer Needs Expert Attention
Sometimes, Whirlpool washer issues require professional expertise. If you’ve tried basic troubleshooting without success, it’s time to call an appliance service professional. These experts have specialized tools like plumber’s snakes to clear stubborn clogs.
Signs you need a pro:
• Persistent drainage problems
• Strange noises during cycles
• Error codes you can’t resolve
Appliance technicians can diagnose complex issues and perform repairs safely. They’ll ensure your washer runs efficiently, potentially saving you money on water and energy bills in the long run.
Resolving Whirlpool Washer Drainage Issues
A non-draining Whirlpool washer can be fixed through several steps. Users can start by checking the drain hose for kinks or blockages. If this doesn’t solve the problem, inspecting the pump and cleaning its filter may help.
Key troubleshooting steps:
- Examine drain hose
- Clean pump filter
- Check door latch switch
- Inspect coin trap
Regular maintenance prevents future issues. This includes cleaning filters and checking hoses periodically. By following these steps, most drainage problems can be solved without professional help, extending the washer’s lifespan.


