Building a Mini ITX PC is like assembling a high-performance puzzle. You need to carefully choose each piece to ensure it fits perfectly and delivers the power you crave, all within a compact frame. This guide is here to walk you through the process, offering recommendations and tips to make your Mini ITX build a success. Whether you’re a seasoned builder or a first-timer, get ready to unleash the power of small!
Building Big in a Small Space: Your Mini ITX PC Guide
Why Mini ITX?
Mini ITX builds are perfect if you want a powerful PC that doesn’t take up much room. They’re great for small apartments, dorm rooms, or anyone who values a clean and minimalist setup. Plus, they’re surprisingly powerful, handling everything from gaming to content creation.
Choosing the Right Components
Picking the right parts is crucial for a successful Mini ITX build. Here’s a breakdown of the key components and some recommendations:
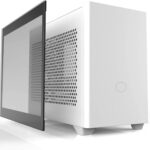
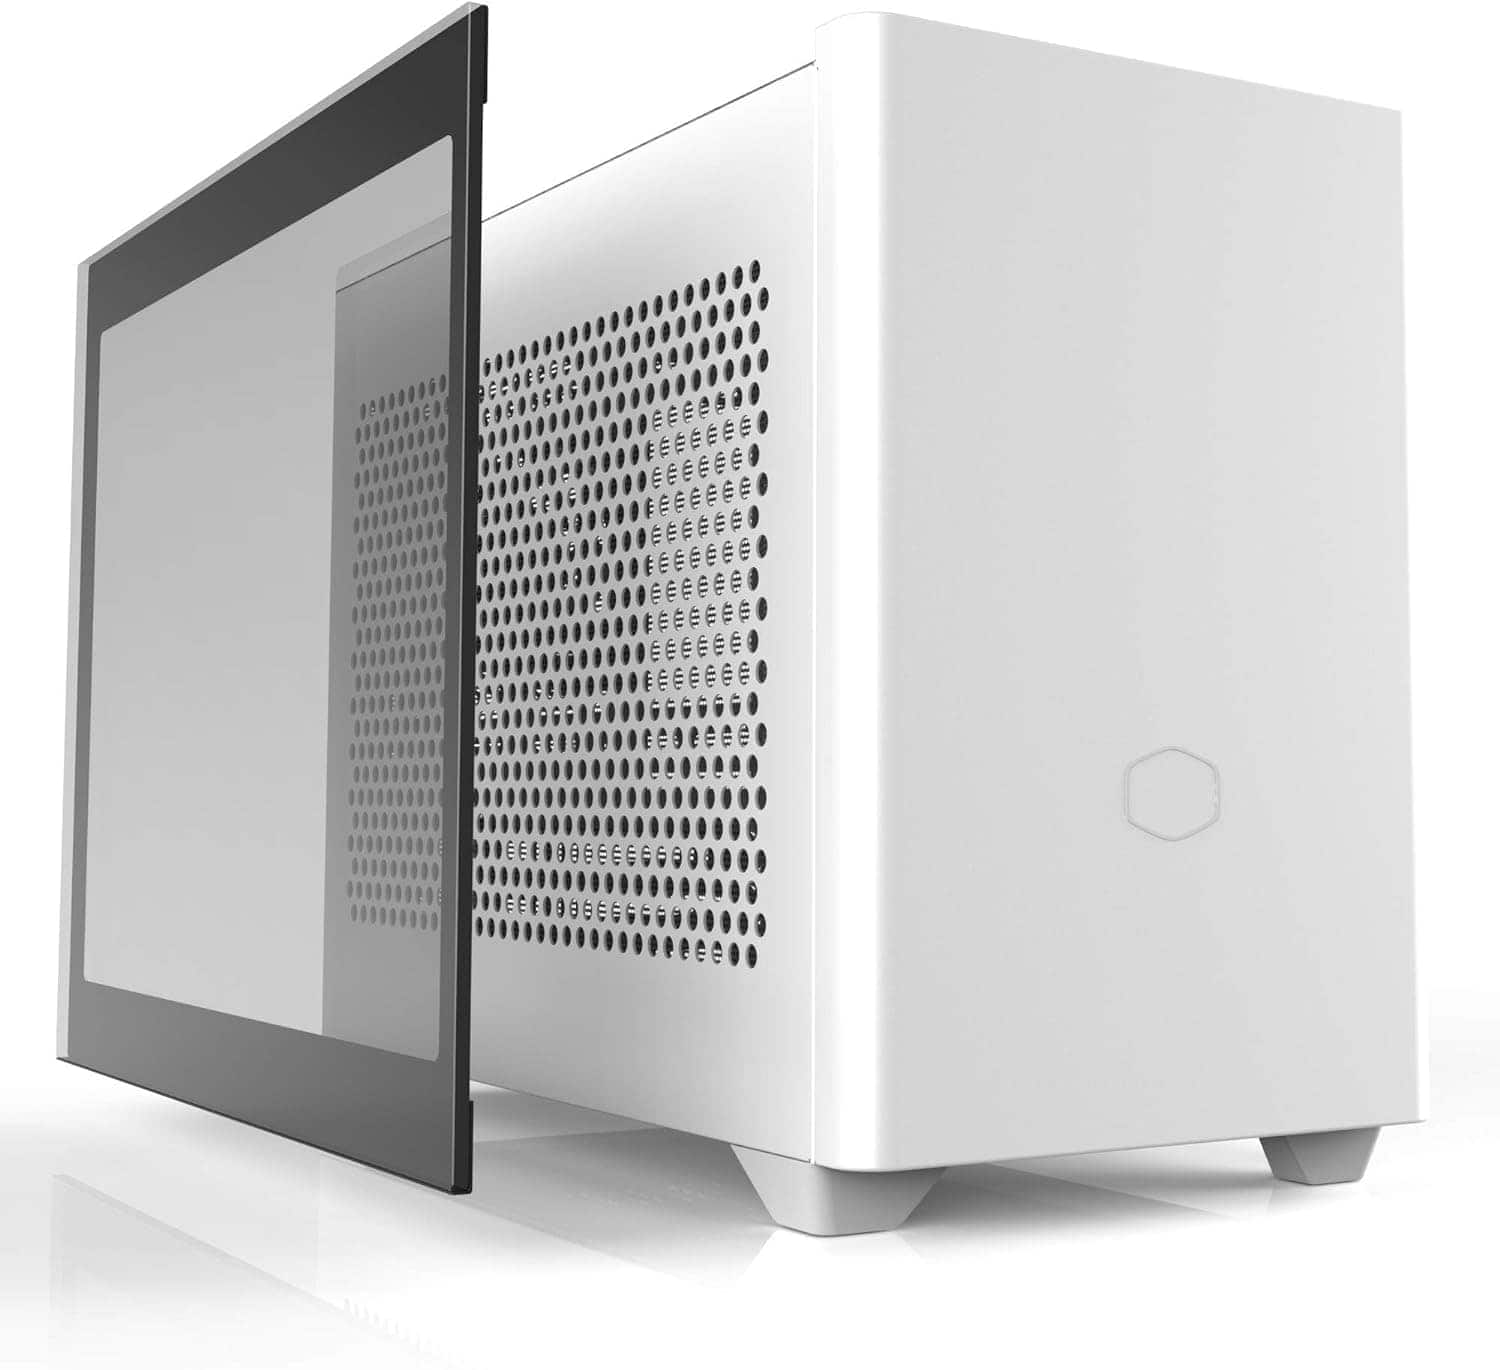
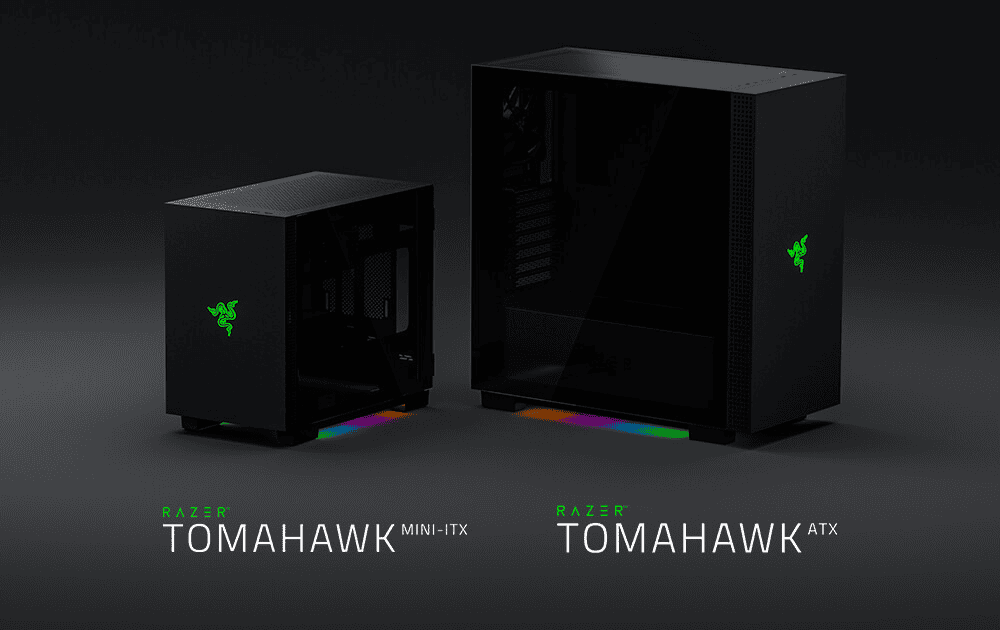
Case
The case is the foundation of your build, so choose wisely. Look for a case that’s compatible with your chosen components and has good airflow to keep things cool.
- Popular Mini ITX Cases:
- NZXT H1 v2
- Fractal Design Node 202
- Cooler Master NR200P
- Lian Li Q58
Motherboard
The motherboard is the heart of your PC, connecting all the components together. Make sure it supports your chosen CPU and has the features you need.
- Recommended Mini ITX Motherboards:
- ASUS ROG Strix B650E-I Gaming WiFi
- MSI MPG B650I Edge WiFi
- ASRock B650E PG-ITX WiFi
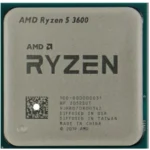
CPU
The CPU (Central Processing Unit) is the brain of your PC, responsible for all the calculations and processing. Choose a CPU that fits your budget and performance needs.
- Popular Mini ITX CPUs:
- AMD Ryzen 5 7600X
- Intel Core i5-13600K
- AMD Ryzen 7 7700X
CPU Cooler
A good CPU cooler is essential to keep your CPU running at optimal temperatures. Mini ITX cases have limited space, so consider a low-profile cooler or an AIO (all-in-one) liquid cooler.
- Recommended Mini ITX CPU Coolers:
- Noctua NH-L9i
- Scythe Big Shuriken 3
- NZXT Kraken M22
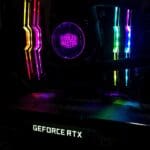
GPU
The GPU (Graphics Processing Unit) handles the visuals for your PC, so it’s important for gaming and other graphics-intensive tasks. Mini ITX cases can usually accommodate most GPUs, but double-check the clearance before you buy.
- Popular Mini ITX GPUs:
- NVIDIA GeForce RTX 4070
- AMD Radeon RX 7700 XT
- NVIDIA GeForce RTX 3060 Ti
RAM
RAM (Random Access Memory) is where your PC stores data that it’s currently using. More RAM means better multitasking and smoother performance.
- Recommended Mini ITX RAM:
- 16GB or 32GB DDR5 RAM
- Look for low-profile RAM to avoid clearance issues
Storage
You’ll need an SSD (Solid State Drive) for your operating system and programs, and you can add an HDD (Hard Disk Drive) for additional storage if needed. Mini ITX cases often have limited space for storage drives, so choose wisely.
- Recommended Mini ITX Storage:
- 1TB NVMe SSD
- Optional: 2TB or larger HDD
PSU
The PSU (Power Supply Unit) provides power to all your components. Make sure it has enough wattage to handle your system and is compatible with your case.
- Recommended Mini ITX PSUs:
- 750W or 850W SFX or SFX-L PSU
- Look for a fully modular PSU for easier cable management
Putting It All Together
Building a Mini ITX PC is similar to building a full-sized PC, but with a few extra considerations due to the limited space. Take your time, follow the instructions carefully, and don’t be afraid to ask for help if you get stuck.
Enjoy Your Mini Powerhouse
Once you’ve finished building your Mini ITX PC, you’ll have a powerful and compact machine that can handle all your computing needs. Enjoy the benefits of a small form factor PC without sacrificing performance!
Mini ITX Build Guide
| Step | Description |
|---|---|
| 1 | Define Your Needs and Budget |
| – | What will you be using the PC for (gaming, productivity, home theater)? |
| – | How much are you willing to spend on the entire build? |
| 2 | Choose Your Case |
| – | Consider size (smaller vs larger footprint), aesthetics (glass panel, mesh front), and cooling capabilities (airflow, radiator support). |
| – | Research compatible components based on case size limitations (GPU length, CPU cooler height, power supply type). |
| 3 | Select Your CPU |
| – | Look for CPUs with good performance-per-watt for better thermals in a small space. |
| – | Consider integrated graphics (APUs) for budget builds or if you don’t need a dedicated GPU. |
| 4 | Pick a Compatible Motherboard (Mini-ITX Form Factor) |
| – | Ensure the motherboard socket type matches your chosen CPU. |
| – | Check for features you need (number of fan headers, Wi-Fi, Bluetooth). |
| 5 | Find Low-Profile RAM |
| – | Standard RAM sticks might not fit due to space constraints. Look for RAM with a low profile heat spreader. |
| – | Decide on RAM capacity (16GB is generally recommended for most tasks). |
| 6 | Choose Storage |
| – | Mini-ITX cases often have limited storage bays. Consider a combination of M.2 NVMe SSDs for speed and smaller 2.5″ SSDs for additional storage. |
| 7 | Select a Small Form Factor Power Supply (SFX or SFX-L) |
| – | Choose a wattage rating that meets the power draw of your other components. |
| – | Consider modular power supplies for easier cable management. |
| 8 (Optional) | Pick Out Fans for Additional Cooling |
| – | Some cases may require additional case fans for optimal airflow. |
| 9 | Assemble Your PC |
| – | Follow the instructions provided in your case and motherboard manuals. |
| – | Pay close attention to cable management for better airflow and aesthetics. |
| 10 | Install Your Operating System and Drivers |
| – | Download and install your preferred operating system (Windows, Linux, etc.). |
| – | Install the latest drivers from your component manufacturers for optimal performance. |
Additional Tips:
- Use online tools like PCPartPicker [pcpartpicker.com] to check compatibility between components.
- Watch video tutorials on building in a Mini-ITX case for visual guidance.
- Consider pre-built Mini-ITX systems if building yourself seems daunting.
Mini ITX Build Overview
Building a mini ITX PC harnesses the power of a full-size desktop in a much smaller package. This design is ideal for gamers and professionals who need a compact and powerful machine.
Benefits of Mini ITX Form Factor
Portability: One major advantage of the mini ITX form factor is its portability. The small size—usually about 6.7 by 6.7 inches—makes it a breeze to move around, perfect for those who frequently travel or have limited desk space.
Space Efficiency: These PCs are space-savers without skimping on performance. They fit into tighter spaces, freeing up room for a minimalist setup or additional peripherals.
Choosing the Right Mini ITX Components
Motherboard: The cornerstone of a mini ITX build is the motherboard. It’s crucial to select a board that supports your desired processor while providing enough ports for your needs.
Case: The case must be compatible with the ITX form factor but also have sufficient cooling to prevent overheating in such a confined space.
Components: Standard-size GPUs, memory, and storage options can be used. However, it’s vital to check component sizes against the case dimensions to ensure a perfect fit.
In crafting a mini ITX build, one builds a small form-factor PC that is both portable and powerful, combining careful component selection with the inherent benefits of the ITX form factor.
Assembling Your Mini ITX PC
Building a small yet powerful PC requires precision and attention. This section takes you through the crucial steps of piecing together your Mini ITX PC, from the prep work to the final touches of cable management.
Preparation and Tools Required
Before you begin, make sure you have the right tools and workspace ready. A clear, static-free surface with good lighting is vital. You’ll need a set of screwdrivers, preferably with magnetic tips to handle tiny screws easily. Keep a pair of tweezers, some zip ties, and a small bowl to hold screws at hand. Regarding components, have your Mini ITX motherboard, CPU, RAM, GPU, power supply, storage drives, CPU cooler, and case fans ready to go.
Step-by-Step Assembly Guide
1. Installing the CPU: Carefully place the CPU into the motherboard socket. Align it using the markings, usually a small triangle on both the CPU and the socket. There’s no need to force it; it should drop into place smoothly.
2. Applying Thermal Paste and CPU Cooler: If your CPU cooler doesn’t come with pre-applied thermal paste, apply a pea-sized drop of paste onto the CPU. Mount the cooler onto the CPU and secure it using the provided mechanism. Make sure it sits snugly.
3. Installing RAM: Insert the RAM sticks into their slots by first opening the side clips. Push down evenly on both ends until the clips lock into place.
4. Preparing the Case: Remove the side panels from your Mini ITX case for access. Install the power supply and any bottom-mounted fans or drives.
5. Motherboard Installation: Fix the motherboard standoffs in the case, align the motherboard I/O with the case’s backplate, and secure the board with screws.
6. Installing Storage: Mount your SSD or HDD in the designated area. Use screws for 2.5-inch SSDs or slide it into the bay for 3.5-inch HDDs. Connect SATA data cables to the motherboard.
7. Installing the GPU: Secure the GPU into the PCIe slot on the motherboard. It will click when it’s properly seated. Screw the GPU to the case to stabilize it.
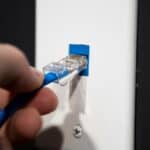
Cable Management and Airflow Optimization
Once all components are in place, organize your cables to avoid blocking airflow. Use zip ties or Velcro straps to group cables together neatly, routing them behind the motherboard tray when possible. Proper cable management ensures better airflow, which is crucial in a compact Mini ITX build for keeping components cool. Adjust fans to create a balanced air intake and exhaust setup. The CPU and GPU should have enough breathing room, assisted by case fans that direct the air through the system and out.
With these steps followed correctly, your Mini ITX PC should not only be a compact powerhouse but also a visually tidy and thermally efficient machine.
Performance Enhancement and Maintenance
Enhancing the performance of a mini ITX gaming PC involves a balance of overclocking, strategic hardware upgrades, and consistent maintenance. For gamers looking to push their systems to the limit and maintain reliability, these steps are key.
Overclocking and Cooling Solutions
Overclocking can significantly boost gaming performance, especially for demanding 4K gaming. When pursuing higher speeds on CPUs and GPUs, effective cooling is critical to prevent overheating. Mini ITX cases often have restricted airflow, making the choice of cooling solutions—a combination of dedicated fans and heat sinks—especially important to dissipate heat efficiently.
Upgrading Hardware Components
To keep up with the latest games, upgrading hardware components is a must. A mini ITX gaming PC can benefit from:
- CPUs: Installing a powerful Ryzen CPU that matches the motherboard’s socket type.
- GPUs: A high-performance, dedicated graphics card is essential. Ensure the mini ITX case can accommodate its size.
- Memory: Adequate and fast memory is crucial. Look for compatibility with the latest DDR standards.
- Storage: Fast SSDs, particularly M.2 PCIe SSDs, will substantially speed up load times and improve overall responsiveness.
- Compatibility: Always verify that the new components are compatible with existing hardware, including power supply ratings and physical space within the case.
Routine Maintenance and Cleaning
Regular maintenance ensures sustained performance. This involves:
- Keeping the interior dust-free. Periodically use compressed air to clean out the fans and heatsinks.
- Updating drivers and software to ensure hardware runs smoothly and efficiently.
- Monitoring system performance and temperatures to catch any potential issues early.
Frequently Asked Questions
This section tackles some common inquiries related to building a Mini ITX PC, covering topics from selecting the right case to understanding the potential trade-offs of such compact builds.
What are the best cases for creating a small form factor PC?
The best cases for a small form factor PC blend design with functionality. They offer good air flow and enough space for components, without being too bulky. Popular options include the NZXT H210i, the Thermaltake Core V1, and the Fractal Design Node 202.
How do I build a high-performance Mini ITX gaming PC?
For a high-performance Mini ITX gaming PC, focus on pairing a powerful CPU and GPU within the thermal limits of your chosen case. Opt for high-speed memory and consider an efficient cooling solution to maintain peak performance.
What are the options for a powerful Mini ITX build on a budget?
Building a powerful Mini ITX system on a budget requires careful selection of components. Choose a mid-range CPU, pair it with a capable but reasonably priced GPU, and don’t skimp on a reliable power supply. Look for sales or consider slightly older components that still offer good performance.
Is it feasible to build a portable Mini ITX PC for travel?
Yes, building a portable Mini ITX PC for travel is feasible. Choose a lightweight case with a handle and focus on components with lower power consumption to reduce heat output, which is critical when you’re on the move.
Are there trade-offs in cooling efficiency with Mini ITX cases?
Mini ITX cases often face trade-offs in cooling efficiency due to their reduced size. This can be mitigated by selecting low-profile coolers, using efficient case fans, and ensuring the case has good air intake and exhaust paths.
What components should I prioritize for a prebuilt Mini ITX gaming PC?
When choosing a prebuilt Mini ITX gaming PC, prioritize the GPU and CPU for performance. Additionally, ensure the system has sufficient RAM (at least 16GB) and fast storage options like an SSD to improve load times and overall responsiveness.