If your custom-built PC won’t turn on, there could be several reasons why. It could be due to incorrect component installation, power supply failures, or more complex internal errors. To troubleshoot, start by checking the power supply and making sure all cables are properly connected. If there’s still no power, carefully inspect each component to ensure they are correctly installed and functioning. Methodically checking the power supply and the RAM could help you identify and fix the problem quickly.
What to Do When Your New Computer Won’t Start
Building your own PC is exciting, but nothing compares to the sinking feeling when you press the power button, and… nothing happens. Fear not! Here’s a systematic guide to troubleshooting this common issue:

Step 1: Stay Calm, Check the Basics
Before diving deep, rule out simple mistakes:
- Power Supply: Ensure your power supply is switched on (if it has a switch) and the power cable is plugged in securely.
- Wall Outlet: Double-check that the wall outlet is working. Try another device to be sure.
- Power Button: Confirm that the power button wires are connected to the correct pins on your motherboard. Refer to your motherboard manual for guidance.
Step 2: Deep Dive – Check Internal Connections
If the basics check out, it’s time to examine inside:
- Power Connectors: Verify that both the main 24-pin ATX power connector and the CPU power connector (usually 4-pin or 8-pin) are firmly seated in their sockets.
- RAM: Ensure RAM sticks are inserted into the correct slots and fully seated. Try reseating them or booting with one stick at a time.
- GPU: Verify your graphics card (if you have one) is correctly seated in its PCIe slot and any required power connectors are connected.
Step 3: Test the Power Supply (PSU)
A faulty power supply is a common culprit. Here’s how to test yours:
- Paperclip Test: Search online for “power supply paperclip test” for detailed instructions. This allows you to test if your PSU turns on independently.
- PSU Tester: Consider investing in a PSU tester for quick and easy diagnosis.
Step 4: Look for Motherboard Issues
- LED Indicators: Many motherboards have LEDs that indicate issues. Consult your manual to understand what the LEDs mean.
- Short Circuit: Inspect the motherboard carefully for any loose parts that may be causing a short circuit. Check for anything touching the motherboard that shouldn’t be.
- BIOS Beep Codes: If your motherboard has a speaker, listen for beep codes when you try to power on. Refer to your motherboard manual to interpret the codes.
Step 5: Simplify and Test
- Minimal Build: Disconnect all non-essential components (storage drives, extra fans, etc.). Try booting with just CPU, RAM (single stick), GPU (if you have one), and PSU connected.
- Test Components: If possible, swap out components with known working ones to identify the faulty part.
Advanced Troubleshooting
If the steps above don’t resolve the issue, here are some additional things to check:
| Issue | Solution |
|---|---|
| Bent CPU Pins | Carefully examine and repair if necessary |
| Dead Motherboard | Seek a replacement or professional repair |
| Faulty Components | Test individual components |
Important Note: Always refer to your motherboard and component manuals for specific instructions and safety guidelines. If in doubt, consider consulting a professional PC technician.
Key Takeaways
- Initial checks of power supply and connections can quickly resolve basic issues
- A step-by-step approach to inspect internal components is crucial for diagnosing problems
- Each troubleshooting step brings you closer to identifying and fixing the issue
Initial Diagnostic Steps
When a newly built PC fails to turn on, pinpointing the exact issue can be challenging. The key is to methodically check each component, starting with the most essential connections and hardware.
Check Power Connections
First, ensure the power cable is firmly plugged into the power supply unit (PSU) and the wall outlet. If using a power strip, check if it’s turned on and functioning. Verify the PSU switch is set to the ‘on’ position. It’s essential to connect all necessary power cables to the motherboard. This includes the large 24-pin connector and typically an 8-pin or 4+4-pin connector for the CPU power. Loose or improper connections can prevent the system from powering up.
Inspect External Hardware Components
Examine all external components starting with the monitor. Connect the monitor cable securely to both the monitor and the PC. Adjust brightness settings to ensure the display is not simply too dark to see. Confirm that other external hardware like the keyboard and mouse are connected. If you’ve added an SSD or other components, check the data and power cables are secure. To test if these parts are causing the issue, you can temporarily disconnect any non-essential hardware. Press the power button on the case; if everything is correct, the system should start, and you can access the BIOS settings to continue setup.
Systematic Internal Inspection
In resolving issues with a newly built PC that won’t turn on, a thorough internal inspection is critical. This process involves checking key components, ensuring proper connections, and observing any error signals or codes.
Motherboard and RAM Checks
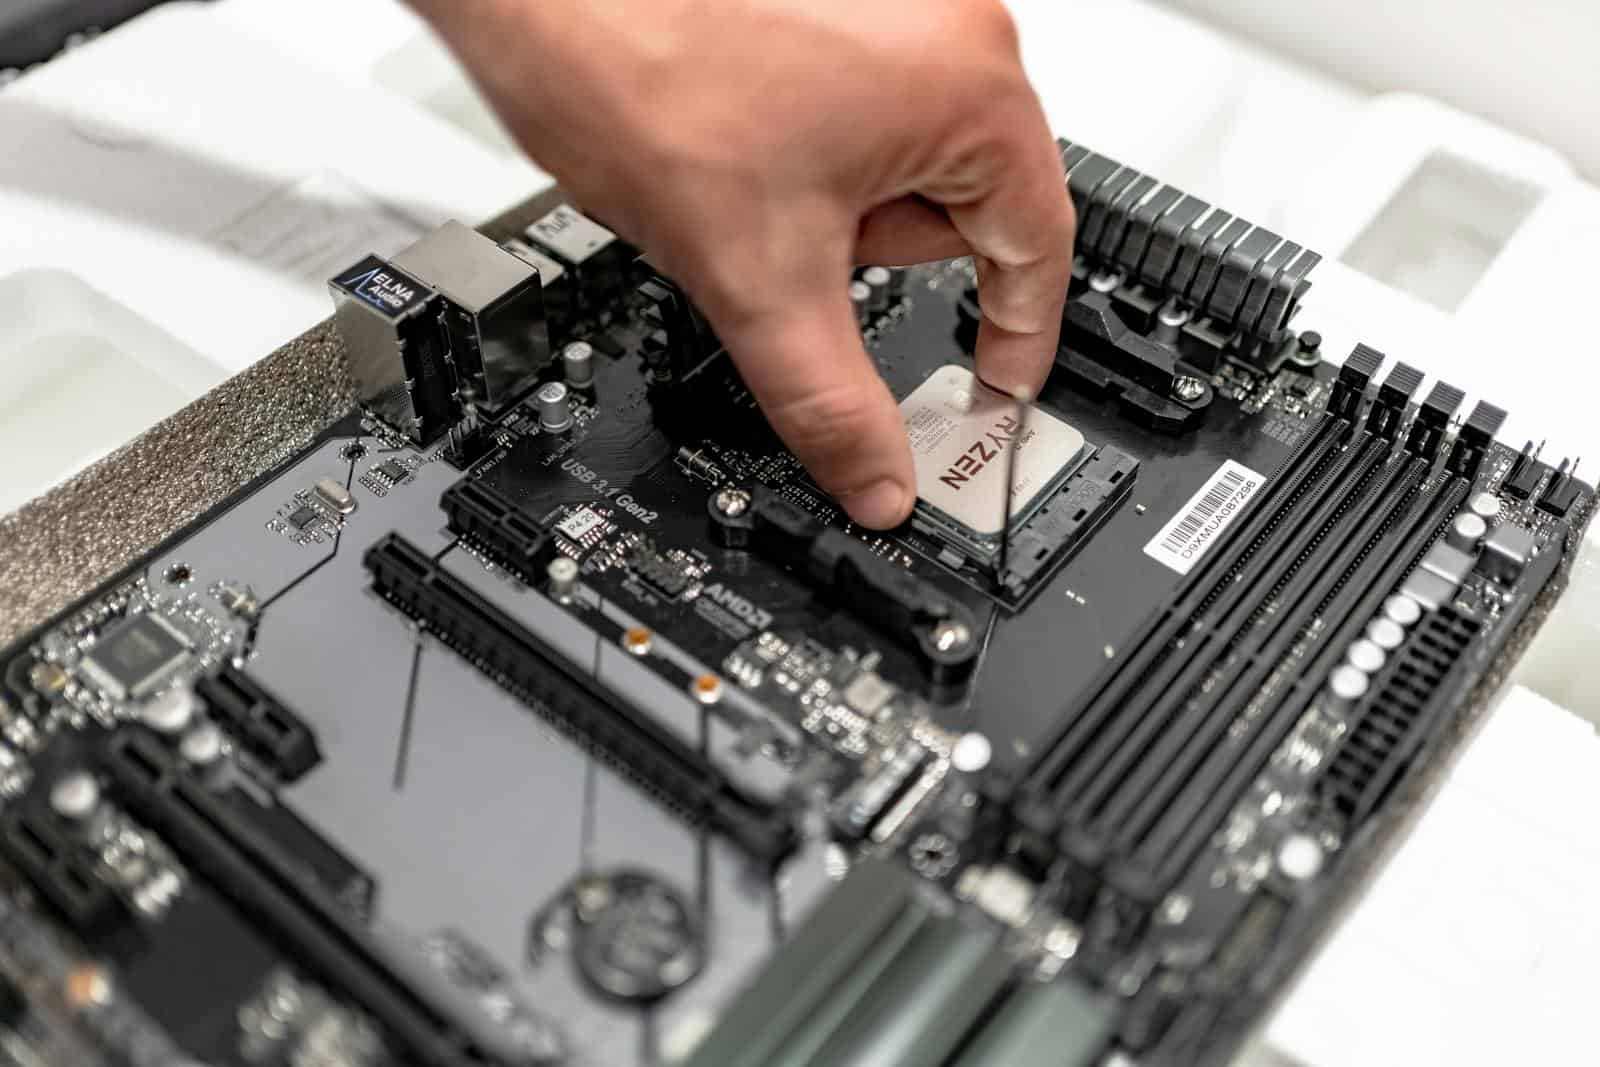
First, examine the motherboard standoffs to ensure they’re installed correctly; they keep the board at the right height, preventing shorts. Make sure the RAM is firmly seated in their slots. If using multiple sticks, check the motherboard manual for the correct configuration. If there’s an issue, the motherboard may emit beep codes that indicate RAM problems.
Advanced Power Supply Diagnostics
For power supply issues, perform a paper-clip test if you have a modular PSU. Unplug the PSU from all components, then bridge the green wire (power on) with any black wire (ground) on the 24-pin connector. If the PSU fan starts, it’s functional. This doesn’t cover all power issues but rules out complete PSU failure.
Troubleshooting BIOS and Boot Issues
If the fans run but there’s no display, the BIOS might not recognize the current hardware configuration. Clearing the CMOS can reset the BIOS settings. If you’re stuck in a boot loop, access the BIOS and check for a pending BIOS update. In some cases, reverting to default settings might resolve boot issues.
Identify Graphics Card and Driver Problems
Ensure the graphics card is correctly seated and powered. If there’s no display, try connecting your monitor to the motherboard’s video output to test onboard graphics. If Windows 10 starts but you face a Blue Screen of Death (BSOD), boot in Safe Mode, and update or roll back your GPU drivers.
By carefully following these steps, you can systematically identify and resolve many common hardware issues with a new PC build.
Frequently Asked Questions
When building a PC, it’s common to encounter issues. The following questions and answers aim to help troubleshoot common problems with new builds.
What steps should I take to diagnose a newly built PC that powers on but doesn’t display anything?
First, check the monitor and video cable connections. Make sure the display is set to the correct input. Then inspect the graphics card, ensuring it’s properly seated and powered.
How can I determine why my new PC build isn’t receiving power to the motherboard?
Ensure the power supply is switched on and working. Verify that the 24-pin motherboard and 4+4 pin CPU power cables are securely connected. Check if the PSU passes the paperclip test.
What are the common causes for a newly build PC turning on and then shutting down immediately?
Look for issues with the cooling system, like an improperly seated CPU cooler. Also, examine the power supply and RAM installation for potential faults.
What troubleshooting methods are recommended for a PC that shows motherboard lights but won’t turn on?
Test the system with minimal components. Recheck all power connections, including the CPU and motherboard cables. Consider resetting the CMOS.
In what sequence should I check the components if my new PC build won’t power on at all?
Start with the power supply unit using the paperclip test. Proceed to check all cable connections, ensure the CPU and cooler are installed correctly, and examine the RAM sticks and their slots.
How can I resolve an issue where my PC turns on but fails to boot into the operating system?
Check the boot order in the BIOS settings. Inspect the storage device connections and health. If needed, attempt to repair or reinstall the operating system.


