Thermal paste plays a crucial role in computer cooling. It fills tiny gaps between the CPU and heatsink, allowing efficient heat transfer. Applying it correctly can significantly improve your system’s performance and longevity.
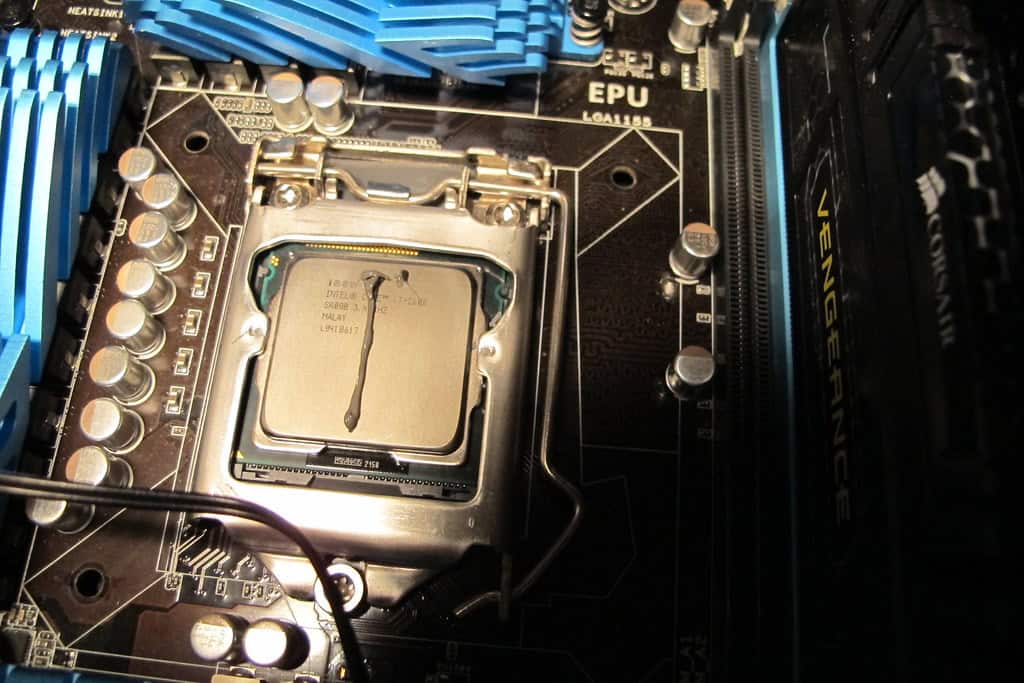
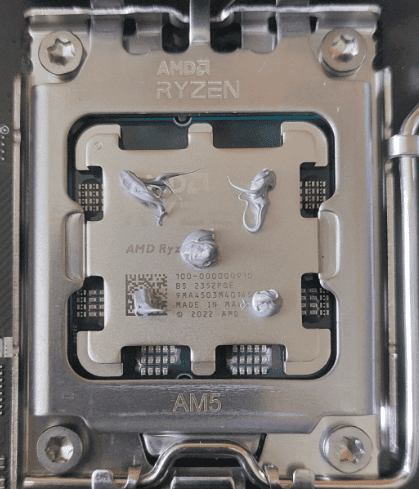
The best way to apply thermal paste is to place a small, pea-sized dot in the center of the CPU. This method ensures even distribution when the heatsink is pressed down. It prevents air bubbles and excess paste from spilling over the edges. Other patterns like lines or X-shapes can work but may lead to uneven coverage.

Proper application technique matters as much as the amount used. Too little paste won’t cover the entire surface, while too much can hinder heat transfer. Clean the CPU surface thoroughly before applying new paste. Use gentle, even pressure when mounting the heatsink to spread the paste evenly.
Best Ways to Apply Thermal Paste for Maximum CPU Cooling
This guide will walk you through the proper application technique, explain why it works, and offer valuable tips to help you achieve the best possible cooling for your CPU. We’ll also compare different types of thermal paste and discuss alternatives, giving you a complete understanding of how to maximize your cooling performance.

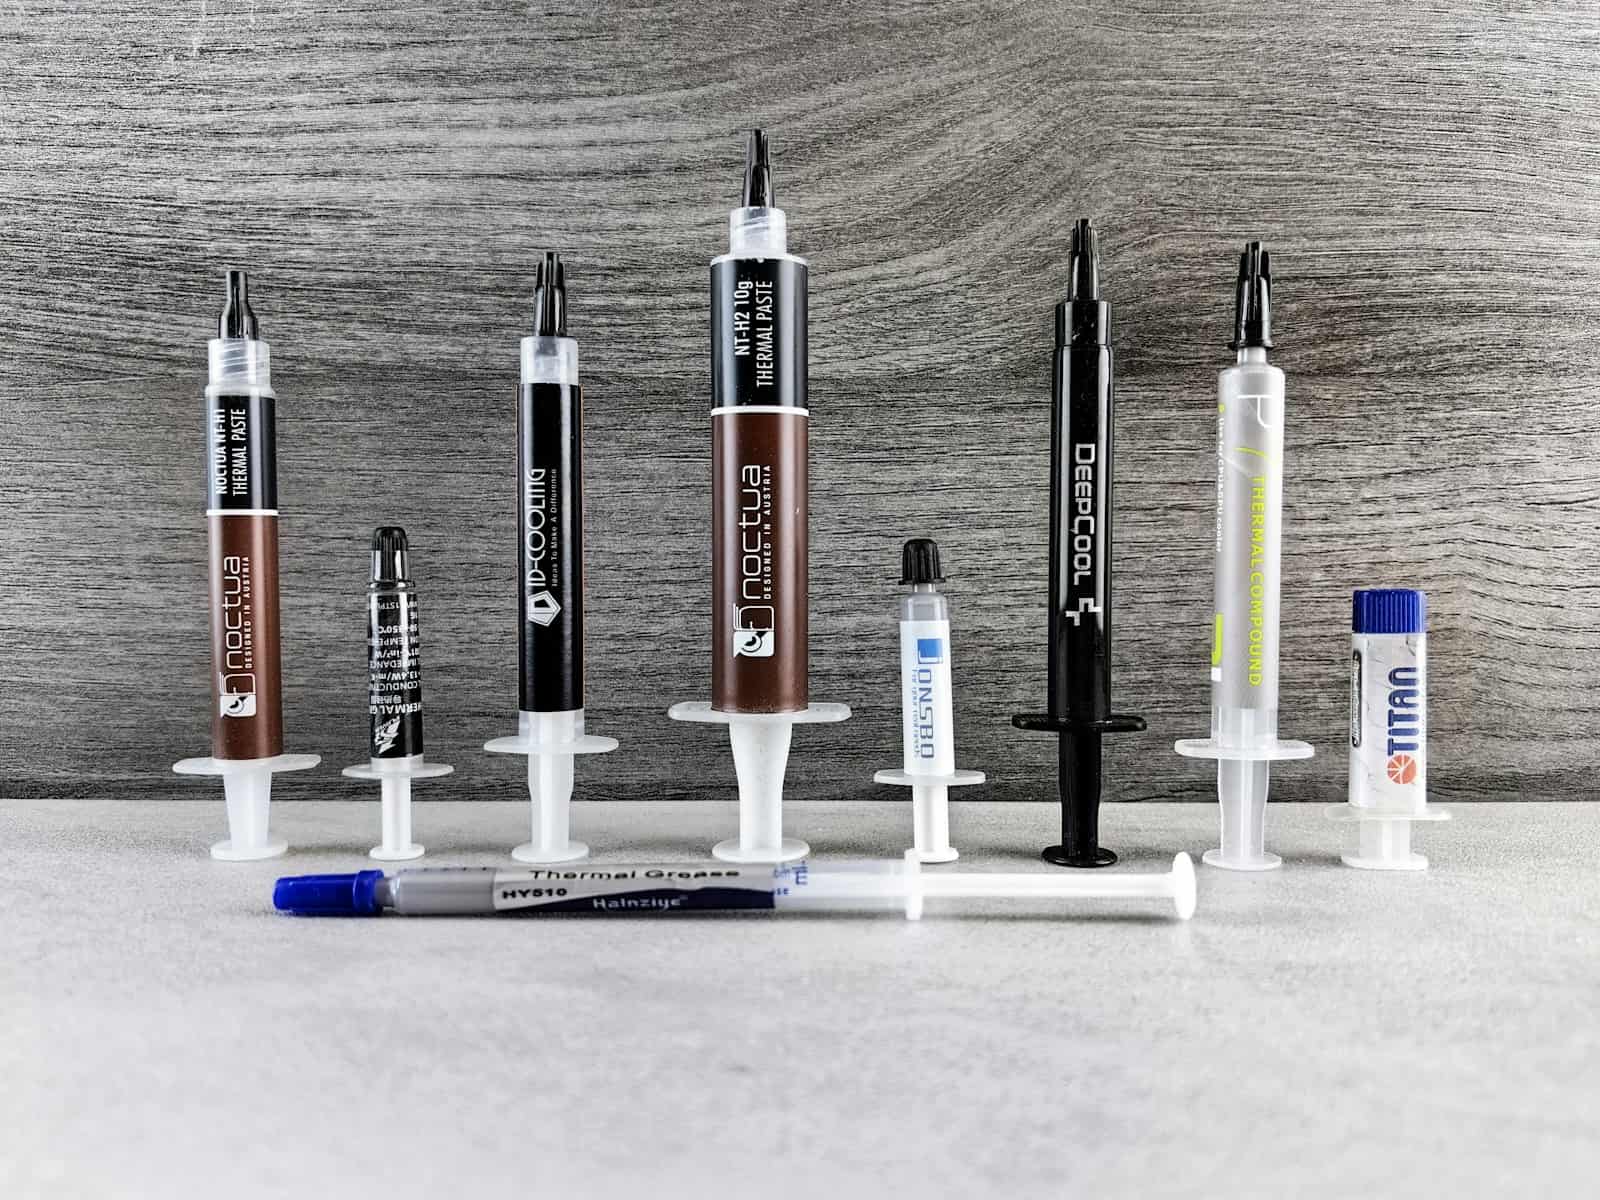
Source: Noctua
What is Thermal Paste?
Thermal paste, also called thermal grease or thermal interface material (TIM), fills tiny gaps between your CPU and its cooler. These gaps trap air, which is a poor conductor of heat. Thermal paste helps transfer heat from the CPU to the cooler more efficiently. This keeps your CPU running at safe temperatures.
Why Proper Application Matters
Applying thermal paste correctly is important. A poor application can lead to:
- Higher CPU Temperatures: This can cause performance issues or even damage your CPU.
- Reduced Cooling Efficiency: Your cooler won’t work as well as it should.
- Instability: Your system might crash or freeze.
Common Application Methods
There are a few common ways to apply thermal paste:
- Pea Method: A small dot (about the size of a pea) in the center of the CPU.
- Line Method: A thin line of paste down the center of the CPU.
- Spread Method: Spreading a thin layer of paste evenly across the CPU.
- X Method: Applying two diagonal lines of paste that form an “X.”
Which Method is Best?

The pea method is generally recommended for most CPUs because it is simple and effective. The pressure from the cooler helps to spread the thermal paste evenly. However, we suggest using the line method to ensure better and more complete coverage, particularly if the amount used with the pea method is insufficient to fully cover the Integrated Heat Spreader (IHS).
If desired, you can manually spread the paste with a tool or a credit card, which may yield slightly better results. Just be cautious while spreading, as trapping air bubbles can negatively affect performance.The X method is less common and does not provide any clear advantages; it often results in using too much thermal material.
The most important thing to realize is having complete coverage over the IHS is the goal and achieving that with the thinnest layer possible is what will give you the best results. However you get to that end is up to you.
Step-by-Step Pea Method Guide
- Clean the CPU and Cooler: Use isopropyl alcohol (90% or higher) and a lint-free cloth to remove any old thermal paste.
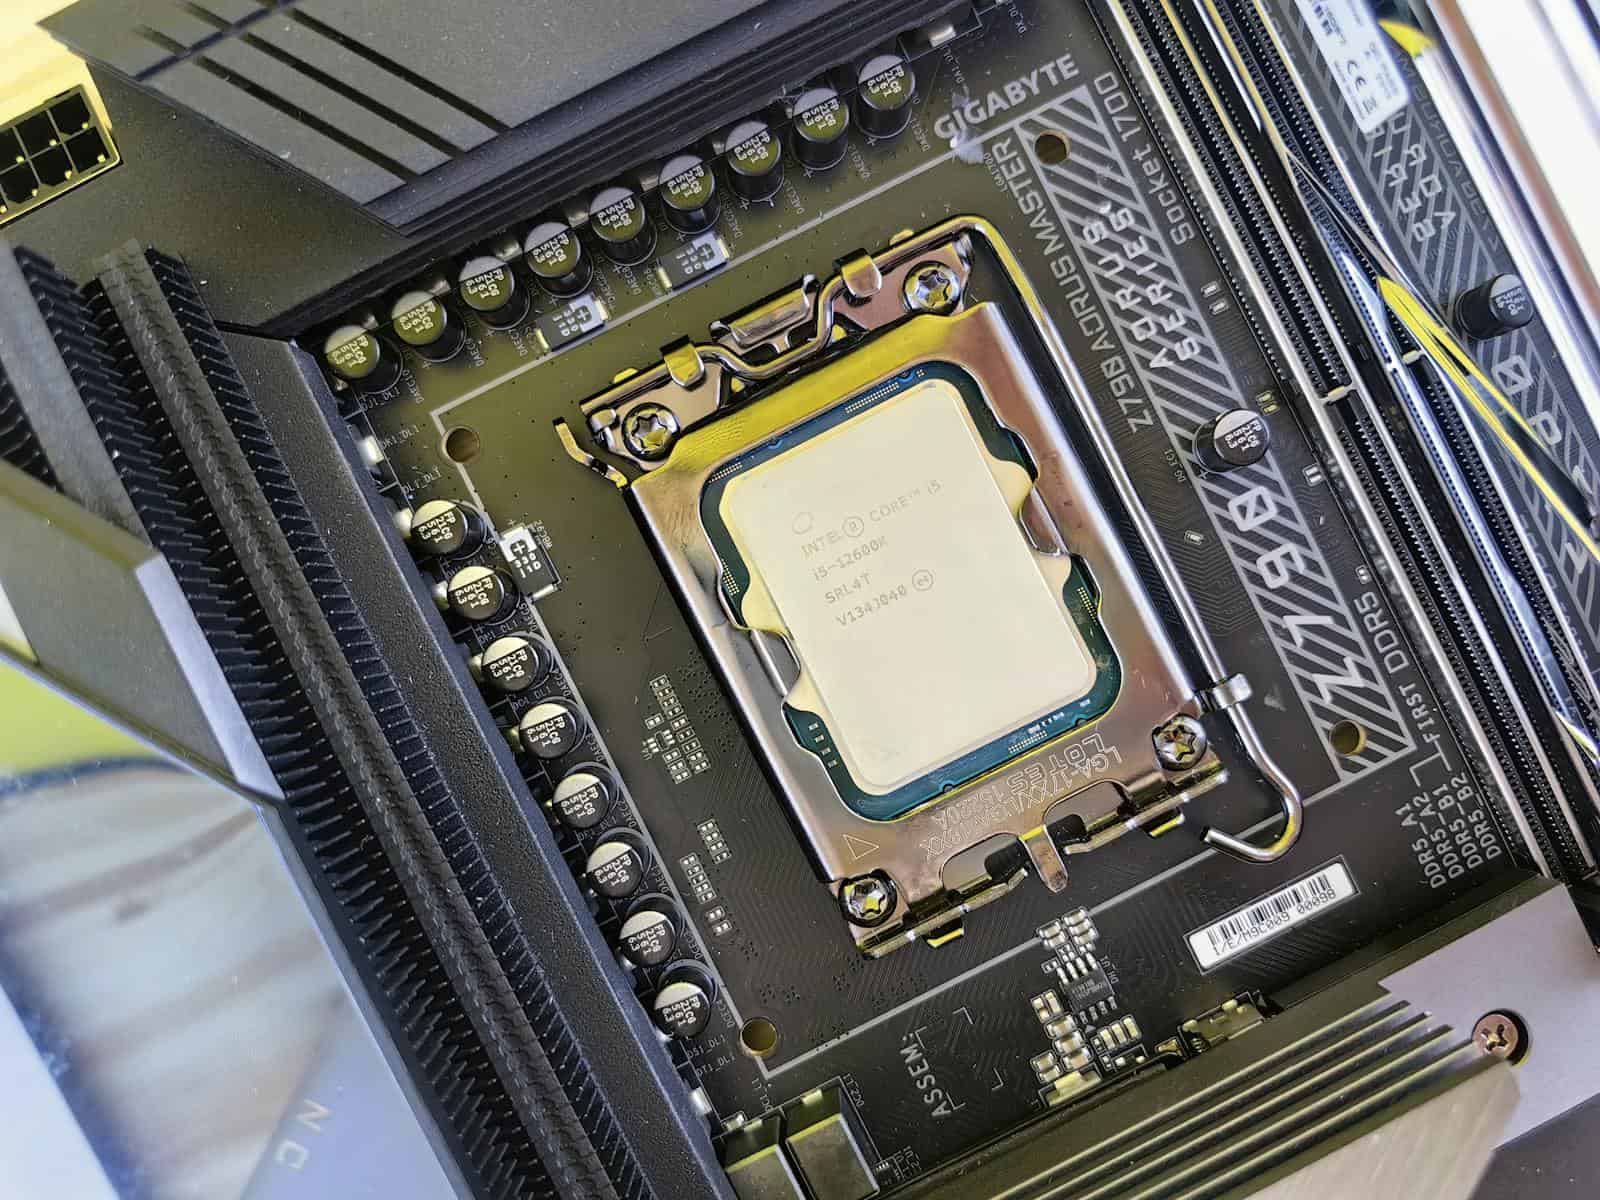
- Apply the Paste: Put a small dot of thermal paste in the center of the CPU.
- Install the Cooler: Carefully place the cooler on the CPU. Apply even pressure while tightening the screws.
Important Tips
- Use the Right Amount: Too much paste can be as bad as too little. A small amount is enough.
- Don’t Re-use Paste: Once a cooler has been removed, you need to clean off the old paste and apply fresh paste.
- Even Pressure: When installing the cooler, make sure to apply even pressure to all mounting points.
- Read the Instructions: Always check the instructions that come with your cooler and thermal paste.

Troubleshooting
- High Temperatures After Application: This could mean the paste wasn’t applied correctly. Remove the cooler, clean everything, and try again.
- Air Bubbles: If you used the spread method and see air bubbles, clean the CPU and cooler and try the pea method.
Types of Thermal Paste
There are different types of thermal paste. They have different thermal conductivity ratings. Higher conductivity means better heat transfer. Common types include:
- Silicone-based: These are common and affordable.
- Ceramic-based: These offer slightly better performance than silicone-based pastes.
- Metal-based: These have the highest thermal conductivity but can be electrically conductive. This means they can cause shorts if they spill onto the motherboard.

Quick Tips for Best Results
- Use high-quality thermal paste for best results.
- Clean surfaces before applying new paste.
- Use the pea method for most CPUs.
- Apply even pressure when mounting your cooler.
Alternatives to Thermal Paste
While thermal paste is the most common solution, there are alternatives. Thermal pads are easier to apply but don’t offer the same level of performance. Liquid metal compounds offer very high performance but are electrically conductive and harder to apply. They are generally only used by advanced users. Thermal pads are thin, thermally conductive sheets. They are often used on components like memory chips. They are easier to install than thermal paste. But they don’t fill gaps as effectively. Liquid metal is a very effective thermal interface material. It offers much better heat transfer than traditional thermal paste. But it’s electrically conductive. So, it must be applied with great care. It can also react with some metals, like aluminum.
Key Takeaways
- A pea-sized dot in the center is the most effective thermal paste application method
- The right amount of paste is crucial for optimal heat transfer
- Clean surfaces and proper heatsink mounting are essential for best results
Understanding Thermal Paste and Its Application
Applying thermal paste correctly is crucial for effective CPU cooling. This small but important step ensures efficient heat transfer from the CPU to the cooler, preventing overheating and maintaining optimal performance. While there are several application methods, the “pea method” is widely considered the easiest and most effective for most users.
Thermal paste plays a crucial role in heat transfer between a CPU and its heatsink. This compound fills microscopic gaps, ensuring efficient cooling of computer processors.
Composition and Function of Thermal Paste
Thermal paste, also known as thermal compound or thermal interface material, consists of substances with high thermal conductivity. Common ingredients include silicone, zinc oxide, and aluminum oxide.
The primary function of thermal paste is to eliminate air gaps between the CPU and heatsink. Air is a poor conductor of heat, so filling these gaps improves heat transfer efficiency.
Different types of thermal compounds exist:
- Silicone-based: Most common, easy to apply
- Metal-based: Higher conductivity, but electrically conductive
- Ceramic-based: Non-conductive and safe for most applications
- Liquid metal: Highest performance, but requires careful application
Choosing the Right Thermal Compound
Selecting the appropriate thermal paste depends on several factors:
- Thermal conductivity: Higher values indicate better heat transfer
- Ease of application: Some pastes are thicker and harder to spread
- Electrical conductivity: Non-conductive options are safer for beginners
- Price: Performance often correlates with cost
For most users, a mid-range, non-conductive thermal paste offers a good balance of performance and safety. Advanced users might opt for liquid metal compounds for maximum cooling efficiency.
Preparation for Application
Proper preparation ensures optimal thermal paste application:
- Clean the CPU and heatsink surfaces with isopropyl alcohol
- Remove any old thermal paste residue
- Ensure the surfaces are completely dry before application
Handle the CPU and heatsink with care to avoid damage. Use lint-free cloths or cotton swabs for cleaning to prevent contamination.
The amount of paste needed is small – typically about the size of a grain of rice or a pea. Applying too much paste can hinder heat transfer and make cleanup difficult.
Applying Thermal Paste Effectively
Proper thermal paste application is crucial for optimal CPU cooling. The right method ensures even heat distribution and prevents overheating issues.
Step-by-Step Application Process
Clean the CPU and heatsink surfaces with isopropyl alcohol.
Apply a small amount of thermal paste to the center of the CPU.
Carefully place the CPU cooler on top and secure it.
Gently press down to spread the paste evenly.
Wipe off any excess paste that squeezes out.
Avoid using too much paste, as it can hinder heat transfer. A pea-sized amount is usually sufficient for most CPUs.
Application Methods Comparison
Different thermal paste application methods exist:
- Dot method: Simple and effective for most CPUs
- X-pattern: Provides better coverage for larger CPUs
- Line method: Suitable for rectangular CPU dies
- Spread method: Ensures even coverage but risks air bubbles
The dot method is often recommended for its simplicity and effectiveness. It involves placing a small dot in the center of the CPU.
Ensuring Optimal Performance Post-Application
After applying thermal paste:
Install the CPU cooler properly.
Connect the CPU fan to the motherboard.
Boot the system and monitor CPU temperatures.
Run a stress test to verify cooling performance.
Replace thermal paste every 1-2 years or if CPU temperatures rise unexpectedly. Regular maintenance helps prevent overheating and ensures long-term CPU health.


