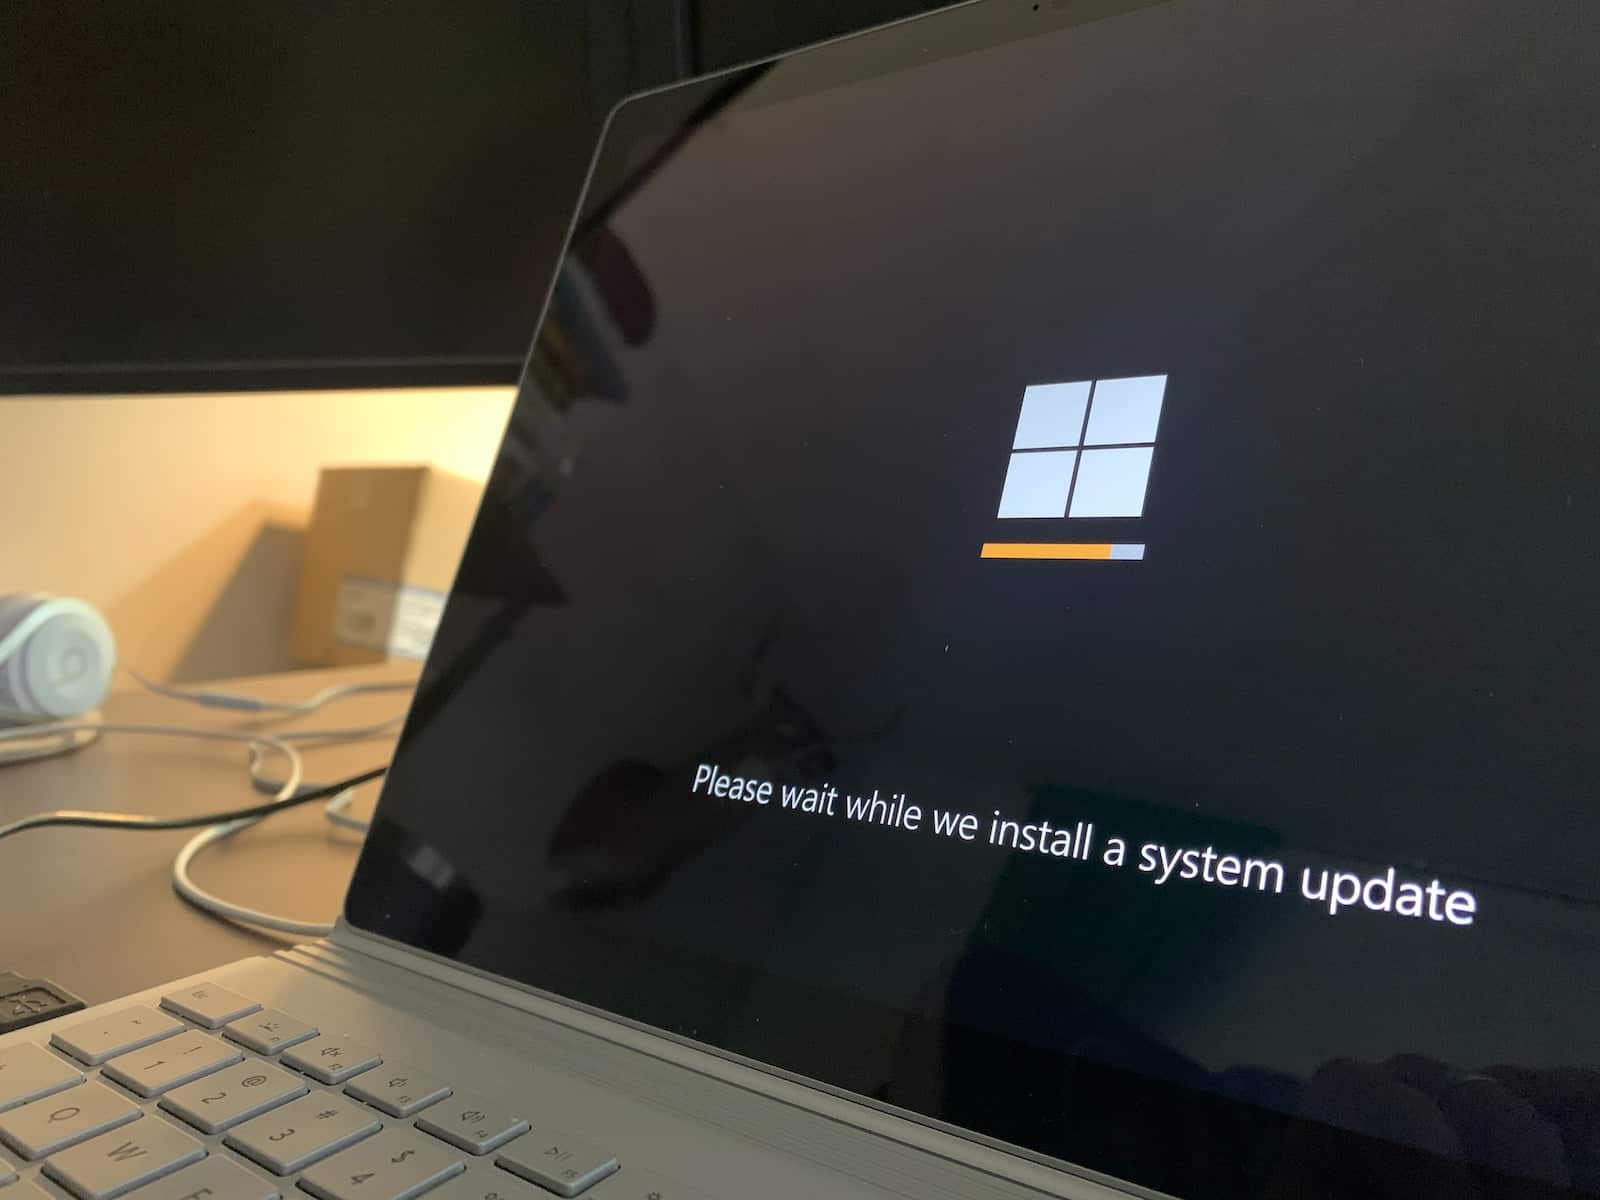
If you recently upgraded from Windows 10 to Windows 11 but would like to revert back, here are some steps to follow. If you completed the upgrade less than 10 days ago, you can easily switch back in system settings. However, if it’s been longer than 10 days, you need to take a few extra steps to ensure a smooth transition.
First, back up any important files to avoid losing them. Then, check if your computer meets the requirements for Windows 10. It’s important to do this properly in order to keep your computer working well.
Downgrading to Windows 10
Two Primary Methods: “Go Back” and Clean Install
Essentially, there are two main ways to downgrade from Windows 11 to Windows 10:
- “Go Back” Feature (Within 10 Days): This is the simplest method, but it’s only available for a limited time after upgrading to Windows 11.
- Clean Install (Anytime): This method is more involved and requires reinstalling Windows 10 from scratch, but it can be done at any point.
Method 1: Using the “Go Back” Feature (Easiest)
If it’s been less than 10 days since you upgraded to Windows 11, you can easily revert to Windows 10 using the built-in “Go Back” feature. Here’s how:
- Open the Settings app.
- Click on System, then select Recovery.
- Under “Recovery options,” click the Go Back button next to “Previous version of Windows.”
- Follow the on-screen instructions to complete the process.
This method will restore your Windows 10 settings and apps. Remember, this option disappears after 10 days, so act quickly!
Method 2: Performing a Clean Install (Anytime)
If the “Go Back” option is unavailable or you prefer a fresh start, a clean install is the way to go. Here’s a simplified breakdown of the process:
- Back Up Your Data: Before you start, create a backup of all your important files and data. A clean install will wipe your drive.
- Create Windows 10 Installation Media: Download the Windows 10 Media Creation Tool from Microsoft’s website and use it to create a bootable USB drive or DVD.
- Boot From Installation Media: Restart your computer and boot from the USB drive or DVD you created. You might need to change the boot order in your BIOS settings.
- Install Windows 10: Follow the on-screen instructions to install Windows 10. Choose the “Custom install” option to format your drive and start fresh.
- Restore Your Data: Once Windows 10 is installed, restore your backed-up files and reinstall your apps.
Troubleshooting and Additional Tips
- Missing “Go Back” Option: If the “Go Back” button is missing after a few days, it’s likely because Windows 11 has deleted the necessary files to free up space.
- Activation: Your Windows 11 product key should work to activate Windows 10 as well. If not, you may need to contact Microsoft for support.
- Drivers: After a clean install, make sure to update all your drivers to ensure compatibility and optimal performance. You can usually find the latest drivers on the manufacturer’s website.
Comparing the Two Methods
| Feature | Go Back | Clean Install |
|---|---|---|
| Availability | Within 10 days of upgrading to Windows 11 | Anytime |
| Ease of Use | Easier and faster, as it restores your previous settings and apps | More involved, requires creating installation media and reinstalling everything |
| Fresh Start | No, it simply reverts your system to its previous state | Yes, it gives you a completely clean slate |
| Storage Space | May take up more storage space due to keeping old Windows files | Frees up storage space by deleting old Windows files |
| Recommended | If you want to quickly revert to Windows 10 within 10 days and don’t mind keeping old settings and apps | If you want a fresh start or it’s been more than 10 days since you upgraded to Windows 11 |
Additional Considerations
While downgrading from Windows 11 to Windows 10 is possible, it’s important to weigh the pros and cons. Windows 11 may have addressed any issues you were experiencing. However, if you’re determined to go back to Windows 10, follow the instructions carefully and back up your data to avoid any loss.
Key Takeaways
- Windows 11 users can revert to Windows 10 for various reasons.
- The downgrade process is direct within the first 10 days after upgrading.
- Users must backup data and verify system requirements before downgrading.
Preparing to Downgrade from Windows 11 to Windows 10
Downgrading from Windows 11 to Windows 10 requires precise steps. Here is how to prepare for a smooth transition.
Understanding System Requirements
To return to Windows 10, a PC must meet certain hardware requirements. Microsoft’s PC Health Check tool can determine if your system is compatible. This check is vital as some newer machines are designed specifically for Windows 11.
Backing Up Important Data
Before downgrading, back up all important files to prevent data loss. Use external drives, USB devices, or services like OneDrive for storage. A full backup ensures data safety if you need to perform a clean install during the downgrade process.
Generating Installation Media
You’ll need a USB drive with at least 8GB of storage to create installation media. Download Windows 10 from Microsoft. Use the Media Creation Tool to set up your USB drive. This drive will be used to reinstall Windows 10.
Checking for Potential Issues
Before you downgrade, consider the possible consequences. You may face bugs or security issues with older operating systems. Applications and drivers may need updates to work on Windows 10.
Learning About Windows 10 Features
Be sure to understand the functions and layout of Windows 10. This includes the Start menu, taskbar, and search features. Knowing these will help you adjust quickly after downgrading.
Reviewing the Downgrade Process
Familiarize yourself with the recovery options within Windows 11. There, use the ‘Go back’ feature if the upgrade to Windows 11 was within the last 10 days. If it’s been longer, you’ll have to use your created installation media to reinstall Windows 10.


