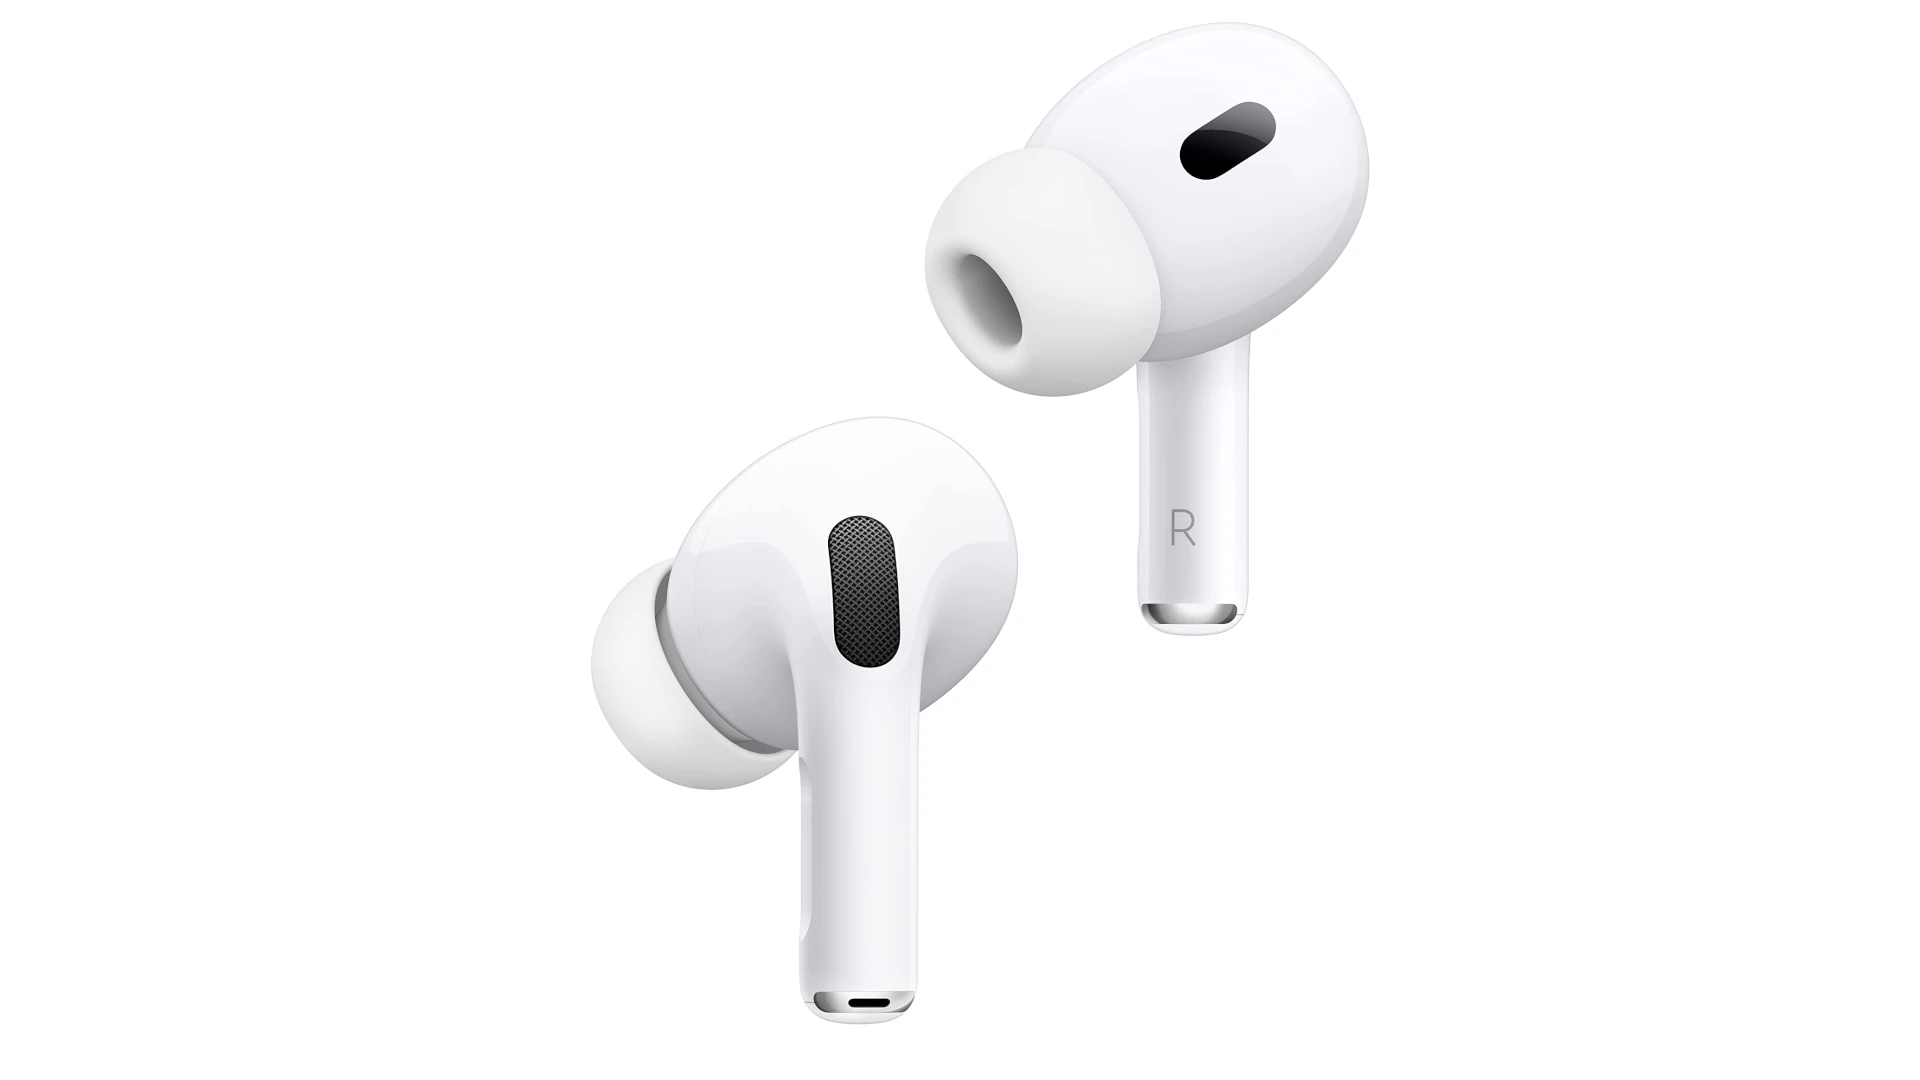
Got a new pair of used AirPods Pro? You might notice they’re still connected to the previous owner’s Apple ID. This can be frustrating when you want to use them with your own devices. To remove a previous owner from AirPods Pro, place them in the charging case, hold the setup button for about 15 seconds until the status light flashes amber then white, which resets them to factory settings.
If the previous owner is available, they can help by removing the AirPods from their Find My app. This ensures the AirPods aren’t still linked to their Apple ID. Otherwise, a factory reset will usually solve the problem. The reset erases all existing settings and information, allowing you to connect them to your own Apple ID.
After resetting, the AirPods Pro will be ready to pair with your devices as if they were brand new. Just open the case near your iPhone or iPad, and follow the on-screen instructions to complete the pairing process. This simple reset helps ensure your second-hand AirPods work properly with your devices.
Why AirPods Pro Stay Linked to Previous Owners
Apple’s AirPods Pro are tied to an Apple ID through a security feature called Activation Lock. When the original owner pairs their AirPods Pro with their iPhone, the earbuds get registered to their Apple account. Even if the AirPods are reset, they stay associated with that Apple ID until the original owner manually removes them. This system is great for preventing theft, but it can be a major headache if you buy secondhand AirPods that weren’t properly unlinked.
If you try to set up AirPods that are still connected to someone else’s account, you’ll see a message like “AirPods Linked to Another Apple ID.” Until the original owner removes them, you won’t be able to use features like Precision Finding or seamless switching — and in many cases, you won’t be able to pair them at all.
How To Check If AirPods Pro Are Still Linked
Before you do anything else, it’s important to figure out if the AirPods Pro are still connected to someone else’s Apple ID. Here’s what to do:
- Put the AirPods Pro into pairing mode by holding the button on the back of the case.
- Open your iPhone’s Bluetooth settings and try connecting to them.
- If you see a “Not Your AirPods” message or any alert asking for an Apple ID and password, the AirPods are still linked.
If you don’t see any warning, congratulations — you’re good to go and can use them normally.
How To Remove Previous Owner from AirPods Pro
1. Ask the Original Owner To Unlink Them
The only guaranteed way to remove Activation Lock is to have the original owner do it. Here’s how they can do it remotely:
- They should open the Find My app on their iPhone or iPad.
- Tap on the Devices tab.
- Select the AirPods Pro from the list.
- Tap Remove This Device at the bottom of the screen.
- Confirm the removal.
Once they’ve done this, the AirPods Pro will be freed from their Apple ID, and you’ll be able to set them up like new.
2. If You Can’t Reach the Previous Owner
Unfortunately, if you bought used AirPods Pro and can’t contact the previous owner, there’s no official way to bypass Activation Lock. Apple built this system into the hardware. Resetting the AirPods or wiping your iPhone won’t remove the lock.
Apple Support also won’t remove Activation Lock unless you provide original proof of purchase from an authorized retailer. Marketplace purchases like eBay, Craigslist, or Facebook Marketplace usually don’t qualify unless the seller included a legitimate, verifiable receipt.
If you can’t get in touch with the original owner or don’t have the receipt, the AirPods Pro are effectively locked. You can still use them in limited ways on some devices, but key features will remain inaccessible.
3. Reset AirPods Pro (If They’re Already Unlinked)
If the AirPods Pro have been successfully removed from the original owner’s account (or they were never locked in the first place), you can fully reset them and pair them with your device:
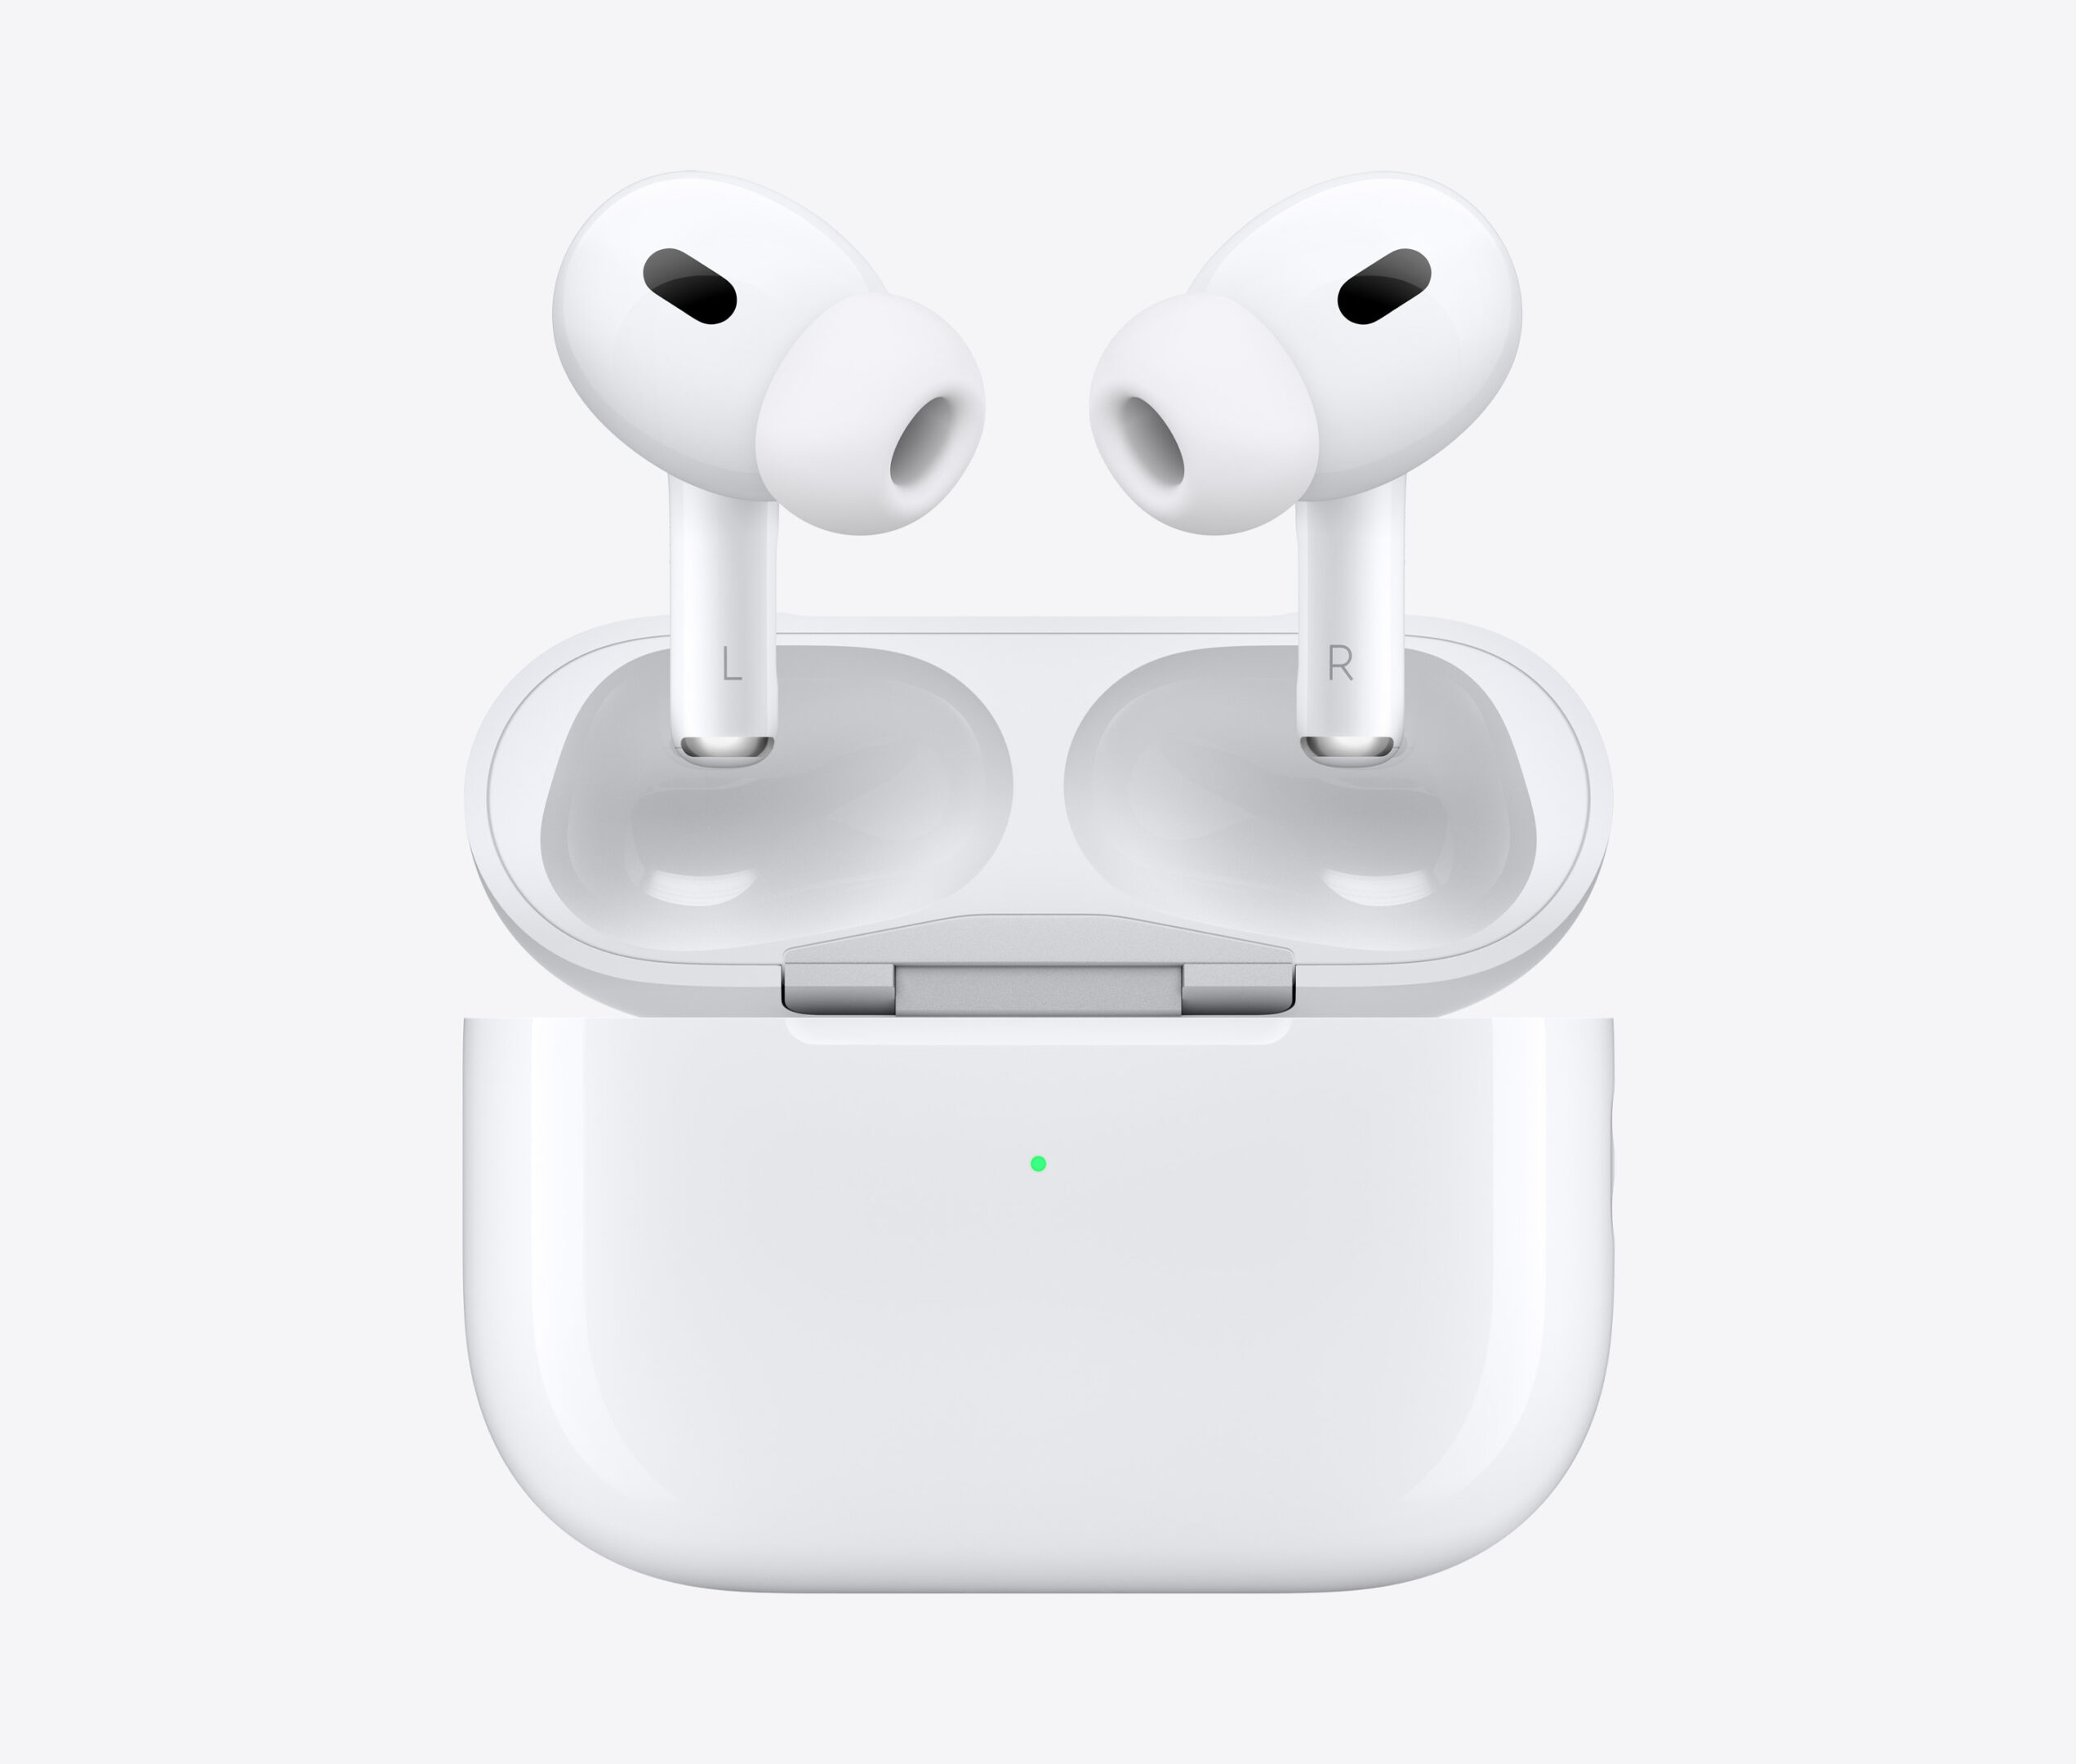
- Put both AirPods in the case and open the lid.
- Press and hold the button on the back of the case for about 15 seconds, until the status light flashes amber and then white.
- Release the button.
- Now the AirPods are reset and ready to pair with a new device.
Important Tips When Buying Used AirPods Pro
To avoid this situation in the future, keep these guidelines in mind:
- Meet in person whenever possible and check the AirPods for Activation Lock before paying.
- Ask the seller to disconnect the AirPods from their Apple ID while you’re present.
- Request proof of purchase or verify that the AirPods were bought from an authorized Apple retailer.
- Use caution with deals that seem too good to be true — many locked AirPods Pro are sold cheaply because they can’t be fully used.
Buying used AirPods Pro can save you a lot of money, but only if you’re careful. Without proper removal of the previous owner’s Apple ID, you’re likely buying a very limited experience — or at worst, a pair of earbuds you can’t fully use at all.
Key Takeaways
- Factory resetting AirPods Pro removes the previous owner’s connection by holding the setup button for 15 seconds.
- Having the previous owner remove the AirPods from their Find My app provides the cleanest disconnection.
- After resetting, AirPods Pro can be paired with your devices by opening the case nearby and following on-screen prompts.
Preparing to Remove Previous Owners from AirPods Pro
Before removing a previous owner from AirPods Pro, you need to understand how ownership works and check the current status of your devices. These steps will help avoid problems during the reset process.
Understanding AirPods Pro Ownership
AirPods Pro link to an Apple ID when set up for the first time. This connection helps with features like automatic switching between devices and Find My tracking. When you buy used AirPods Pro, they may still be connected to the previous owner’s Apple ID.
The main issues with second-hand AirPods Pro include:
- Pairing problems with your devices
- Name persistence showing the previous owner’s custom name
- Find My tracking still active under another account
- Automatic device switching not working properly
Apple designed AirPods Pro to offer a personalized experience. This includes custom settings that follow users across their Apple devices. Without proper reset, these personalized settings remain.
Verifying the AirPods Pro Status
Before starting the reset process, check the current status of your AirPods Pro. Place them in their charging case and look at the status light to confirm they’re powered.
Check these important status indicators:
- LED light color: Should blink amber when ready for setup
- Battery level: Ensure at least 20% charge
- Physical condition: Inspect for damage that might affect reset
If possible, ask the previous owner to remove the AirPods Pro from their Find My app. This step prevents activation lock issues. The previous owner can do this by:
- Opening the Find My app
- Selecting the AirPods Pro
- Tapping “Remove This Device”
If the previous owner is unavailable, you’ll need to perform a factory reset. This works in most cases but may not remove Find My tracking if Activation Lock is enabled.
Resetting and Reconnecting AirPods Pro
Getting AirPods Pro to work with a new owner requires both resetting the earbuds and connecting them to a different device. This process removes all previous settings and prepares them for a fresh start.
Resetting AirPods Pro to Factory Settings
To reset AirPods Pro, place both earbuds in their charging case and close the lid for at least 10 seconds. Then open the lid and press and hold the setup button on the back of the case for about 15 seconds. The status light will flash amber, then white, indicating the reset is complete.
If the AirPods are still linked to the previous owner’s Apple ID, you might see a message saying they’re paired to another account. In this case, the previous owner needs to remove them from their Find My app. They can do this by:
- Opening the Find My app
- Selecting the AirPods Pro
- Tapping “Remove This Device”
- Confirming removal
If you don’t have access to the previous owner, you can still reset the AirPods Pro to factory settings using the method above. This works even without the original Apple ID.
Pairing AirPods Pro with a New Device
After resetting, pairing AirPods Pro with a new device is simple. For Apple devices, open the charging case lid with the AirPods inside and hold it near your iPhone or iPad. A setup animation should appear on your screen.
Follow these steps to complete the pairing:
- Tap “Connect” on your device’s screen
- Follow the on-screen instructions
- Press the setup button on the back of the case if prompted
- Wait for the connection to complete
For Android devices or other non-Apple products, you’ll need to pair them through Bluetooth settings. Open Bluetooth settings on your device, put the AirPods in pairing mode by holding the setup button until the light flashes white, then select them from the available devices list.
Make sure your device’s Bluetooth is turned on and you’re within range. If pairing fails, try restarting your AirPods by placing them in the case for 10 seconds.


