Keeping our Google contacts list clean helps us stay organized and makes it easier to find the people we need to connect with. Sometimes we need to remove contacts from our Google account completely. To permanently delete contacts from your Google account, open the Contacts app, select the contacts you want to remove, tap the More options menu, and choose “Delete forever” to completely erase them from your account.
Managing contacts isn’t always straightforward, especially when we want to make sure they’re gone for good. Google offers several ways to delete contacts depending on your device. You can remove them one by one or select multiple contacts to delete in bulk. The process works on both Android phones and iPhones that are connected to your Google account.
Step-by-Step Guide to Permanently Delete Contacts from Your Google Account
If you’ve accumulated outdated, duplicate, or unnecessary contacts in your Google Account, permanently removing them can help you stay organized and protect your privacy. Here’s how to permanently delete them from any device.
Delete Contacts Using Google Contacts on a Computer
The easiest and most complete way to manage and delete your Google contacts is through the official Google Contacts site:
- Go to contacts.google.com and sign in with your Google Account.
- Use the left-hand panel to select “Contacts” or “Frequently contacted.”
- Browse or search for the contact you want to delete.
- Hover over the contact and click the checkbox next to their name.
- After selecting all the contacts you want to remove, click the trash can icon in the top-right corner.
- Confirm the deletion when prompted.
🛈 Deleted contacts are moved to Trash, where they remain for 30 days unless you manually remove them.
Permanently Remove Contacts from Trash
If you want to skip the 30-day grace period, follow these steps to delete them permanently:
- Go to contacts.google.com.
- On the left-hand menu, click “Trash.”
- Select the contacts you want to remove permanently.
- Click the “Delete forever” button at the top.
- Confirm your decision in the popup window.
| Action | Keeps Contact in Trash? | Completely Removed? |
|---|---|---|
| Delete from Contacts | ✅ Yes (for 30 days) | ❌ No |
| Delete from Trash | ❌ No | ✅ Yes |
| Restore from Trash | ✅ Yes | ❌ No |
Delete Contacts on Android (Synced with Google)
If your Android device syncs contacts with your Google Account, deleting them from the Contacts app also deletes them from Google:
- Open the Contacts app on your Android phone.
- Tap the contact you want to delete.
- Tap the three-dot menu in the upper-right corner.
- Select “Delete”, then confirm.
- To remove multiple contacts:
- Long press on the first contact.
- Select others.
- Tap the trash icon and confirm.
Note: If the contact was synced with Google, it will also be removed from your Google Account.
Turn Off Sync to Stop Google From Re-Saving Contacts
Deleting contacts doesn’t help if sync is on and another device re-uploads them. Prevent reappearance by disabling contact sync:
- Go to Settings > Accounts > Google.
- Choose your Google account.
- Toggle “Contacts” sync off.
This prevents automatic re-syncing after deletion.
Bulk Deletion of Multiple Contacts
If you need to clean house, you can delete dozens (or hundreds) of contacts at once:
- Visit contacts.google.com.
- Hold Shift and click to select a range of contacts.
- Or use Ctrl/Cmd + click for selective picking.
- Click the trash icon and confirm.
For mobile, bulk deletion is limited. Use a browser on desktop for full control.
Key Takeaways
- Select contacts by touching and holding them, then tap “Delete forever” to permanently remove them from your Google account
- You can delete contacts individually or in bulk to quickly clean up your contact list
- After deletion, you may need to empty the trash to ensure contacts are permanently removed from all synced devices
Understanding Google Contacts
Google Contacts serves as the central hub for managing all your contact information across Google services. It stores names, phone numbers, email addresses, and other details while keeping this information synchronized across your devices.
The Role of Google Contacts in Account Synchronization
Google Contacts works behind the scenes to keep your contact information consistent across all your devices. When you add a new contact on your phone, it automatically appears on your tablet and computer too. This happens through Google’s cloud synchronization system.
The sync process happens whenever your device connects to the internet. Your contacts are stored both on your device and in your Google account online. This dual storage system ensures you can access your contacts even without internet connection.
Many Android phones use Google Contacts as the default contacts app. When you set up a new Android device and sign in with your Google account, your contacts transfer automatically. This saves you from having to manually add contacts to each new device.
Implications of Deleting Contacts
When you delete a contact from Google Contacts, it disappears from all synced devices. This action cannot be easily undone unless you have a backup.
There are two ways to handle unwanted contacts. You can delete them permanently, removing them from all devices and your Google account. Or you can hide them from specific devices without removing them from your account by turning off sync for certain devices.
Be careful when deleting contacts in bulk. Make sure you really want to remove all selected contacts before confirming. Consider exporting your contacts first as a backup measure.
If you’re switching away from Google services, export your contacts before deleting your account. Most other contact management systems can import contacts from Google’s export format, making the transition smoother.
Preparing to Delete Contacts
Before removing contacts from your Google account, it’s important to take some preparatory steps. This helps you avoid accidentally losing important information and ensures you’re only removing the contacts you truly want to delete.
Backing Up Contacts Before Deletion
Creating a backup of your contacts is a crucial first step before deleting any contact information. To back up your Google Contacts:
- Go to contacts.google.com and sign in with your Google account
- Click on “Export” in the left sidebar
- Choose which contacts to export (all contacts or selected contacts)
- Select the file format (Google CSV or Outlook CSV)
- Click “Export” and save the file to your computer
This backup file serves as a safety net in case you accidentally delete contacts you need. Store the backup in a safe location like Google Drive or your computer’s hard drive. You might want to date the filename (like “Contacts_Backup_March2025”) to keep track of when you made the backup.
Identifying Contacts to Be Removed
Take time to review your contact list and identify which contacts should be deleted. Some reasons you might want to remove contacts include:
- Outdated information for people you no longer contact
- Duplicate entries of the same person
- Business contacts you no longer work with
- Random contacts added automatically from emails
To find duplicates, use Google Contacts’ “Merge & fix” feature, which automatically identifies similar contacts. For a more thorough review, sort your contacts by last interaction date or create labels for contacts you want to keep.
Make a list of contacts to delete by selecting them and adding a temporary label like “To Delete” for easy identification when you’re ready to remove them permanently.
Permanent Deletion Process
Removing contacts permanently from your Google account requires a few specific steps. The process ensures that unwanted contacts don’t clutter your address book or sync to your devices.
Using the Google Contacts App
To permanently delete contacts from your Google account, you’ll need to use the Google Contacts app or website. On your Android device, open the Contacts app which comes pre-installed on most phones. If you don’t have it, you can download it from the Google Play Store.
The app syncs with your Google account, making it easier to manage contacts across all your devices. Before deleting contacts, make sure you’re signed in to the correct Google account if you use multiple accounts.
You can also access Google Contacts through a web browser by visiting contacts.google.com, which offers the same deletion features with a slightly different interface.
Deleting Contacts Individually
When you want to remove just one contact, the process is straightforward:
- Open the Contacts app on your Android device
- Find and tap on the contact you wish to delete
- Tap the “Edit” or pencil icon
- Scroll down and look for the “Delete” option
- Confirm your choice when prompted
After deletion, the contact moves to Trash where it remains for 30 days before being permanently removed. If you delete a contact by mistake, you can recover it during this period by accessing the Trash in the app menu.
Deleting Multiple Contacts Simultaneously
When you need to clean up your contact list more extensively, deleting multiple contacts at once saves time:
- Open the Google Contacts app
- Long-press on one contact to start selection mode
- Tap on additional contacts you want to delete
- Once you’ve selected all unwanted contacts, tap the trash icon
- Confirm the deletion when prompted
This batch deletion method works the same way on both the mobile app and website. Selected contacts will move to the Trash folder together, where they’ll stay for 30 days before permanent deletion.
For very large cleanups, you can use the website version which sometimes offers more advanced selection options.
After Deletion
Once you delete contacts from your Google account, there are a few important things to track to ensure they’re completely gone and won’t reappear unexpectedly on your devices.
Ensuring Contacts are Permanently Removed
When you delete contacts from Google, they aren’t immediately erased forever. Instead, they move to the Trash folder where they remain for 30 days. During this time, you can recover them if the deletion was accidental.
To make sure contacts are permanently removed:
- Open Google Contacts
- Click on “Trash” in the left sidebar
- Check for any contacts you want permanently deleted
- Select these contacts and click “Delete permanently”
You can also empty the entire Trash at once by clicking “Empty trash” at the top of the page. Remember that once you permanently delete contacts from the Trash, there’s no way to recover them.
Managing Residual Sync Across Devices
Even after permanent deletion, you might find contact information lingering on some of your devices due to sync timing or cached data.
To handle sync issues:
- Force a sync on each device by going to Settings > Accounts > Google > [your account] > Sync Contacts
- Check third-party apps that might have saved copies of your contacts
- Verify backup services aren’t storing old versions of your contacts
If contacts still appear on your phone after deletion, try signing out of your Google account on the device and signing back in. This often refreshes all data and removes any persistent contacts.
For stubborn cases, clearing the cache of your Contacts app or Google services app can help remove any stored data that might be causing deleted contacts to reappear.
Frequently Asked Questions
Managing contacts on Google accounts can seem complicated, but the process is straightforward once you understand the basics. These questions address common concerns about permanently removing contacts from your Google account.
What are the steps to remove contacts from Google account on an Android device?
On an Android device, open the Contacts app. Find the contact you want to delete and tap on it. Then tap the three-dot menu icon at the top right corner of the screen and select “Delete.”
The deleted contact will move to the Trash folder, where it remains for 30 days before being permanently removed. To skip the waiting period, you can empty the Trash immediately.
How can I erase contacts from my Gmail on a mobile phone?
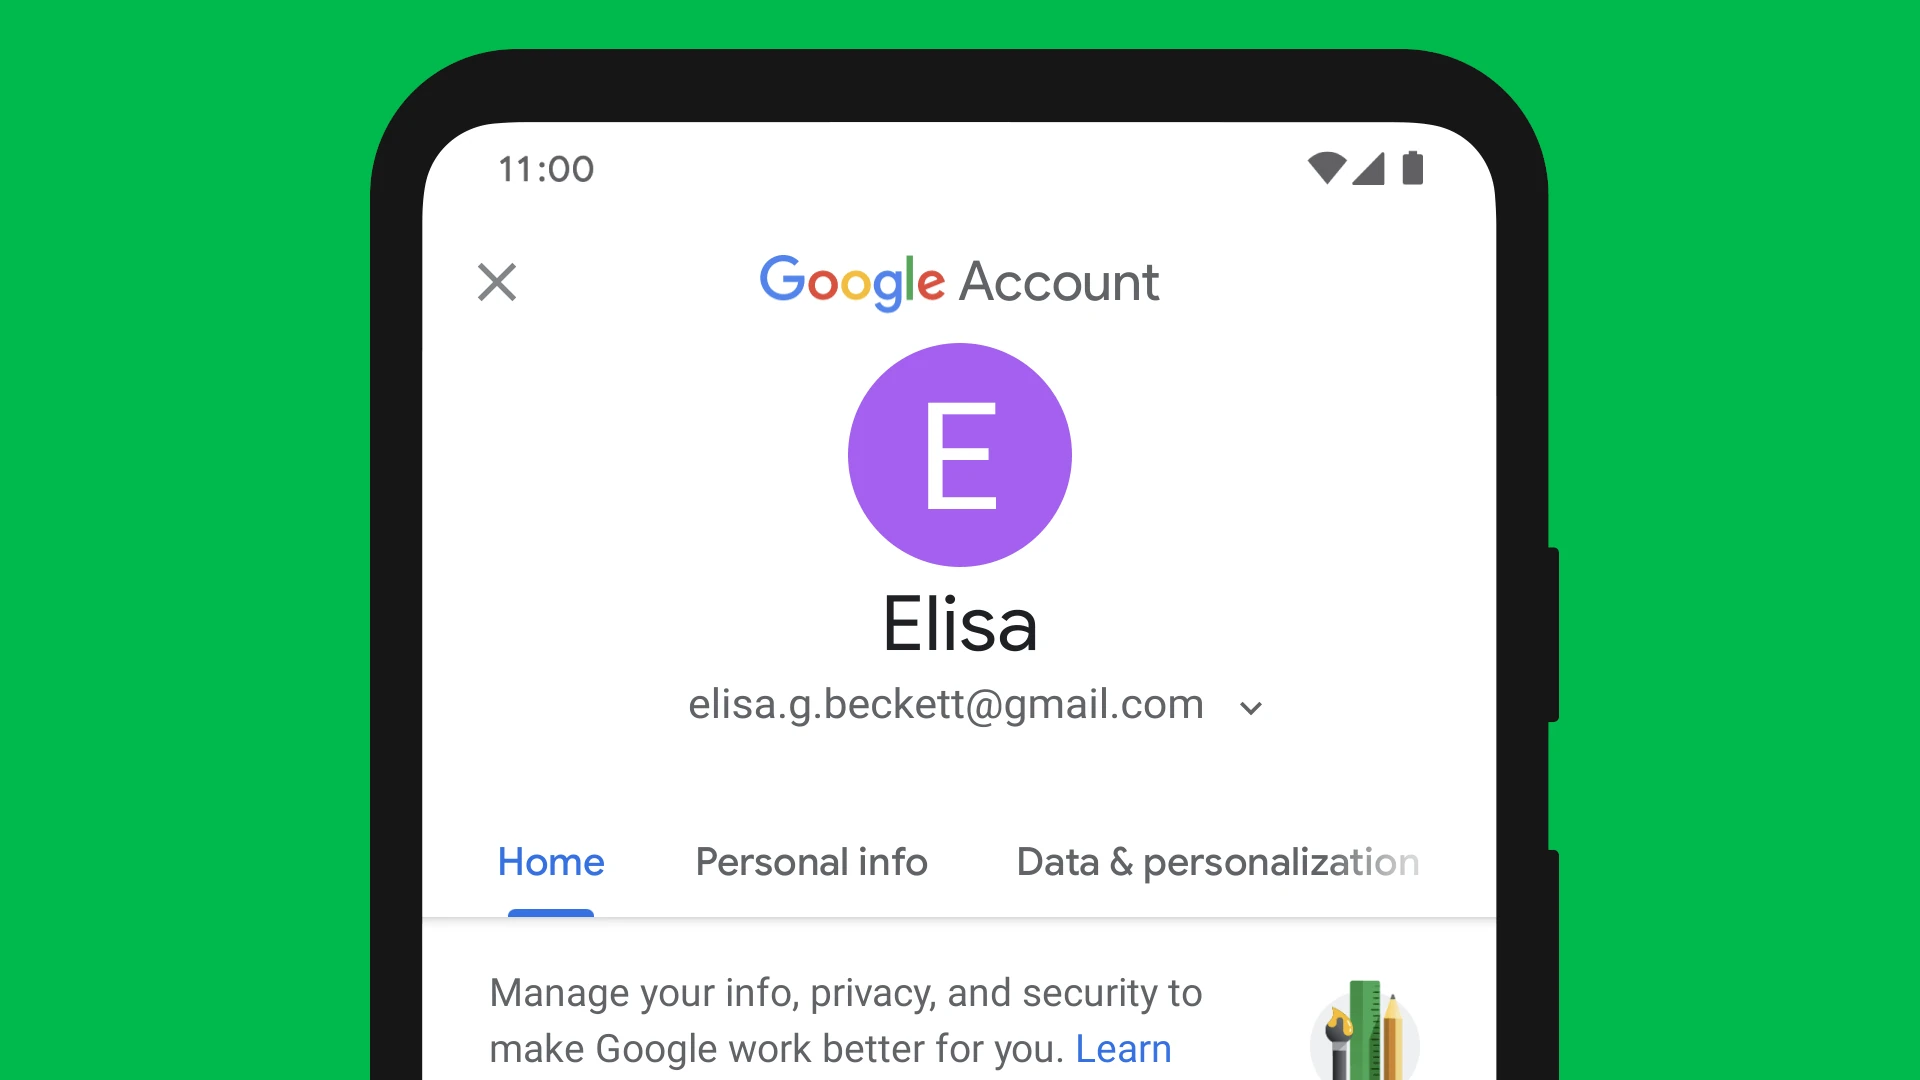
To delete contacts from Gmail on a mobile phone, open the Gmail app and tap on your profile picture. Select “Manage your Google Account” and navigate to the “People & sharing” section.
Tap on “Contacts” to open Google Contacts. Find the contact you want to delete, tap on it, and then select the delete option. This removes the contact from your Gmail account across all devices.
Is there a way to ensure contacts are not just hidden but permanently erased from a Google account?
Yes, you can permanently erase contacts by first deleting them normally, which sends them to the Trash. Then, go to the Trash folder in Google Contacts and select “Empty trash” to remove them permanently.
For immediate permanent deletion, select the contact, delete it, then go directly to the Trash and remove it from there. Once deleted from the Trash, contacts cannot be recovered through normal means.
Can deleted contacts reappear, and how to prevent this issue within Google Contacts?
Deleted contacts may reappear if your device is syncing with other accounts or if automatic backup features restore old data. To prevent this, check all connected accounts in your device settings.
Make sure to disable contact syncing for accounts you don’t want to pull data from. Also, verify that your Google account isn’t set to automatically restore contacts from backups after deletion.
What should I do to delete synced contacts from my Google account across all devices?
To delete synced contacts across all devices, make changes directly in your Google Contacts web interface rather than on individual devices. Log in to contacts.google.com with your Google account.
Select the contacts you want to remove, click the delete icon, and then empty the Trash. Since all your devices sync with this central Google Contacts database, the deletions will apply everywhere.
How can I recover contacts after they have been deleted from my Google account, should I need to restore them?
If you need to recover deleted contacts, check your Trash folder in Google Contacts within 30 days of deletion. Select the contacts you want to restore and click “Recover.”
For contacts deleted more than 30 days ago, you may be able to restore them through Google’s account recovery page. Go to your Google Account, select “Data & privacy,” then “Data from apps and services,” and look for “Download or delete your data.”