Building your own PC can be a rewarding experience. It gives you full control over how your system performs and looks. This guide will help you whether you want a high-end gaming computer, a powerful machine for content creation, or a simple home office setup.
Building a custom PC can save you money and often gives you better parts than pre-built systems. Typically, it takes 2 to 4 hours to complete a build, and you’ll need basic tools like screwdrivers, zip ties, and an anti-static wrist strap to safely put together good components.
When you build your own computer, you can choose every part. You decide on the CPU, graphics card, memory, and storage that fit your needs and budget. You can use PC building tools to check if parts are compatible and to track prices. Modern cases and parts make it easy to assemble your PC with designs that don’t require extra tools and clear labels for connections.
Step 1: Gather Your Components
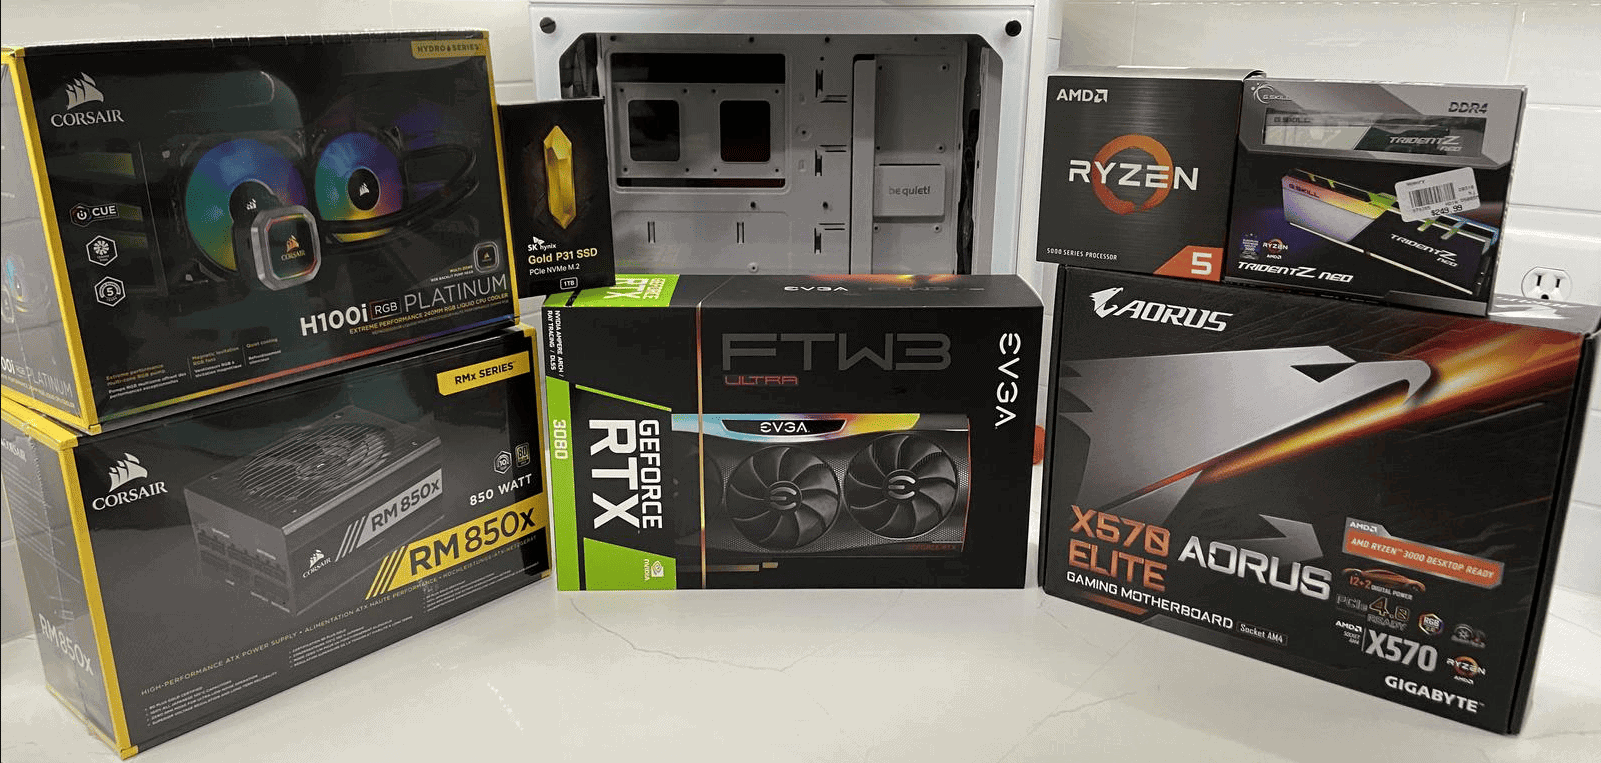
Before diving into assembly, make sure you have all the necessary components. Here’s a list of the essential parts:
- Central Processing Unit (CPU) – The brain of your computer.
- Motherboard – The main circuit board that connects all components.
- Memory (RAM) – Temporary storage for active tasks and processes.
- Storage Drive (SSD/HDD) – Where your files, OS, and programs are stored.
- Graphics Processing Unit (GPU) (if not using integrated graphics) – Essential for gaming, video editing, and 3D rendering.
- Power Supply Unit (PSU) – Supplies power to all components.
- PC Case – Encloses and protects your components.
- Cooling System – Air or liquid cooling to keep temperatures low.
- Operating System (OS) – Typically Windows, Linux, or macOS (for Hackintosh builds).
Optional Components:
- Additional case fans
- RGB lighting
- Wi-Fi/Bluetooth cards (if not integrated)
Step 2: Prepare Your Workspace
- Choose a large, clean, and static-free surface.
- Use an anti-static wrist strap to prevent damage to sensitive components.
- Have tools ready, mainly a Phillips-head screwdriver.
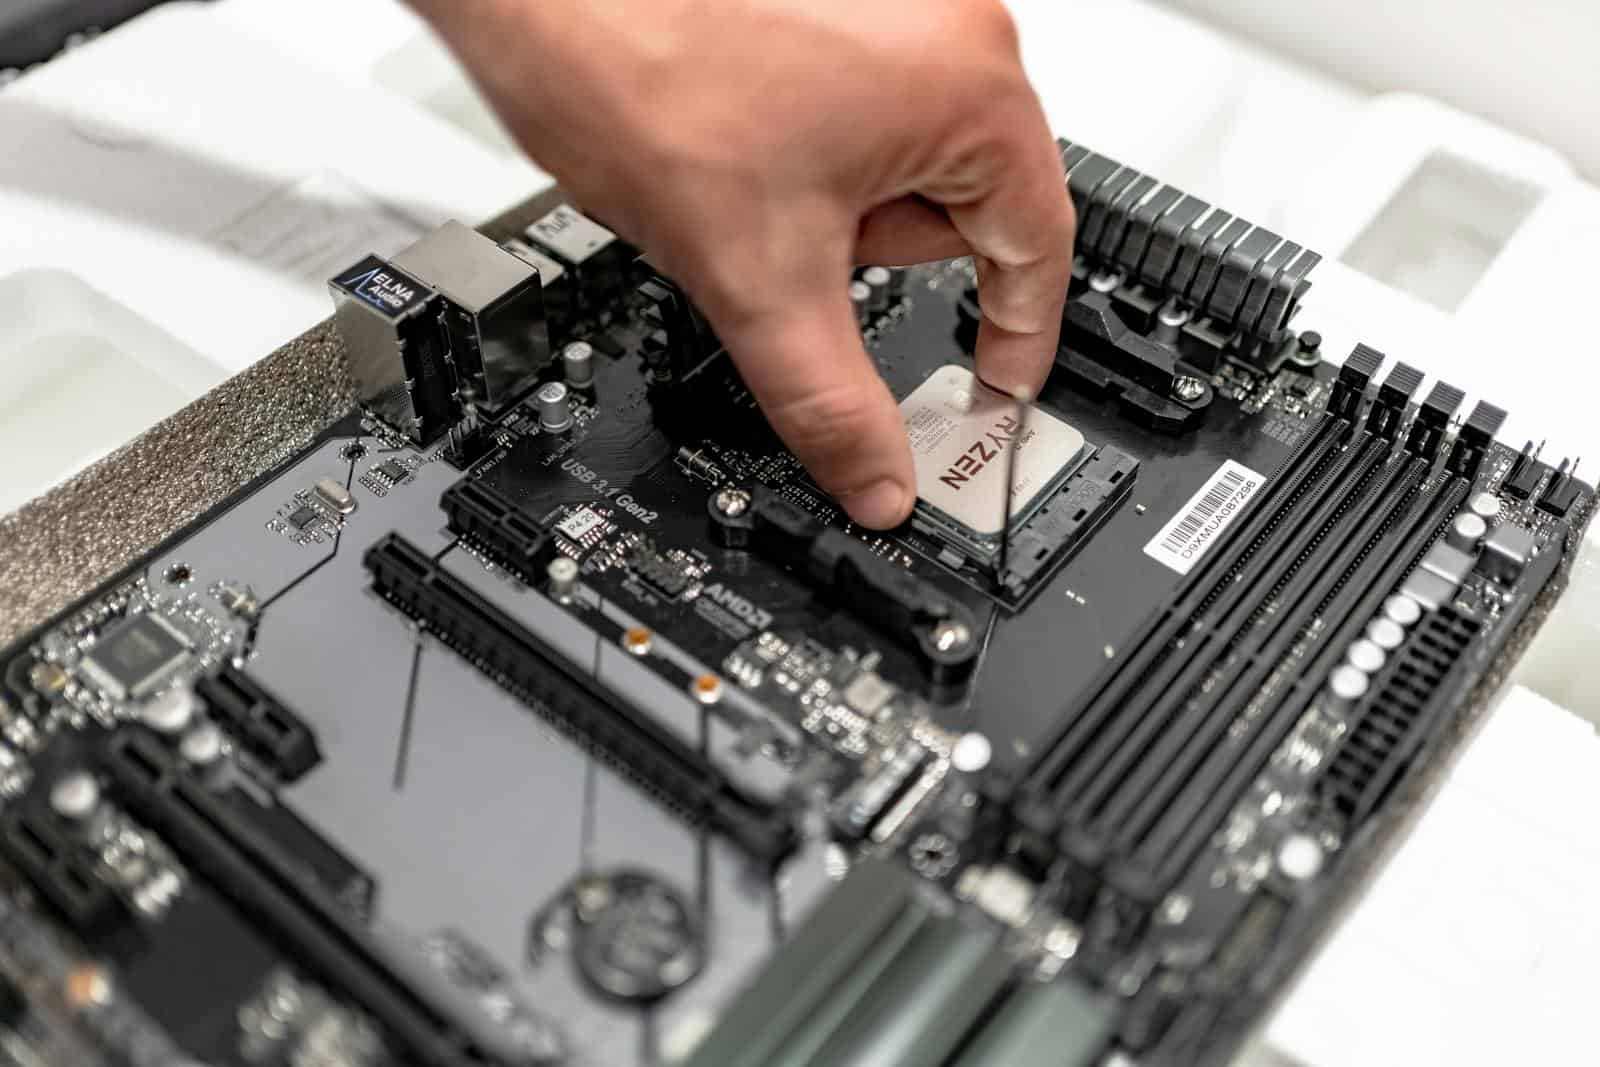
Step 3: Install the CPU
- Open the motherboard’s CPU socket by lifting the retention arm.
- Align the CPU with the socket’s indicator (usually a triangle) and gently place it in. Do not force it.
- Lower the retention arm to secure the CPU.
Step 4: Install RAM
- Locate the RAM slots on the motherboard.
- Check the motherboard manual for the correct slots to use for dual-channel (usually alternating slots).
- Align the RAM stick with the notch and press firmly until it clicks into place.
Step 5: Install the Storage Drive
- For NVMe SSDs: Insert the SSD into the M.2 slot at a 30-degree angle and secure it with a screw.
- For SATA SSDs/HDDs: Mount the drive in the case’s drive bay and connect it to the motherboard and PSU using SATA cables.
Step 6: Mount the Motherboard into the Case
- Place the I/O shield into the case’s rear panel (if your motherboard has one).
- Align the motherboard with the standoffs in the case.
- Secure the motherboard with screws, ensuring all points are fastened.
Step 7: Install the Power Supply (PSU)
- Slide the PSU into its bay, typically at the bottom or top rear of the case.
- Secure it with screws.
- Route the necessary cables (24-pin motherboard, 8-pin CPU, PCIe for GPU, SATA for storage).
Step 8: Install the Graphics Card (GPU)
- Insert the GPU into the top PCIe x16 slot on the motherboard.
- Secure the GPU to the case using screws.
- Connect the appropriate PCIe power cables from the PSU.
Step 9: Connect All Cables
- 24-pin ATX power to the motherboard.
- 8-pin CPU power near the CPU socket.
- SATA or NVMe connections for storage.
- Front panel connectors (power button, USB ports, audio jacks) to the motherboard.
- Case fans and CPU cooler to the designated headers.
Step 10: Install Cooling Solutions
- Air Coolers: Attach the fan and heatsink over the CPU using the provided mounting brackets.
- Liquid Coolers: Mount the radiator and connect pump power cables as per the manual.
Apply thermal paste if your cooler doesn’t come pre-applied.
Step 11: Cable Management
- Use zip ties or Velcro straps to tidy up cables.
- Ensure no wires obstruct fans or airflow paths.
Step 12: First Boot & BIOS Setup
- Connect your monitor, keyboard, and mouse.
- Power on the PC. If everything is connected correctly, you should see the BIOS screen.
- Update the BIOS if necessary.
- Adjust settings (like boot priority) and enable XMP for optimized RAM performance.
Step 13: Install the Operating System
- Create a bootable USB with your preferred OS (using tools like Rufus for Windows).
- Insert the USB, boot into BIOS, and select the USB as the boot drive.
- Follow the on-screen instructions to install the OS.
Step 14: Install Drivers & Software
- Download and install drivers for your motherboard, GPU, and other components.
- Update Windows/Linux and install essential applications (browsers, security software, etc.).
Step 15: Stress Test & Monitor Performance
- Use tools like Cinebench, 3DMark, or Prime95 to stress test your system.
- Monitor temperatures with HWMonitor or MSI Afterburner to ensure proper cooling.
✅ Pro Tips:
- Double-check compatibility before purchasing components (use tools like PCPartPicker).
- Keep an eye on thermal performance—good airflow is key.
- Future-proof your build by investing in a solid PSU and motherboard that support upgrades.
Building your own PC is like assembling a high-tech puzzle. While it might seem daunting at first, following this step-by-step guide ensures a smooth process. Enjoy your new, custom-built machine! 🚀
Key Takeaways
- Custom PC building saves money while providing higher quality components
- Basic tools and 2-4 hours of time are the main requirements for assembly
- Online compatibility checkers ensure all selected parts work together properly
Selecting the Right Components
Building a custom PC requires careful selection of compatible parts that work together to create an efficient and reliable system. Each component plays a vital role in the final performance and capabilities of the computer.
Central Processing Unit
The CPU serves as the brain of any computer system. Modern processors from Intel and AMD offer different performance levels and price points for various needs.
The latest Intel and AMD processors provide excellent performance options. Intel’s 12th and 13th generation Core processors compete with AMD’s Ryzen 7000 series in both gaming and productivity tasks.
Key CPU considerations:
- Clock speed: Higher frequencies generally mean better performance
- Core count: More cores enable better multitasking
- Socket type: Must match the motherboard
- TDP rating: Determines cooling requirements
Memory and Storage
RAM and storage devices significantly impact system responsiveness and data access speeds.
For RAM, 16GB represents the current sweet spot for most users. DDR4 remains common while DDR5 offers higher speeds at a premium price point.
Storage options include:
- SSD: Fast boot times and quick file access
- NVMe: Maximum speed for frequent data transfers
- HDD: Budget-friendly mass storage
The right storage combination typically includes an SSD for the operating system and frequently used programs, with an HDD for larger files.
Motherboard and GPU
The motherboard connects all components and determines upgrade potential. Form factors include ATX, micro-ATX, and mini-ITX sizes.
Important motherboard features:
- Socket compatibility with chosen CPU
- Memory support and maximum RAM capacity
- PCIe slots for graphics cards and expansion
- USB ports and connectivity options
Graphics processing can come from dedicated GPUs or integrated graphics. NVIDIA’s RTX 4000 series and AMD’s RX 7000 cards represent current top gaming options.
Power Supply and Cooling
A reliable power supply prevents system instability and protects components. Bronze, Gold, and Platinum ratings indicate efficiency levels.
PSU requirements:
- Wattage: Calculate based on component power needs
- Modularity: Helps with cable management
- Efficiency rating: Higher is better for power bills
Cooling solutions range from stock CPU coolers to advanced liquid cooling systems. Proper airflow requires:
- Case fans in correct positions
- CPU cooler rated for processor TDP
- Thermal paste application
- Fan configuration for optimal air movement
Building and Setting Up
The physical assembly of computer components and installation of essential software create a functional PC. A clean workspace and careful attention to component connections ensure optimal performance.
Assembly and Cable Management
An anti-static mat protects sensitive components during the build process. The CPU installation requires lifting the socket’s tension lever and aligning the processor’s golden triangle with the motherboard socket marker. Most modern CPUs come with pre-applied thermal paste.
A Phillips head screwdriver is essential for securing the motherboard to the case standoffs. The power supply unit goes in first, followed by routing the main cables through the case’s designated holes.
RAM modules snap into place with firm, even pressure on both ends. Graphics cards lock into the PCIe slot with an audible click.
Cable management keeps airflow optimal and looks clean. Zip ties secure cables along case channels. Extra cables tuck behind the motherboard tray.
Software and Peripherals
Building a PC takes 3-4 hours before software setup begins. Windows installation requires a USB drive with the installation media.
The system needs graphics, chipset, and network drivers from the component manufacturers’ websites. Windows Update handles most basic drivers automatically.
Monitor calibration and keyboard/mouse setup complete the build. Gaming peripherals might need additional software for customization.
BIOS settings require verification – especially RAM speeds and boot device order. Security features like TPM need activation for Windows 11 compatibility.